

Oreo Spider Cookies



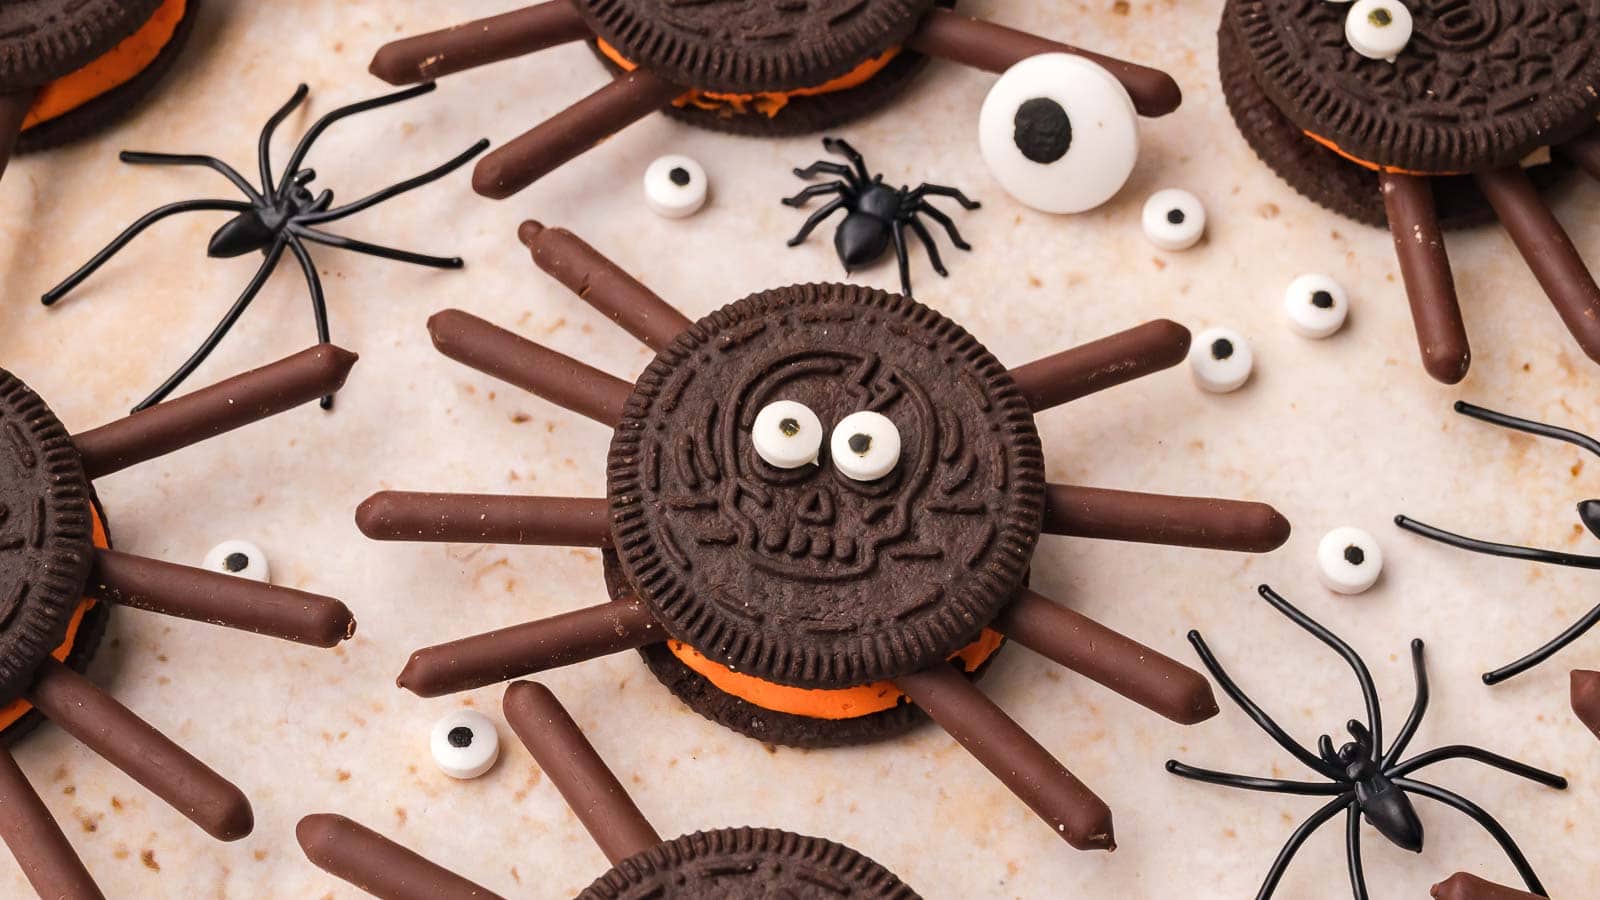
These Oreo Spider Cookies take four ingredients, no oven and about twenty minutes at the kitchen table. Chocolate-covered biscuit sticks make the eight legs, candy eyeballs go on with a dot of frosting, and Halloween Oreos with the orange cream do the rest. If you are looking for more Halloween treats, check out my Easy Halloween Treats post!
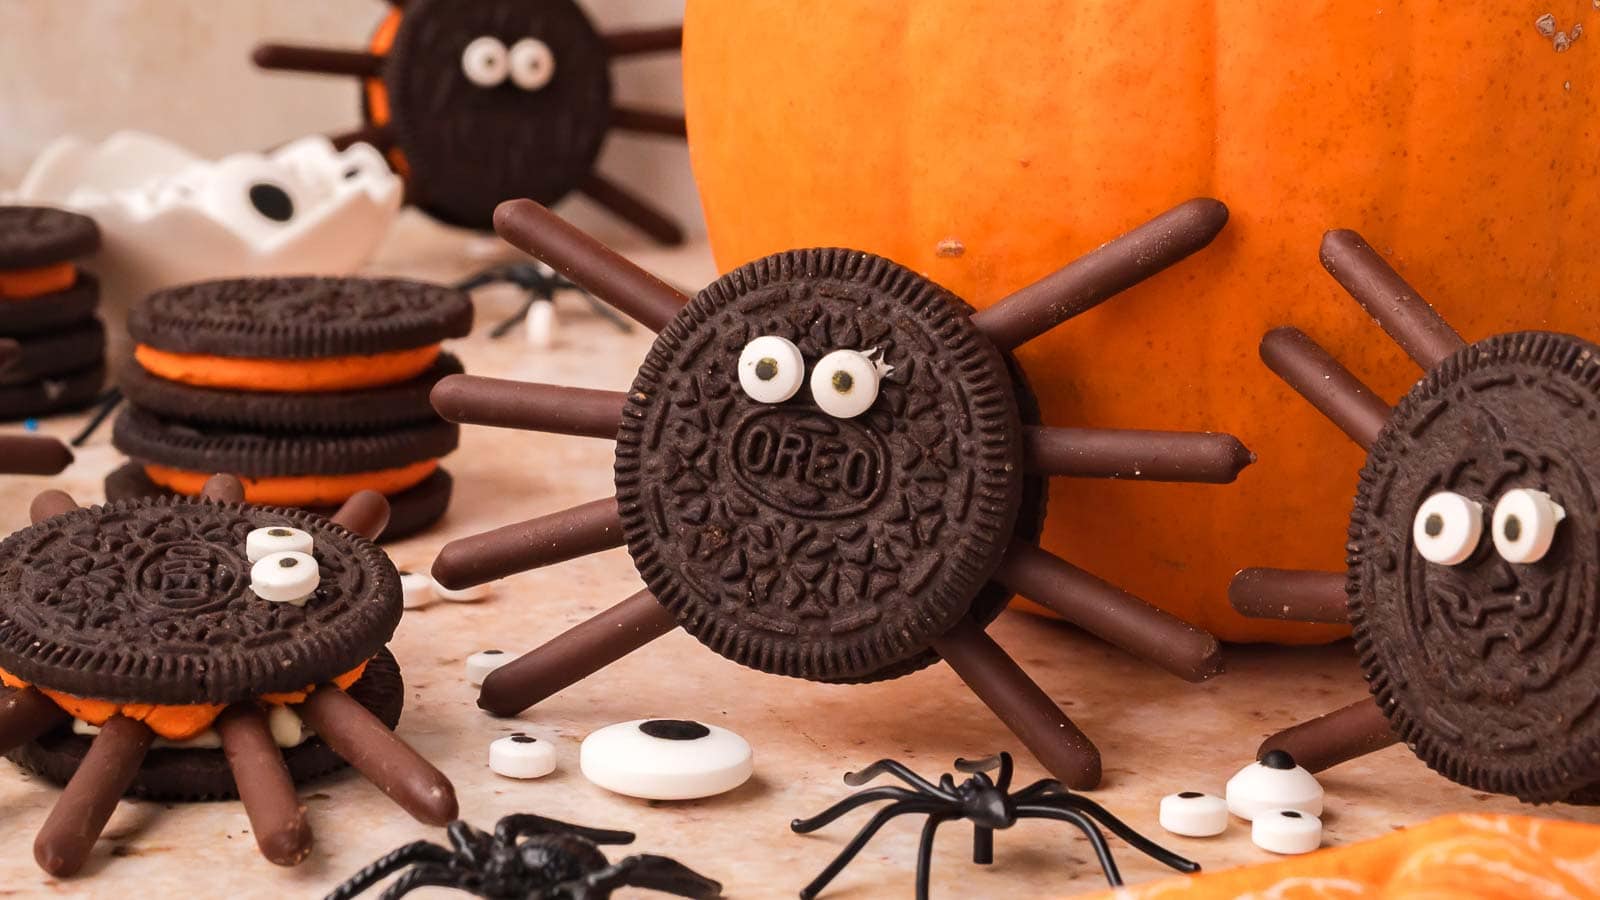
Halloween at home in Ireland meant barmbrack and colcannon with a coin hidden in it, so spider cookies were nowhere near my childhood. This is an American Halloween thing and I am fully converted. Two things go wrong with these, legs that fall off and a top cookie that cracks, and both come down to how you handle the cream. That is covered below. They also sit on top of my Oreo Cupcakes if you want the Halloween version of those.
Why You’ll Love These Oreo Spider Cookies
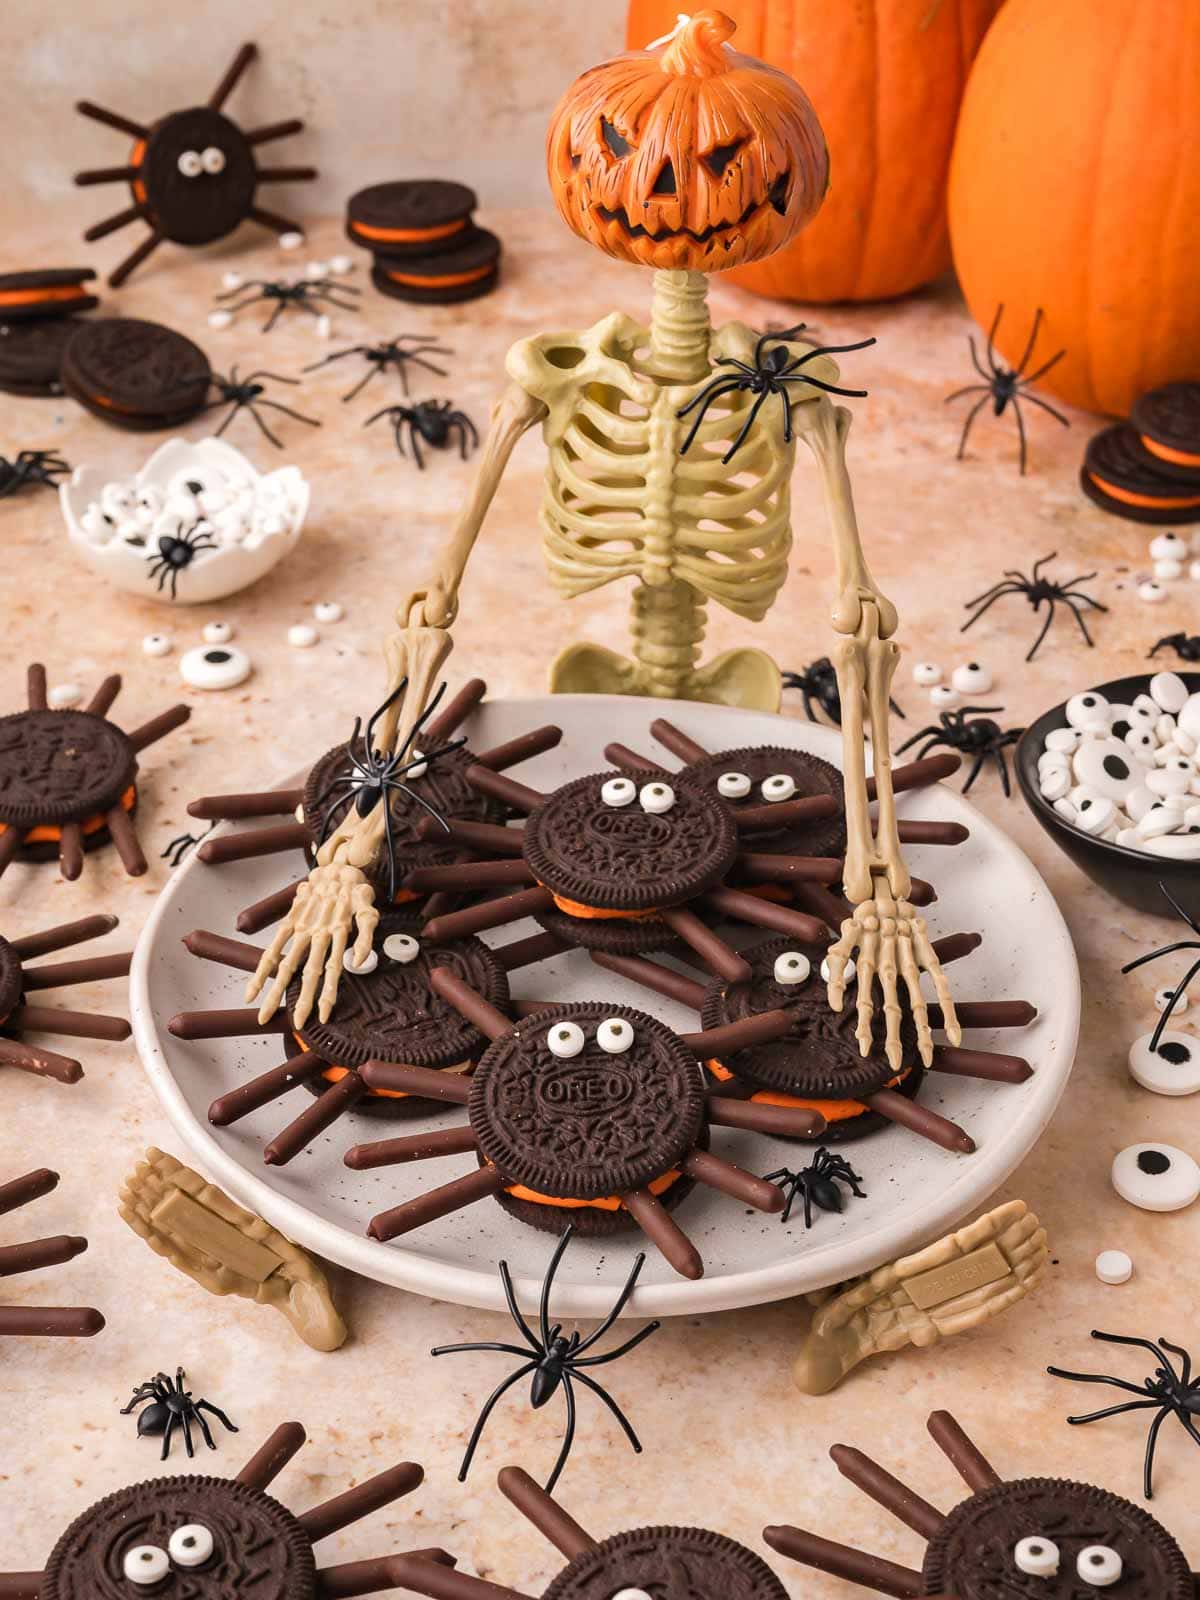
The Best Oreo Spider Cookies for Halloween Parties and Class Treats
This is what you make when you need something that looks Halloween and you have no time. No oven, no melted chocolate, nothing that has to chill for hours. Twelve spiders in about twenty minutes.
They look like more effort than they were, which is the whole point of a class party treat. Put them beside my Pretzel Spider Webs and you have a spider theme going, or work through my 10 Easy Halloween Treats to Make This October if you need to fill a table.
Ingredients Needed for Oreo Spider Cookies
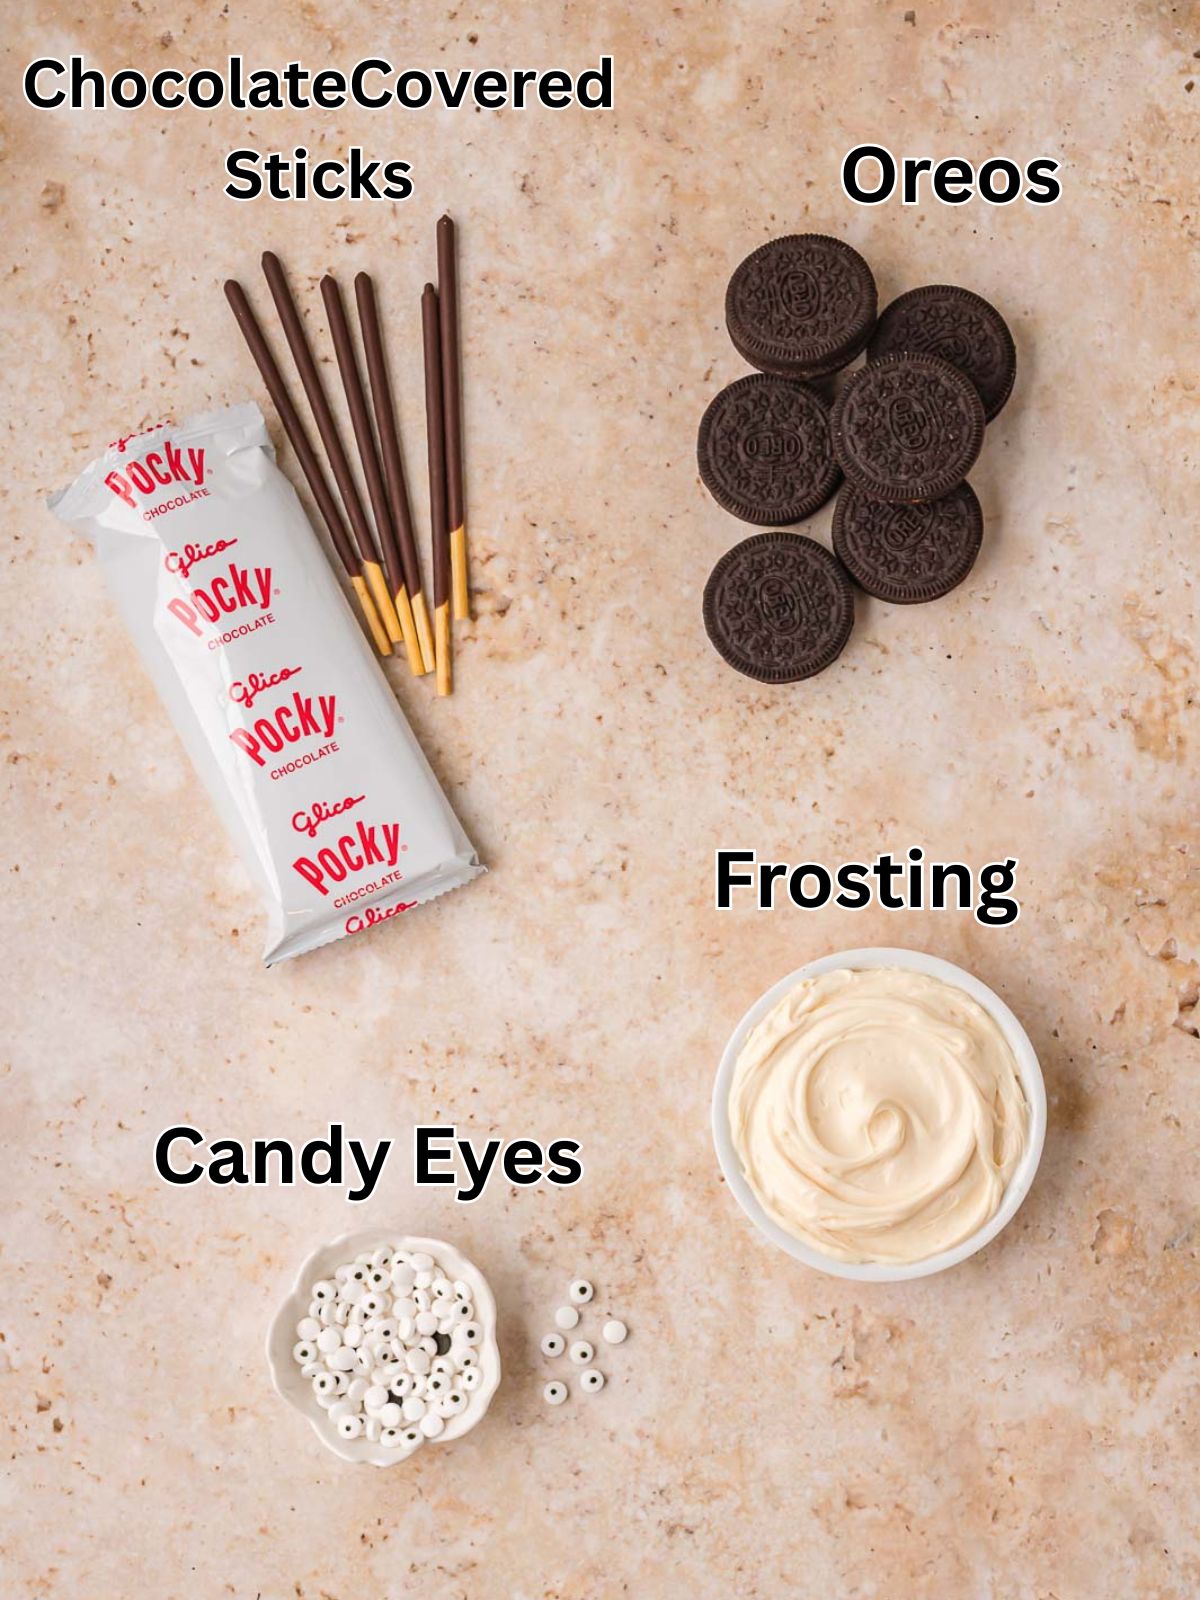
- Halloween Oreos: The orange cream is what makes them read as Halloween straight away, and the cream itself is what grips the legs. Regular Oreos work exactly the same way if the orange ones are gone from the shelf.
- Thin chocolate covered biscuit sticks: Pocky or Mikado. These are the legs, and they are the reason these look better than the pretzel versions. They cut into short pieces cleanly and stay thin.
- White frosting: A quarter cup, used as glue and nothing else. Canned is completely fine here, and it means there is nothing to melt or temper.
- Candy eyeballs: Two per spider. Buy a bigger tub than you think you need, they roll off the counter and disappear.
How to Make Oreo Spider Cookies
**For more detailed instructions, please refer to the printable recipe card below.**
- Break or cut the chocolate covered biscuit sticks into pieces about 1½ inches long. You need eight pieces for each spider.
- Twist each Oreo apart gently, keeping as much of the cream as you can on one half, and lay the cream halves out on a lined tray.
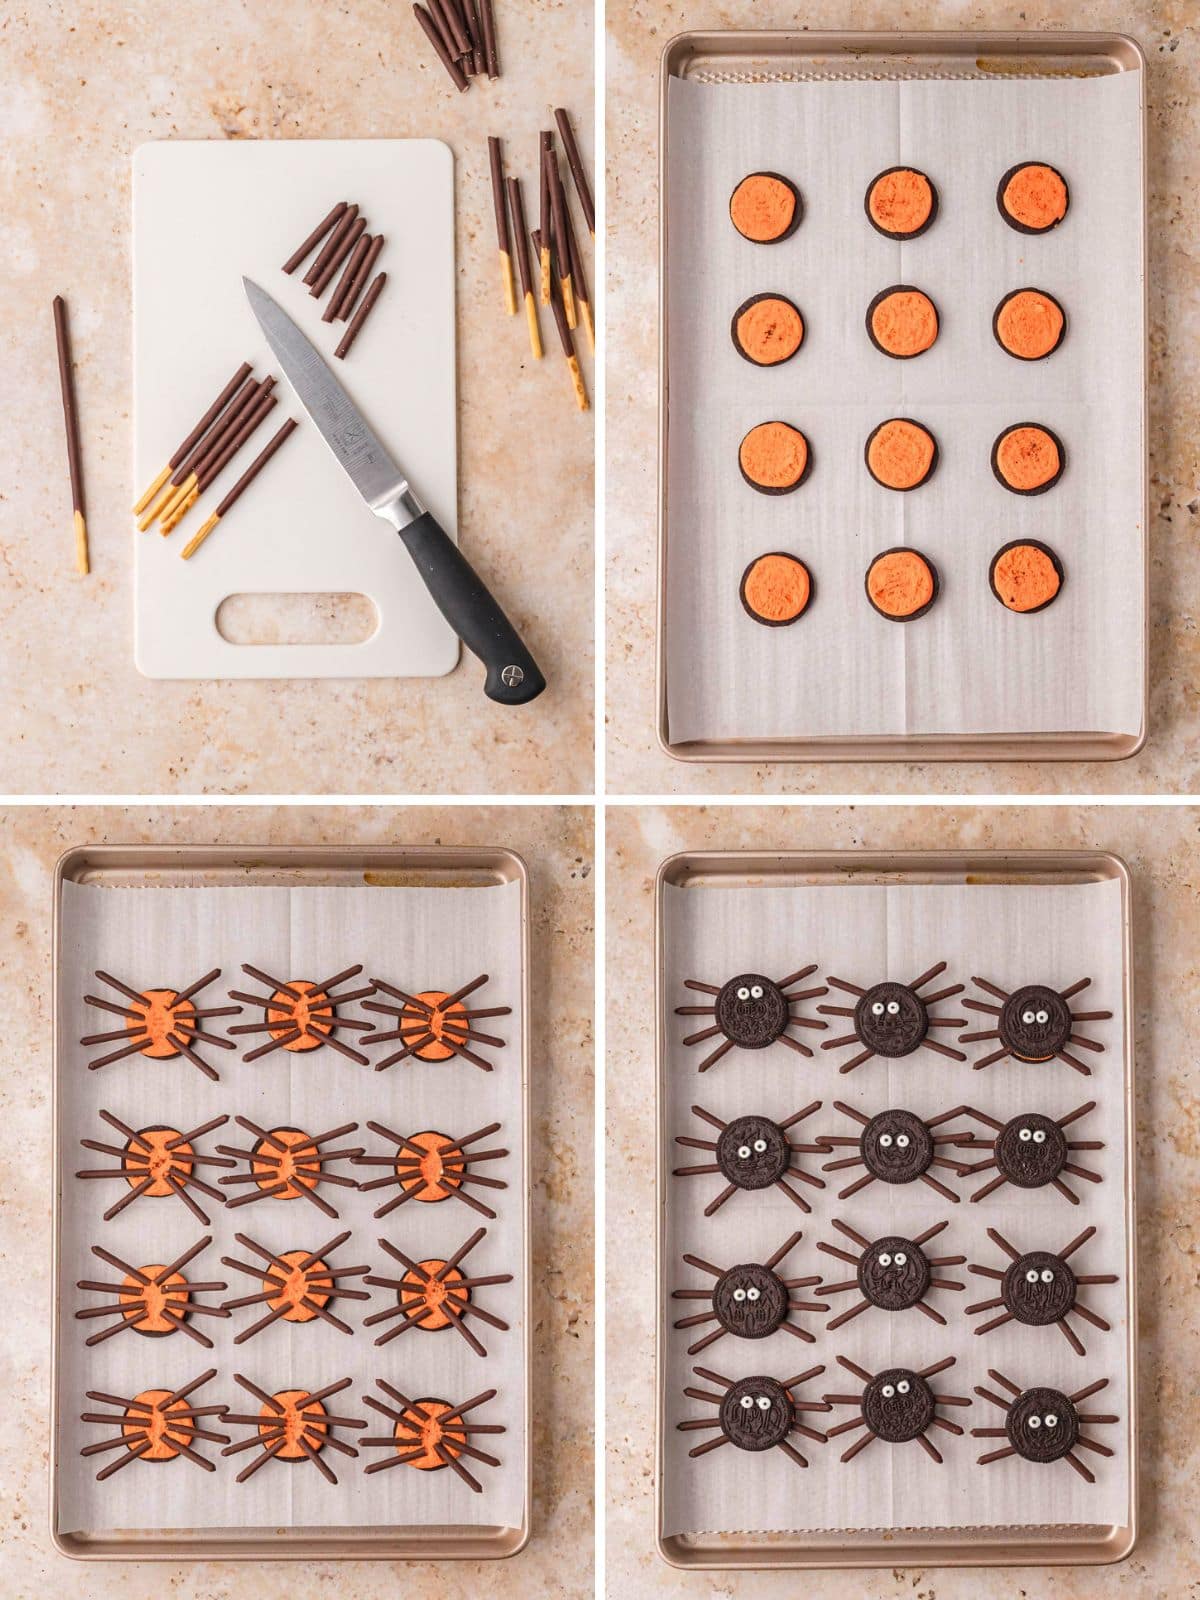
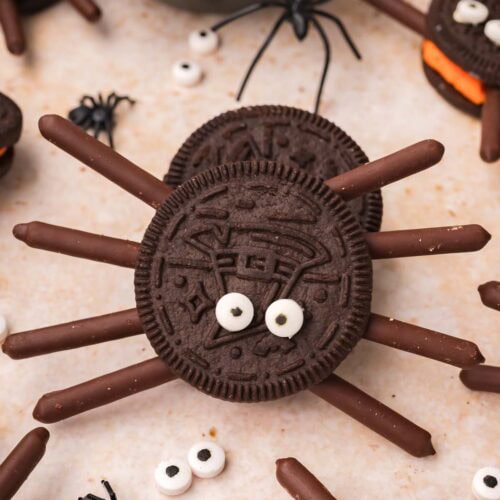
- Arrange four stick pieces along each side of the cream, pressing the ends in very lightly and angling them in slightly different directions so they look natural.
- Dab a little frosting in the centre of the cream, press the top cookie gently back on, then stick two candy eyes on with two tiny dots of frosting and leave them 15 minutes to set.
Variations
- Regular Oreos: The white cream does the same job and gives you a classic black and white spider. Worth knowing for the week before Halloween when the orange ones have sold out everywhere.
- Double Stuf for more grip: Twice the cream means more for the legs to push into. Handy if you are making these with small hands who press a bit harder than they should.
- Pretzel stick legs: If you cannot find Pocky or Mikado anywhere, thin pretzel sticks will do the job. They are thicker and salty, so the spiders look chunkier and taste different.
- Spider cupcakes: Sit a finished spider on top of a frosted cupcake. That is exactly what I do for the Halloween version of my Oreo Cupcakes.
- Bigger eyes: Swap the small candy eyeballs for the large ones and the whole thing goes from creepy to daft. Kids tend to prefer the daft version.

Serving Suggestions
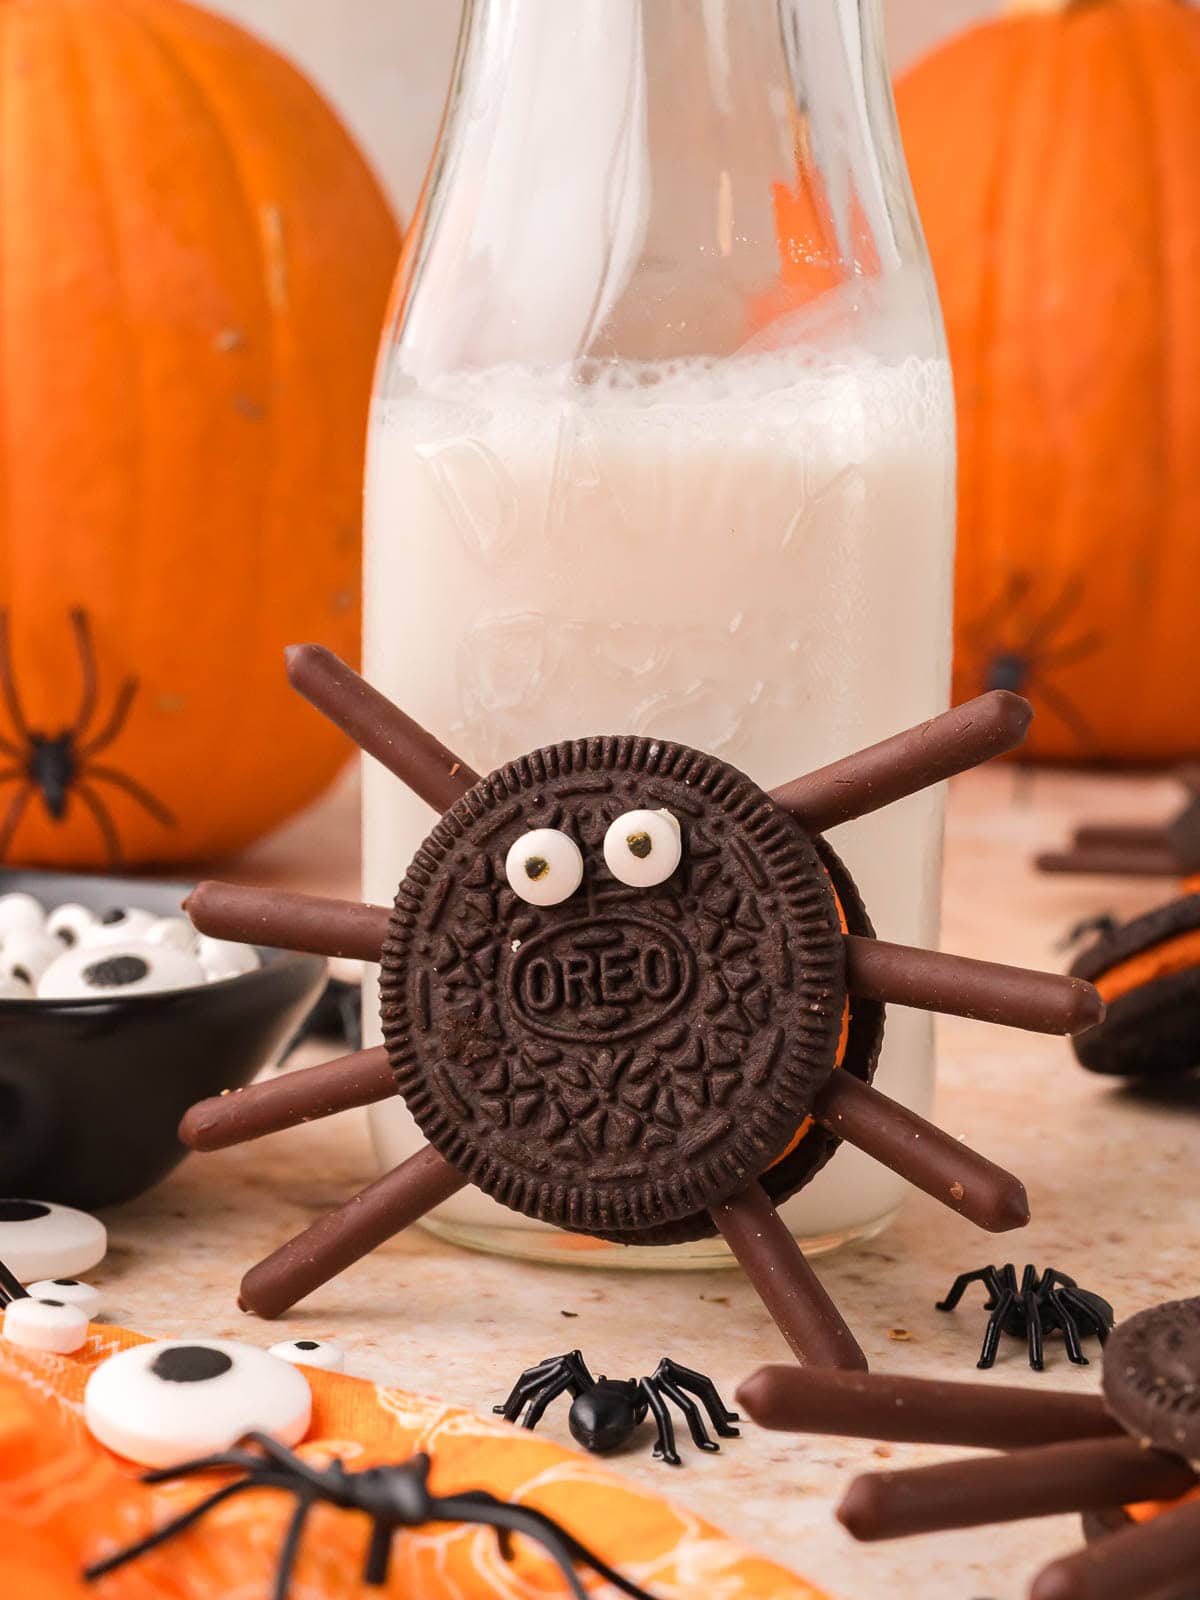
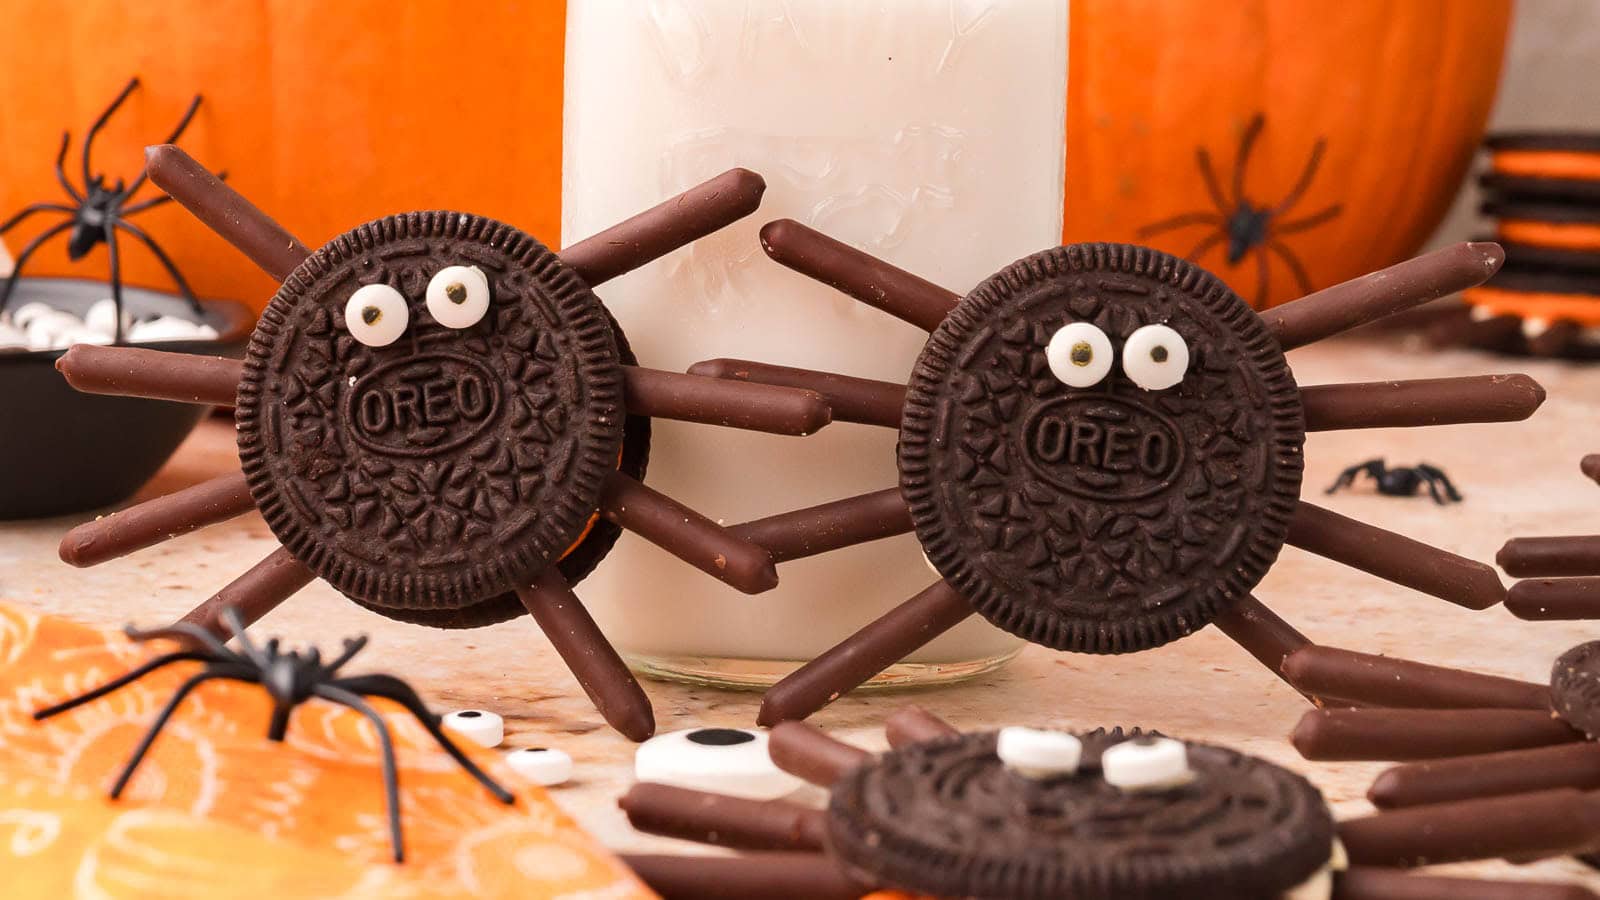
- Stand them up against a glass of milk: The legs hold them upright, which looks far better on a table than a flat cookie lying down. It also photographs well if you are putting them on social.
- Put one on a cupcake: A spider on top of a frosted cupcake turns two easy things into one that looks like real effort. My Oreo Cupcakes are what I use underneath.
- Build a spider tray: Serve them alongside my Pretzel Spider Webs so the webs and the spiders sit together.
- Bag them for class treats: One spider per small clear bag keeps the legs from knocking against each other on the way to school.
- Add them to a Halloween spread: They sit happily next to everything in my 10 Easy Halloween Treats roundup.
Storage and Freezing
- How should I store Oreo Spider Cookies?
I would not bother. There is nothing here that benefits from freezing and the legs are the part most likely to snap off while they are handled. These are quick enough that making them fresh is easier than storing them. - Can I make Oreo Spider Cookies ahead of time?
Yes. Assemble them the day before and leave them in a single layer with the lid on. You can also cut all the leg pieces and separate the Oreos in advance, then do the assembly itself closer to the time. - Can I freeze them?
I would not bother. There is nothing here that benefits from freezing and the legs are the part most likely to snap off while they are handled. These are quick enough that making them fresh is easier than storing them.
Don’t forget to pin this for later!

Tips & Tricks
- Twist slowly, do not pull: A slow twist keeps the cream on one half in one piece. Pulling the two halves straight apart splits the cream between both and leaves you nothing to push the legs into.
- Cut the sticks, do not snap them: A knife on a board gives you clean even pieces. Snapping them by hand shatters the chocolate coating and you end up with legs of eight different lengths.
- Press the top on gently: This is where people crack the cookie. You only need enough pressure to catch the frosting underneath, not enough to feel the cookie flex.
- Angle the legs: Set them at slightly different angles rather than lining them up straight. A perfectly symmetrical spider looks like a diagram, an uneven one looks alive.
- Work on a lined tray: Assemble them where they are going to sit, because a finished spider is awkward to pick up without grabbing a leg. Then the whole tray goes into the fridge or onto the table.
Recommended
More Halloween Treat Ideas
Looking for more meal inspiration?
If you are trying to get dinners sorted so you have time for the fun stuff, my Monthly Meal Plans lay out a full month of easy dinners you can shop for in one go.
Oreo Spider Cookies FAQ
Oreo Spider Cookies
Equipment
- Butter knife or small offset spatula
- Toothpick or small piping bag for applying the frosting
- Parchment-lined tray
Ingredients
- 12 Oreo cookies
- 32 thin chocolate-covered biscuit sticks such as Pocky or Mikado
- ¼ cup frosting
- 24 candy eyeballs
Instructions
- Gently twist each Oreo apart, keeping as much of the cream filling as possible on one cookie half.
- Break or cut the chocolate biscuit sticks into approximately 1½-inch pieces. You will need eight pieces for each spider.
- Arrange four chocolate-stick pieces along each side of the Oreo cream, pressing the ends very lightly into the filling. Angle the legs in slightly different directions so they look natural.
- Place a small dab of frosting in the center of the cream filling. Replace the top Oreo and press it down very gently to secure the legs. Avoid pressing firmly enough to crack the cookie.
- Add two tiny dots of chocolate frosting to the top of each Oreo. Press a candy eyeball onto each dot.
- Allow the frosting to set for approximately 15 minutes before serving or moving the cookies.