Monster Treats
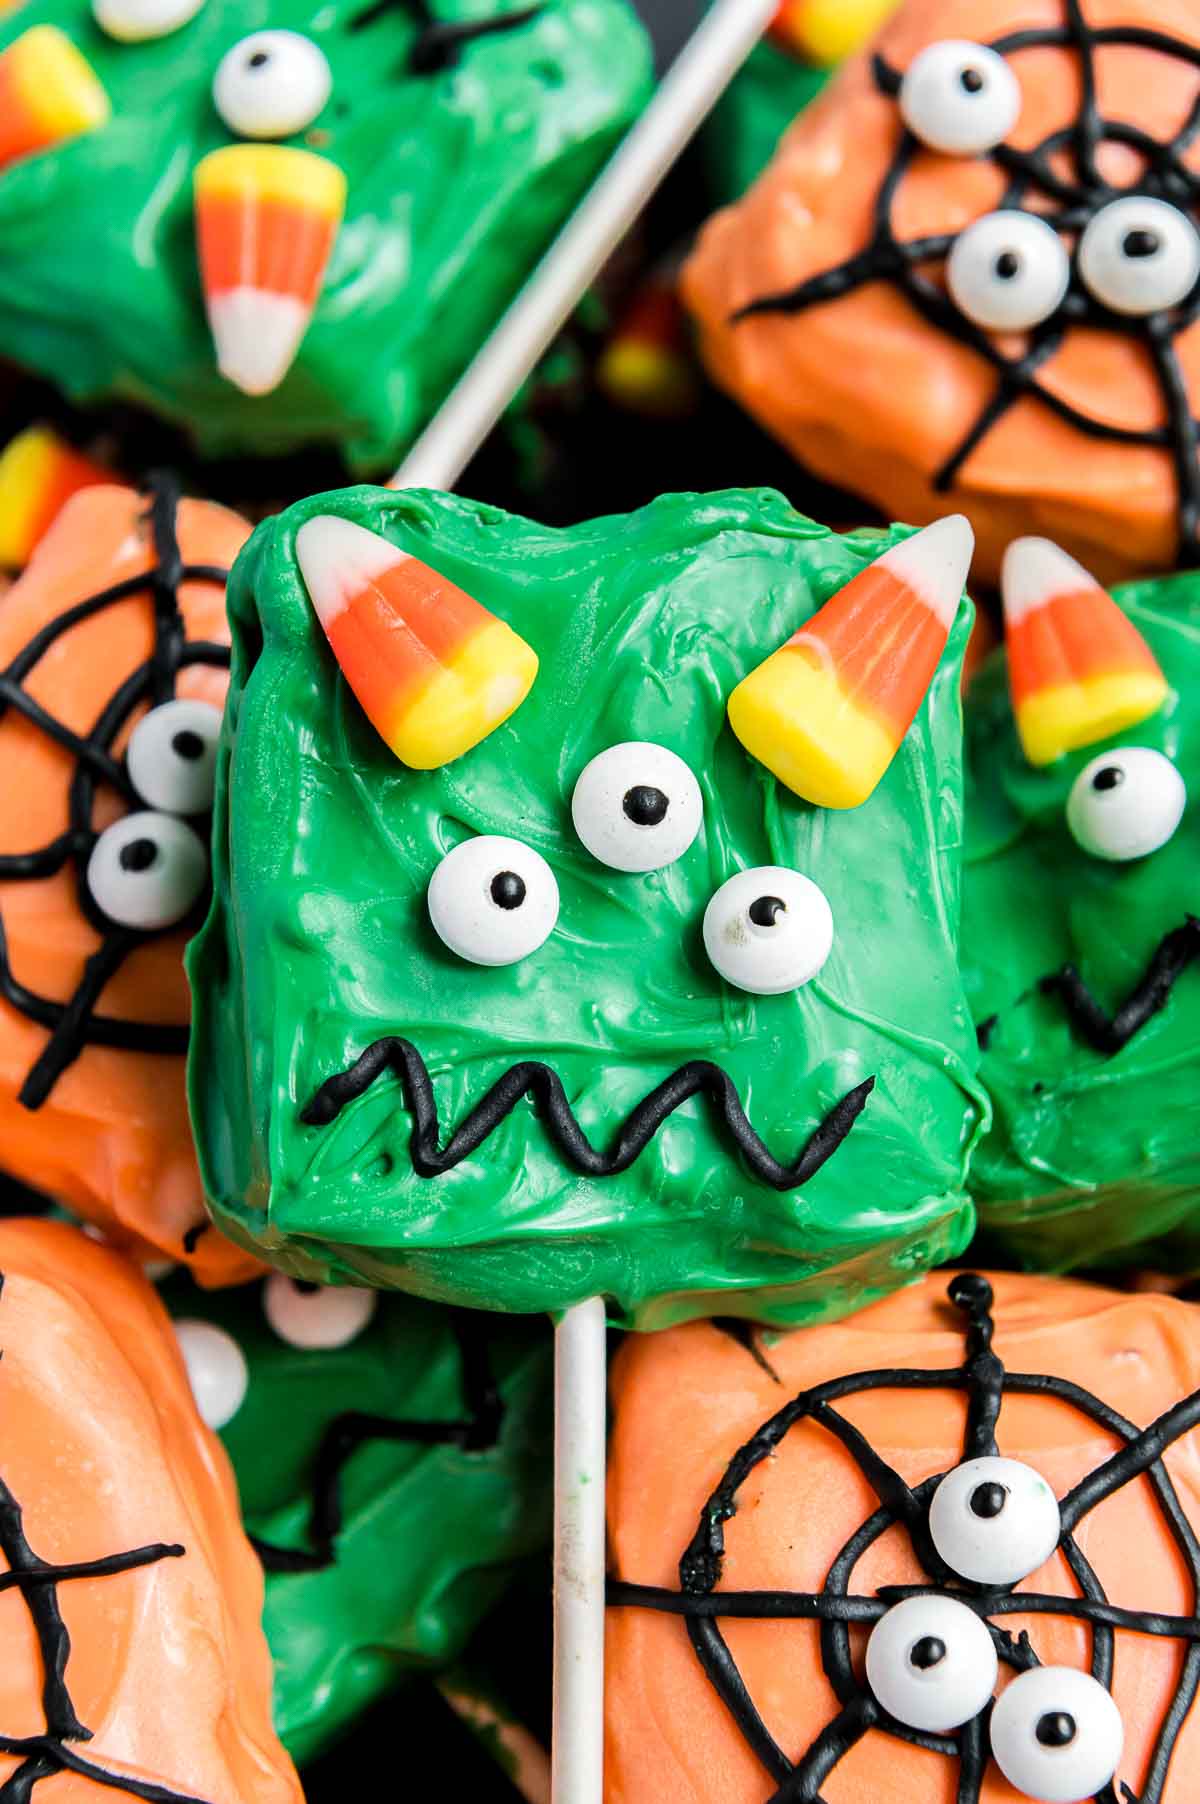
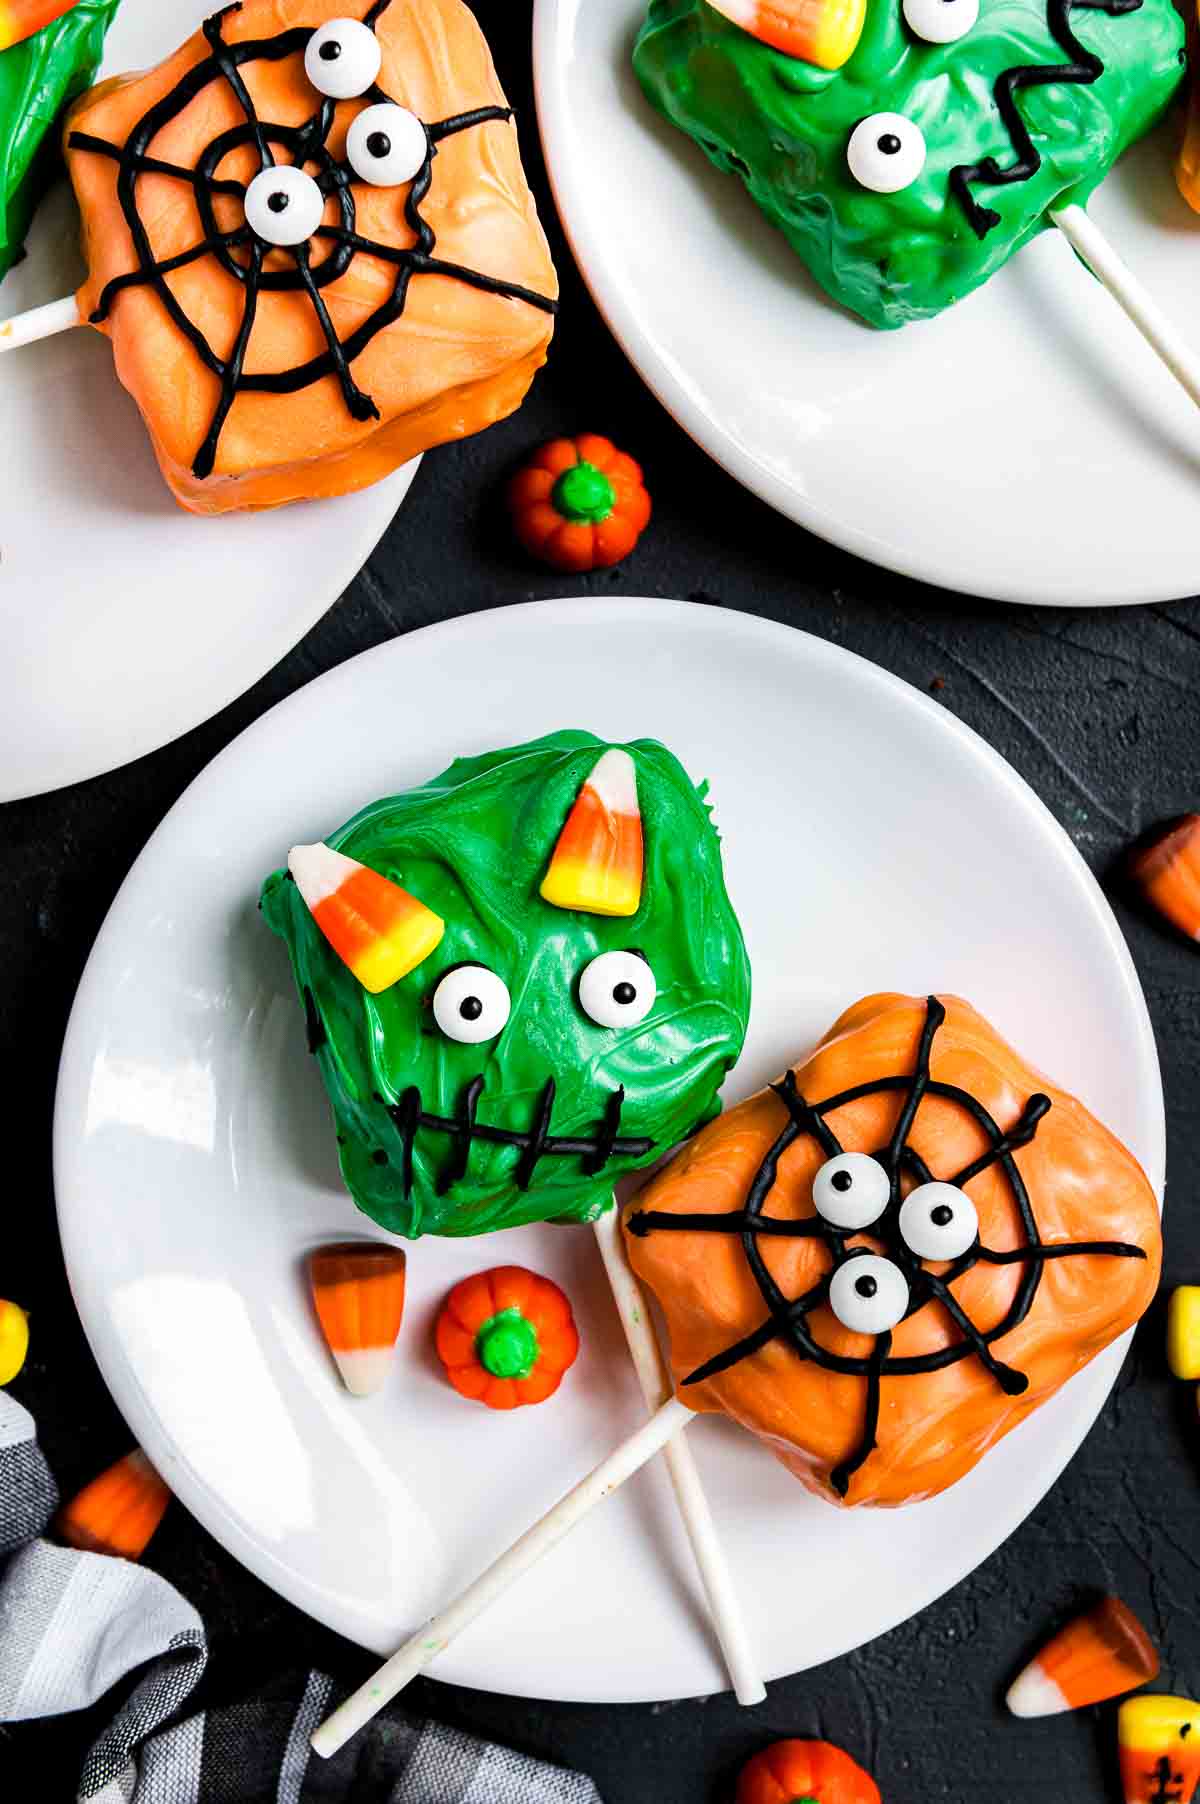
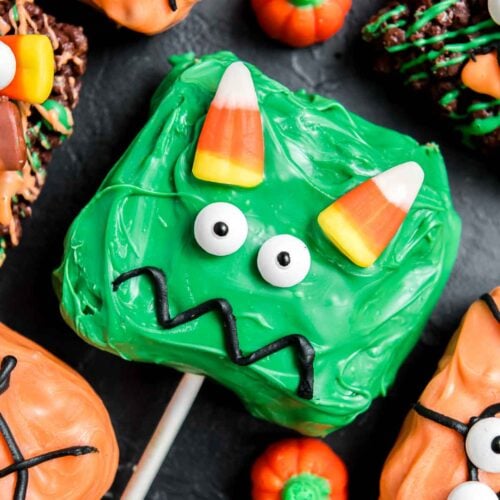
These fun and easy-to-make Monster treats are perfect for Halloween or any occasion where you want to add a bit of playful creativity to your dessert table. With gooey chocolate, crunchy cereal, and whimsical decorations, they’re sure to be a hit with kids and adults alike!
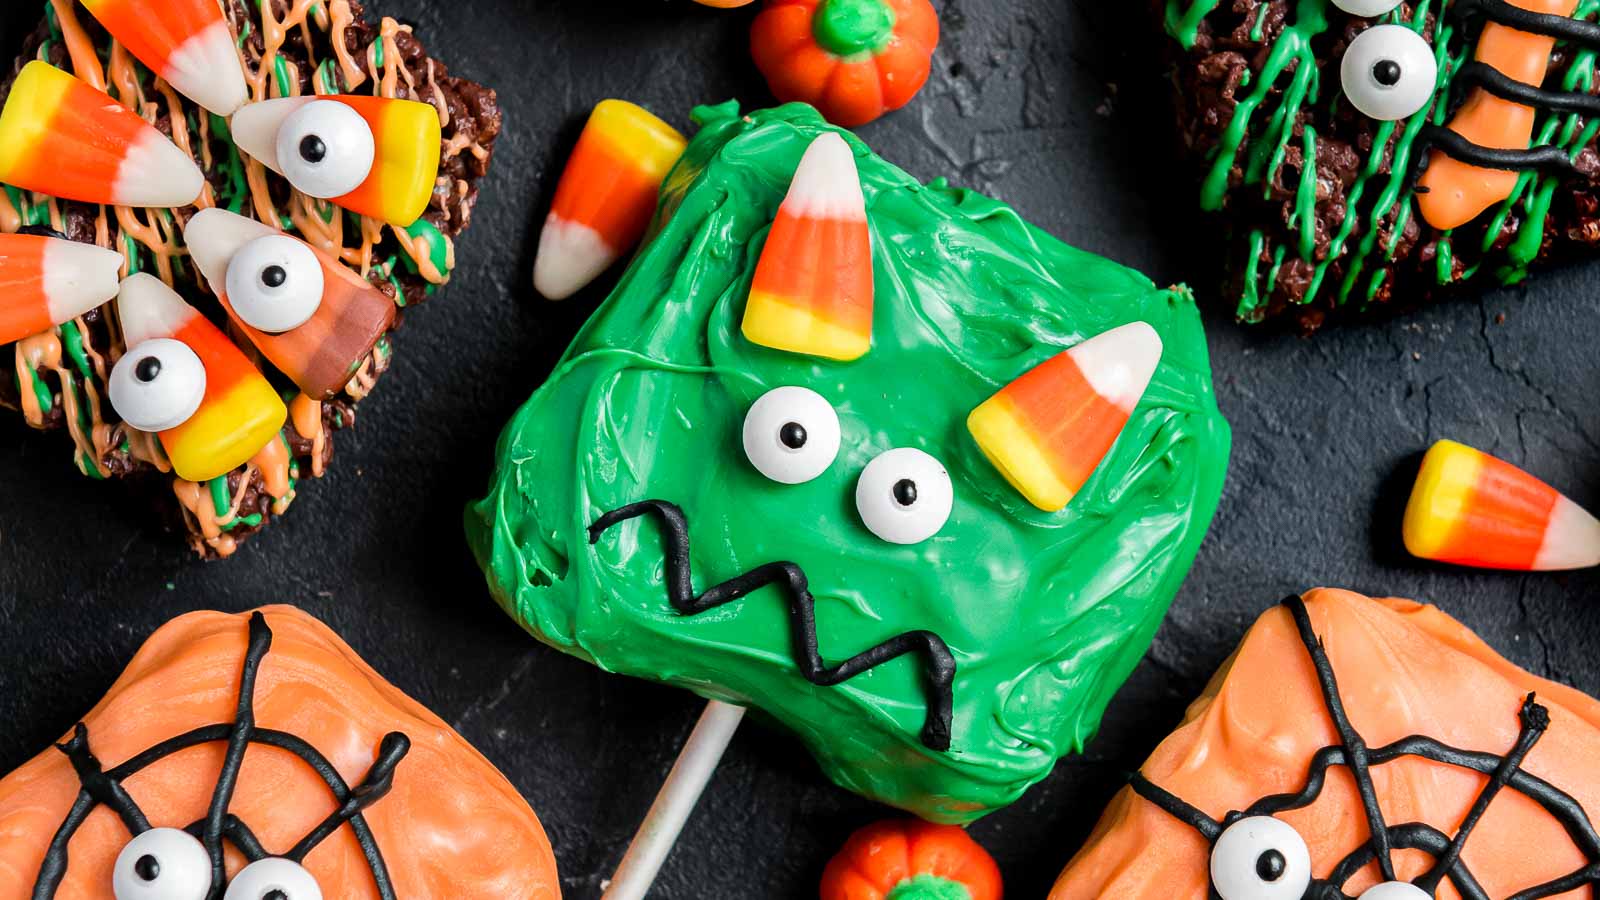
These Monster Treats are versatile and adorable. They’re perfect for a Halloween party, a fun activity with the kids, or just a playful snack to enjoy. Easy to customize with different colors and decorations, these treats fit any themed event and bring a little extra fun to your dessert lineup.
Why you’ll love these Monster Treats
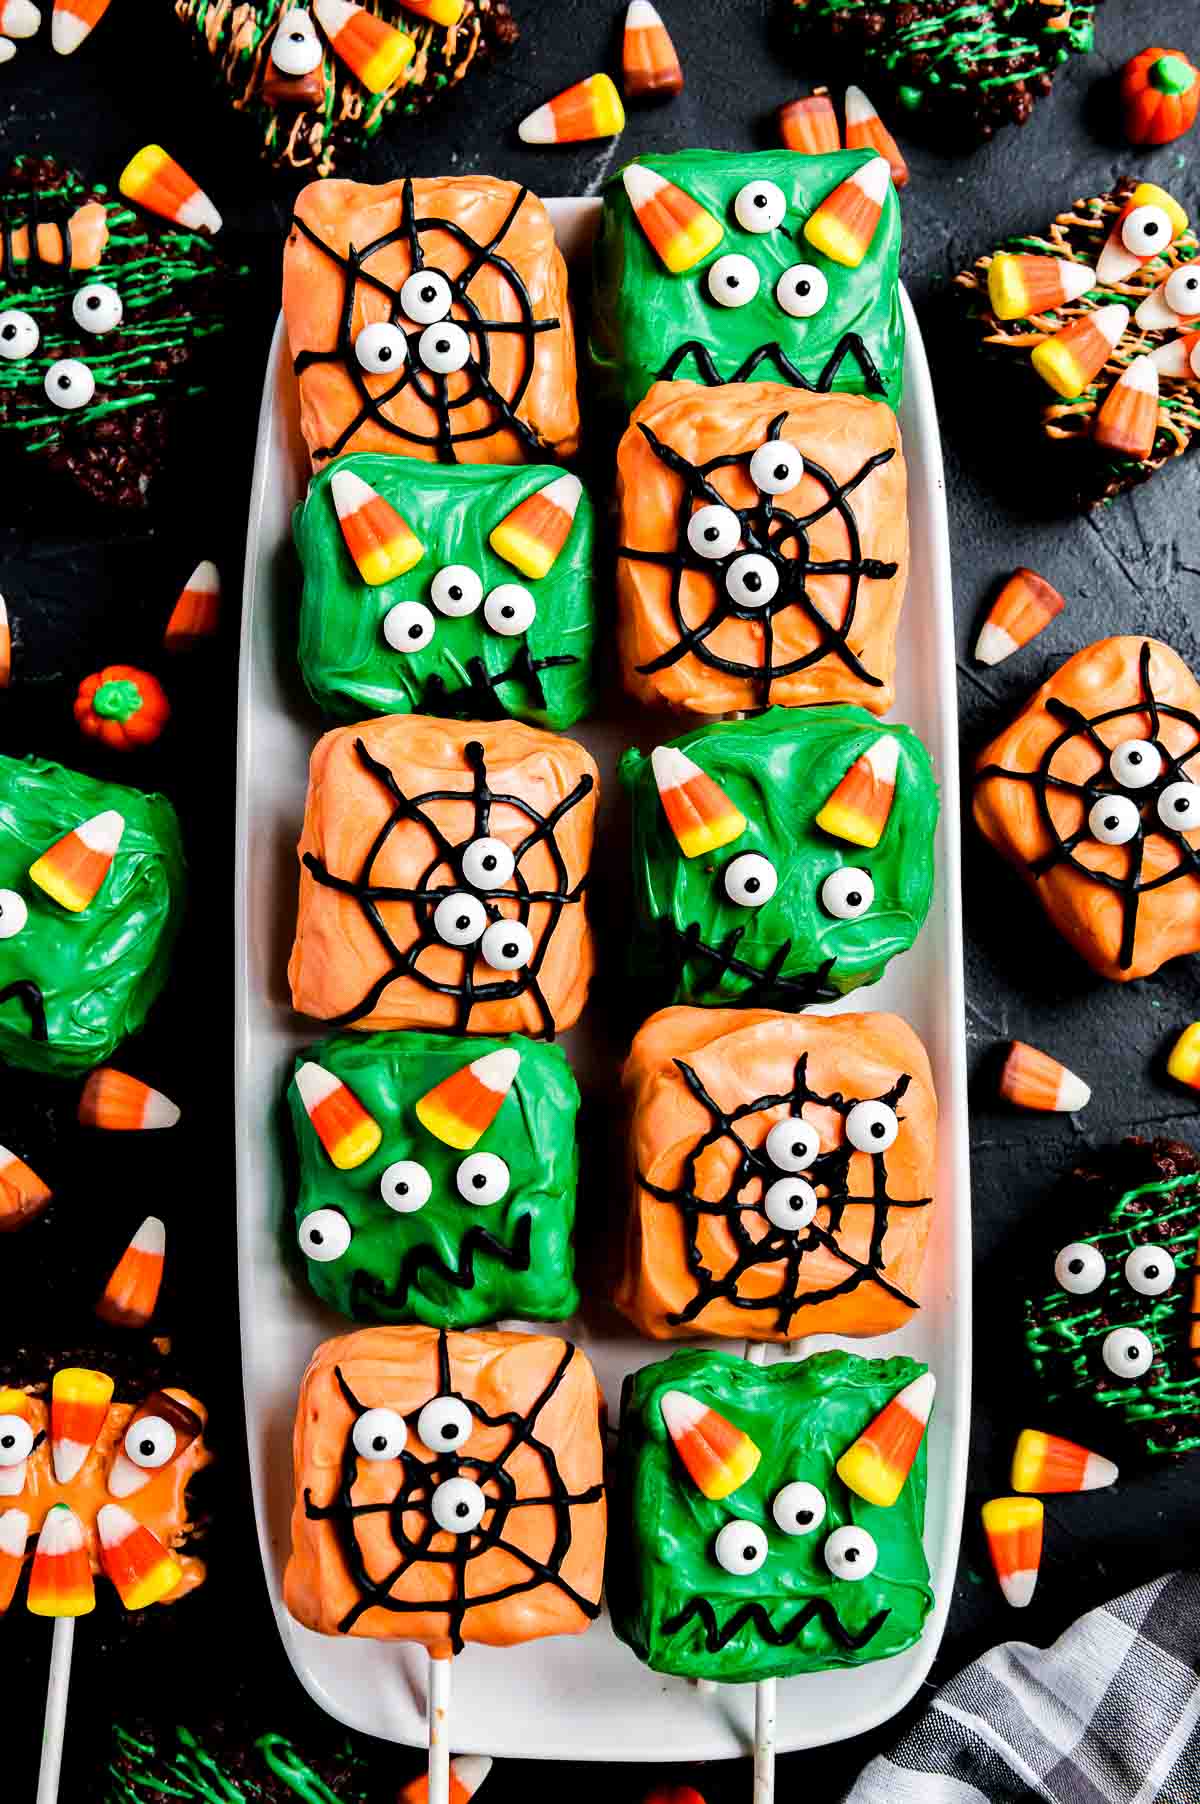
Halloween Traditions
I’ve always loved Halloween, especially as a kid. Planning my costume for months was only half the fun; the real excitement was in the candy haul. I thought, why not bring that same joy to a homemade treat that’s both fun and easy to make? The combination of chocolatey goodness and crunchy cereal is so comforting, and the playful decorations bring out the kid in everyone. These Monster Treats are my way of combining that nostalgic Halloween spirit with a little kitchen creativity.
Ingredients Needed for Monster Treats
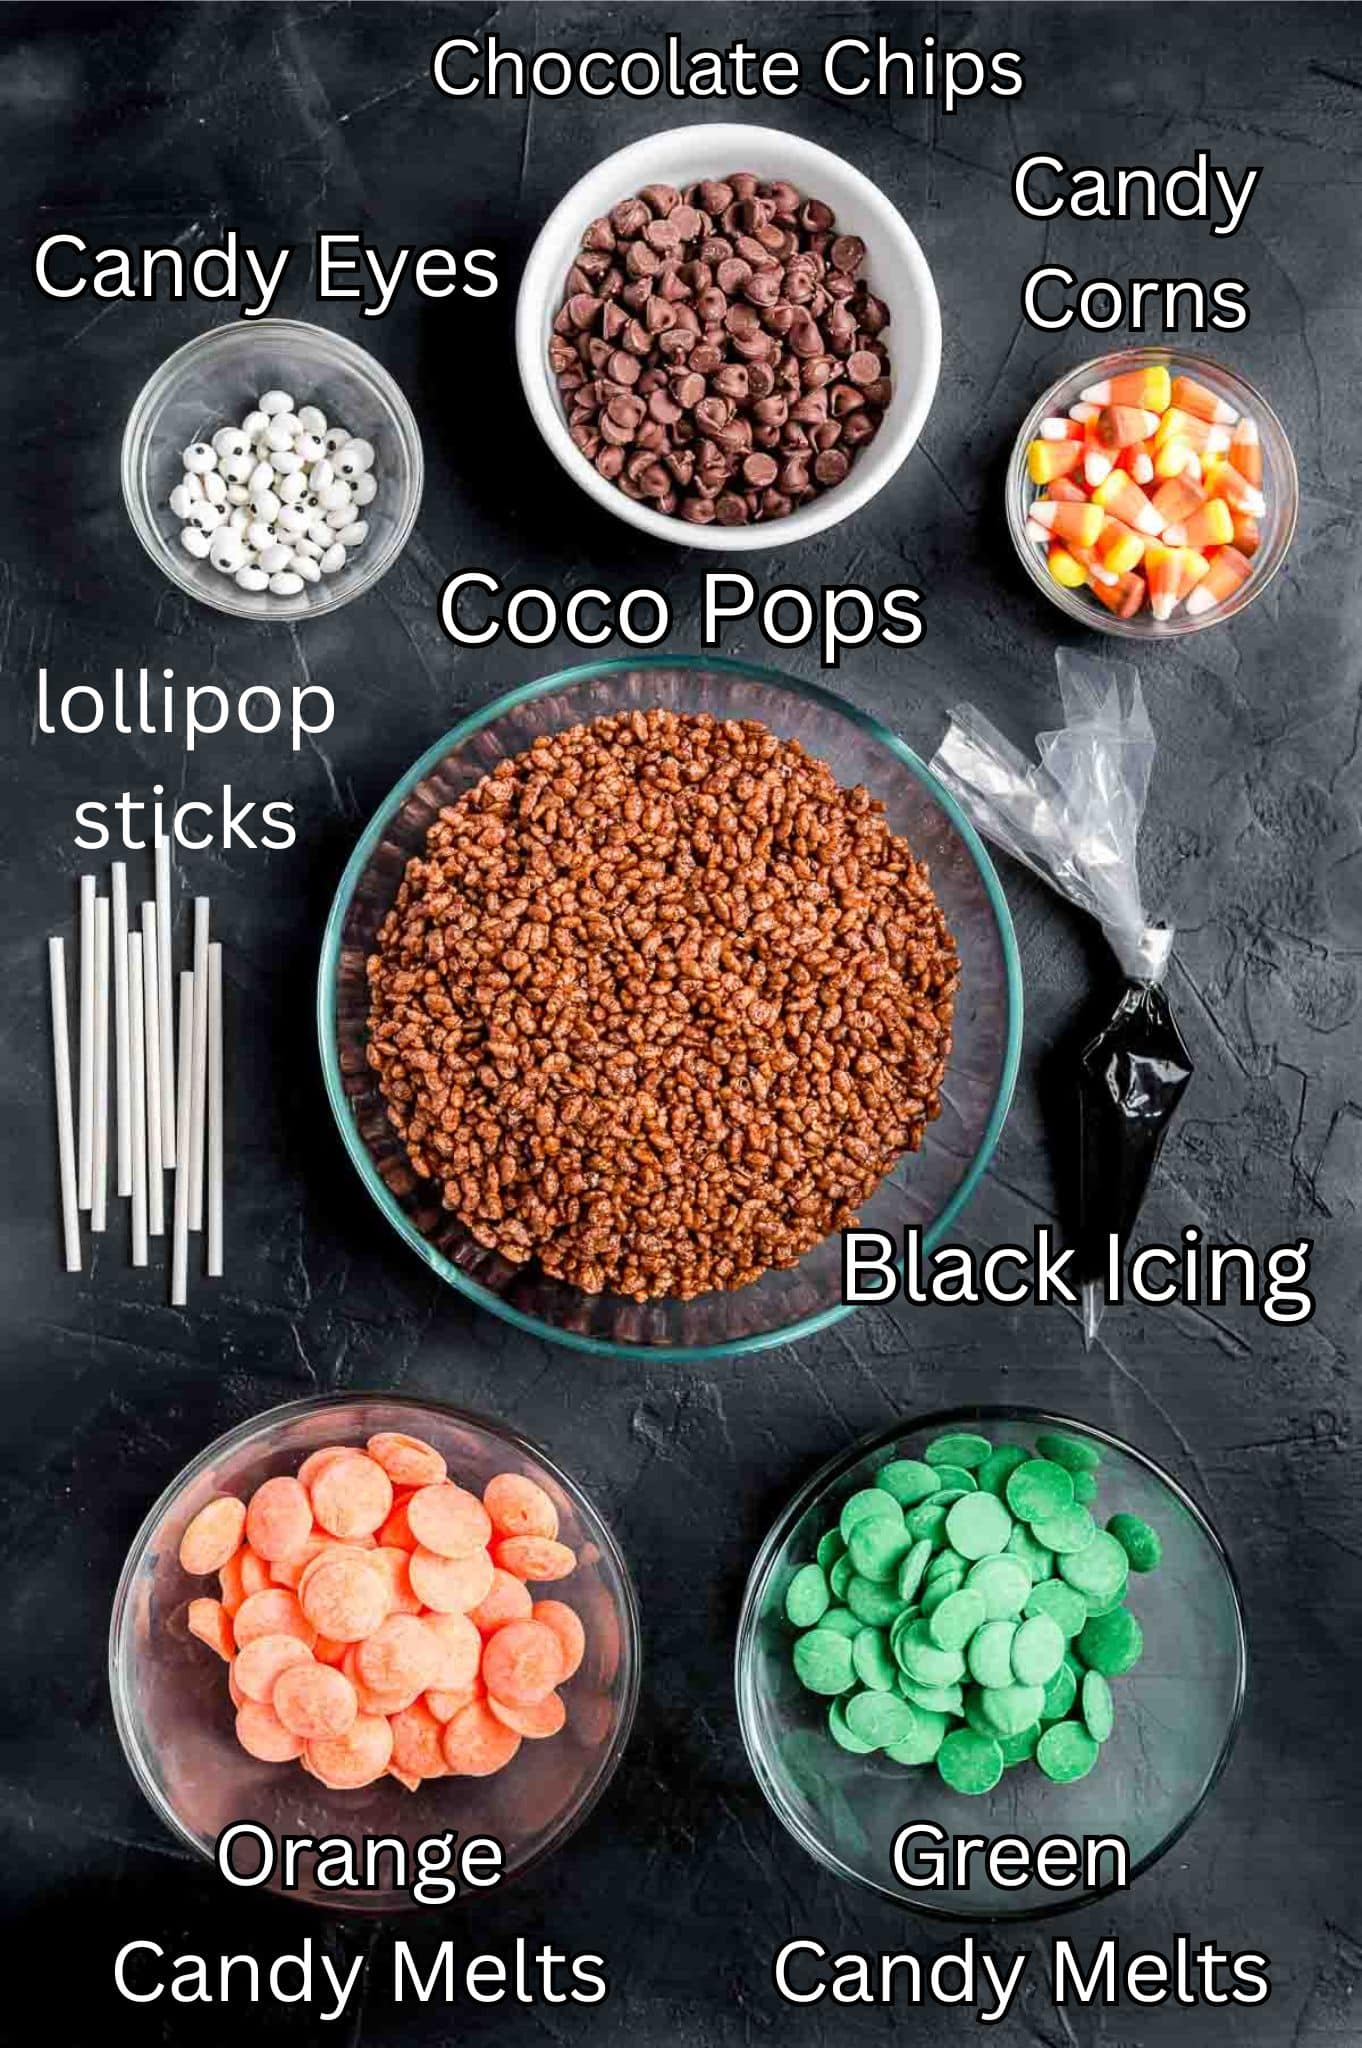
- Coco Pops (or Rice Krispies): This cereal is the base of our treats, providing that crunchy texture that kids and adults love. If you prefer, you can substitute with Rice Krispies for a slightly milder flavor.
- Chocolate Chips: Melted chocolate chips bind the cereal together and add that rich, chocolatey flavor. You can use either milk or dark chocolate, depending on your preference.
- Green and Orange Chocolate Melts: These vibrant candy melts are what give our monsters their spooky colors. You can find these at most grocery stores or craft shops, especially around Halloween.
- Lollipop Sticks: These are essential for turning your squares into easy-to-hold treats. You can find them in the baking section of most stores.
- Candy Eyes: No monster would be complete without a pair of googly eyes! These add a fun and slightly creepy touch to your treats.
- Candy Corns: Classic Halloween candy that makes perfect fangs or horns for your monsters.
- Black Icing: Use this to add details like mouths, scars, or eyebrows. It’s the finishing touch that brings your monsters to life.
How to make Monster Treats
**For more detailed instructions, please refer to the printable recipe card below.**
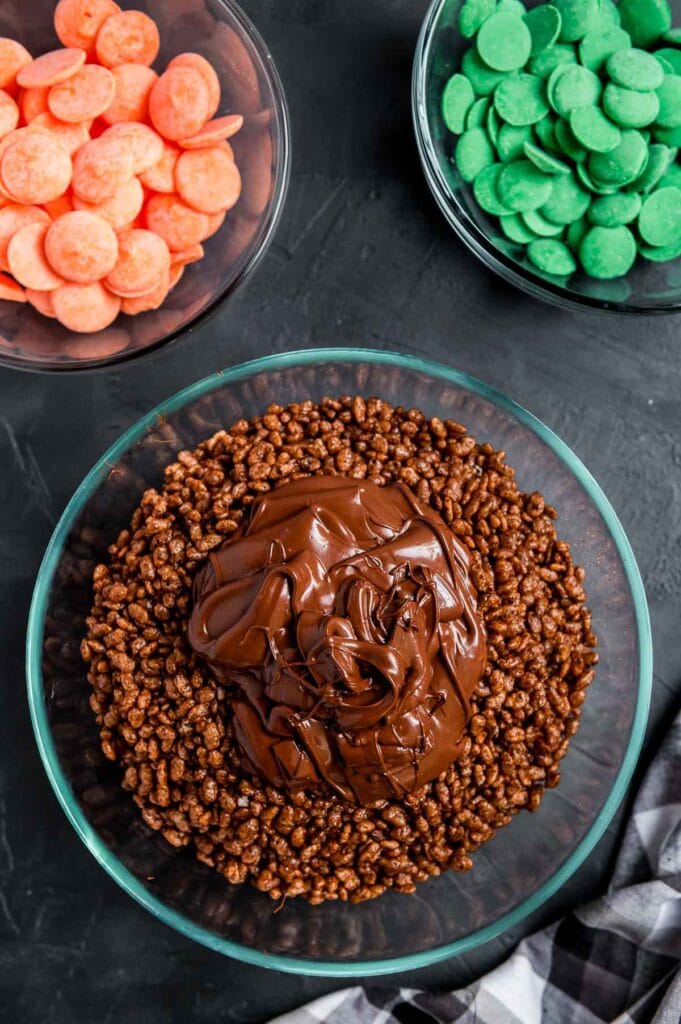
Melt chocolate chips in a microwave and pour it over the Coco Pops.
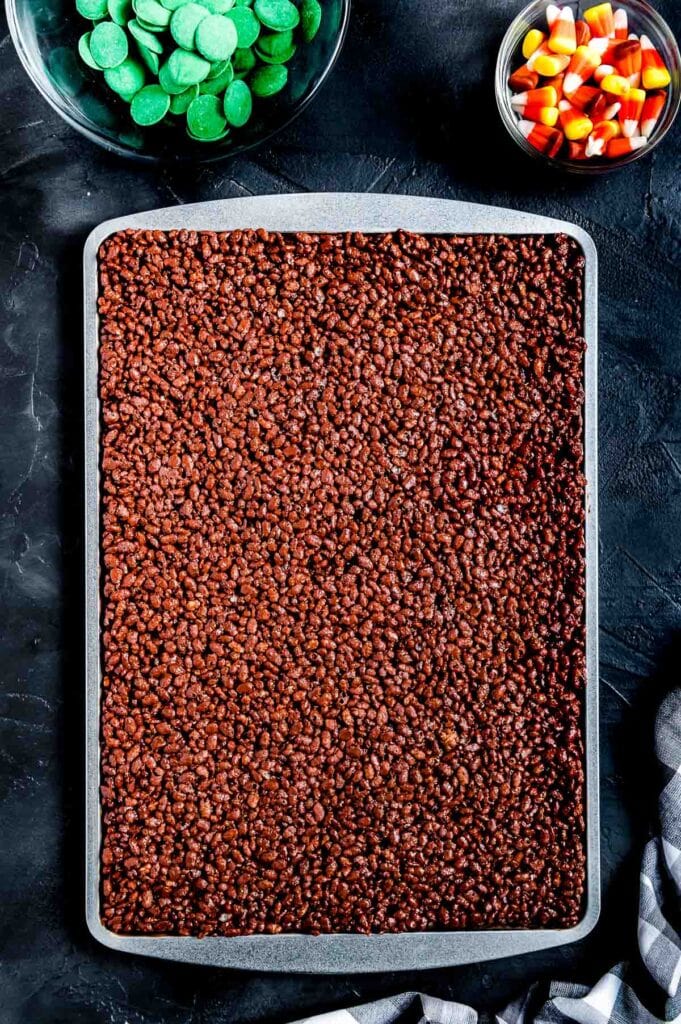
Spread the Coco Pops mixture evenly across a sheet pan and place in the refrigerator for 30 minutes.
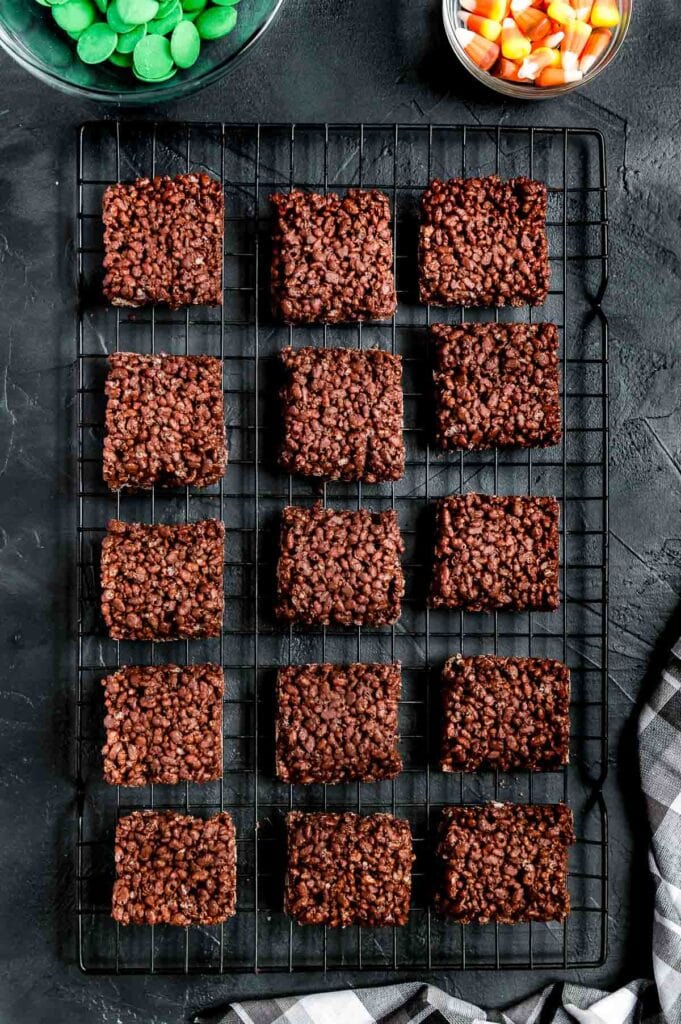
Cut the Coco Pop mixture into 15 even squares.
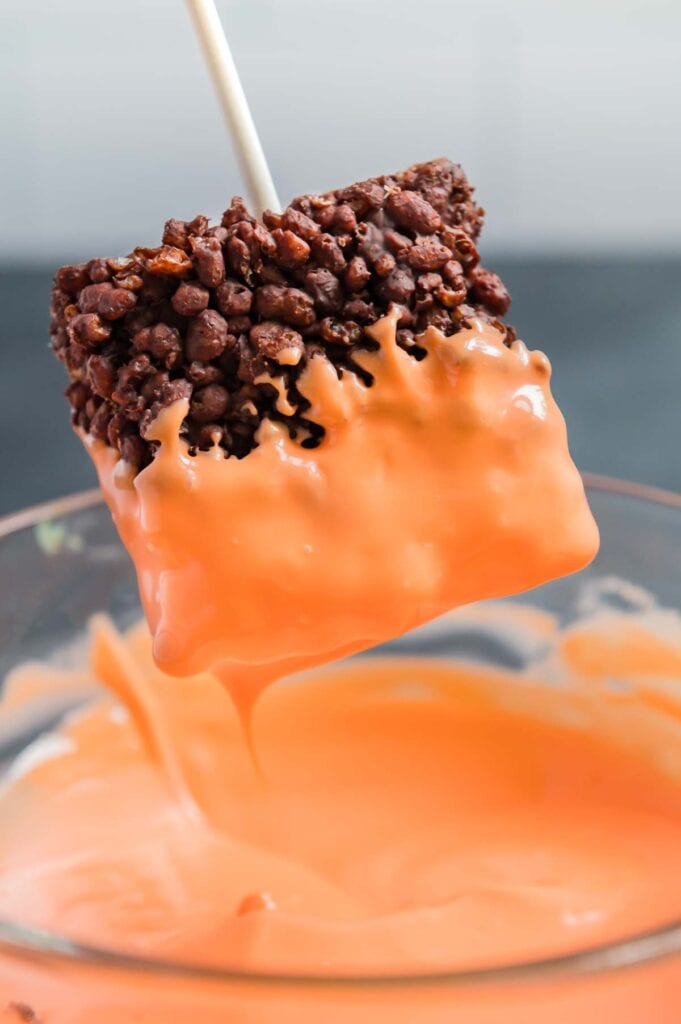
Melt the chocolate melts and dip each square into the melted chocolate,
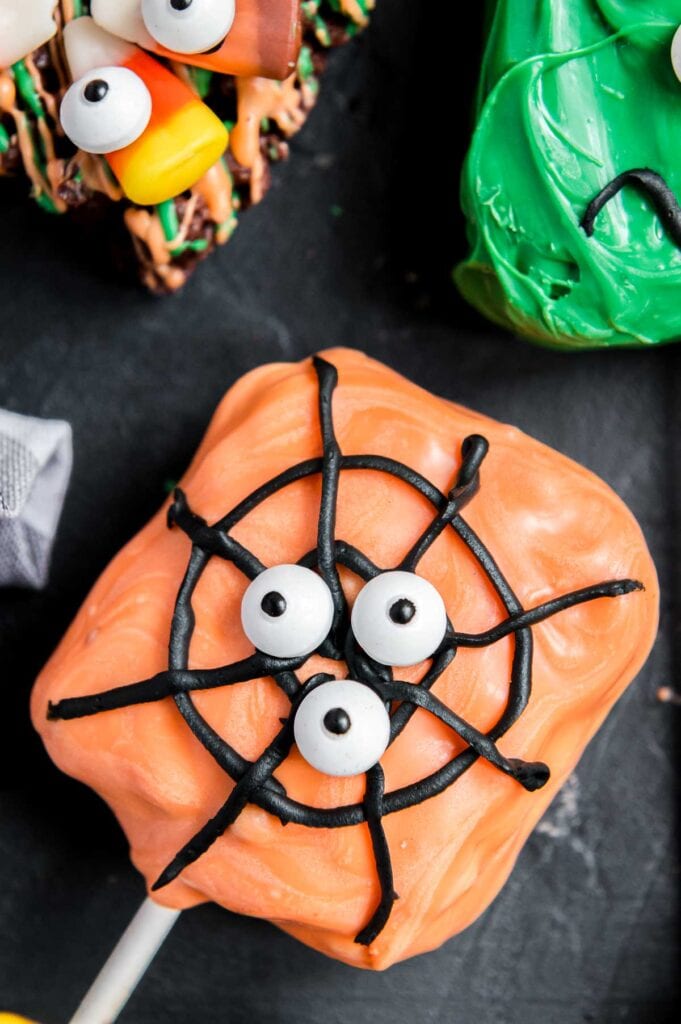
Decorate the treats with candy eyes, candy corn, and black icing to create monster faces and chill for 30 minutes.
Variations
- Different Colors: You can swap out the green and orange candy melts for any color that suits your theme. Blue, purple, or even red could make for some unique and eerie monsters.
- Flavored Melts: Try using flavored candy melts, like strawberry or mint, to add an extra layer of flavor to your treats. It’s a simple way to make each bite even more exciting.
- Add More Mix-Ins: Before pressing the cereal mixture into the pan, mix in some mini marshmallows, chopped nuts, or even small candy pieces for added texture and flavor.
- Different Cereals: Feel free to experiment with other cereals as the base. Fruity Pebbles, Cocoa Pebbles, or even Cheerios could be interesting alternatives to the classic Coco Pops.
- Monster Pops: Instead of squares, form the mixture into balls around the lollipop sticks to make monster pops. Dip them into the candy melts and decorate as usual.
Serving Suggestions
- Halloween Party: Serve these on a festive platter at your Halloween party. They’ll be a hit with both kids and adults, adding a fun, edible element to your spooky decor.
- Lunchbox Treat: Pop one of these into your kids’ lunchboxes for a sweet surprise. They’re a great way to add a bit of Halloween fun to their day.
- Gift Bags: Wrap each treat in a small plastic bag and tie with a festive ribbon. These make wonderful party favors or little gifts for friends and neighbors.
- Movie Night: Pair these with a Halloween-themed movie marathon. They’re the perfect snack to enjoy while watching your favorite spooky films.
- Classroom Treat: If you’re looking for a fun, non-candy treat for a classroom Halloween party, these Monster Treats are a great choice. They’re easy to make in bulk and are sure to be a hit.
Storage and Freezing
- How should I store Monster Treats?
Store these treats in an airtight container at room temperature. They’ll stay fresh and crispy for up to 3 days, making them perfect for making ahead of time. Just keep them in a cool, dry place, away from any heat sources.
- Can I freeze Monster Treats?
If you’d like to make these treats well in advance, they freeze beautifully. Wrap each treat individually in plastic wrap and place them in a freezer-safe bag or container. They’ll keep for up to 2 months. When you’re ready to enjoy them, let them thaw at room temperature for about 30 minutes, and they’ll be as delicious as the day you made them.
Don’t forget to pin this for later!

Tips & Tricks
- Melt Chocolate Carefully: When melting chocolate, be sure to do it in short intervals and stir frequently to avoid burning. Overheated chocolate can seize up and become grainy, so patience is key.
- Press Firmly for Even Squares: When spreading the cereal mixture into the sheet pan, press it down firmly to ensure it sets evenly. This will make cutting into squares much easier and cleaner.
- Use a Hot Knife for Cutting: To get clean, even squares, run your knife under hot water, dry it off, and then cut through the chilled mixture. This will help the knife glide through without sticking.
- Decorate Quickly: After dipping the squares into the candy melts, decorate immediately while the coating is still wet. This ensures that the candy eyes, corns, and other decorations stick well.
- Customize with Toppings: Don’t be afraid to get creative with your toppings! You can use colored sprinkles, edible glitter, or even small candy pieces to give your monsters even more personality.
Recommended
More Yummy Sweet Treats
FAQ
Monster Treats
Equipment
- Measuring cups
- Microwave-safe bowls
- Spatula
- Sheet pan
Ingredients
- 8 cups Coco Pops or Rice Krispies
- 2 cups chocolate chips milk or dark
- 1 cup green chocolate melts
- 1 cup orange chocolate melts
- 15 lollipop sticks
- 30 Candy eyes
- 1 cup Candy corn
- Black icing
Instructions
- Melt chocolate chips in a microwave-safe bowl in 20-second intervals, stirring between each, until smooth.
- Pour the melted chocolate over the Coco Pops in a large mixing bowl and stir until evenly coated.
- Line a sheet pan with parchment paper and spread the Coco Pops mixture evenly across the pan, pressing down to create a compact layer.
- Place the pan in the refrigerator for 30 minutes to chill and set.
- Remove the chilled Coco Pops mixture from the fridge and cut it into 15 even squares using a sharp knife.
- Melt the green and orange chocolate melts in separate bowls according to the package instructions.
- Gently insert a lollipop stick into each square.
- Dip each square into the melted chocolate, making some green and some orange, and place the dipped squares on a sheet of parchment paper.
- While the candy melts are still soft, decorate the treats with candy eyes, candy corns, and black icing to create monster faces.
- Allow the treats to set at room temperature or in the fridge for 30 minutes or until the candy coating hardens.
- Once set, your Monster Treats are ready to be served!



These are fun, simple and delicious