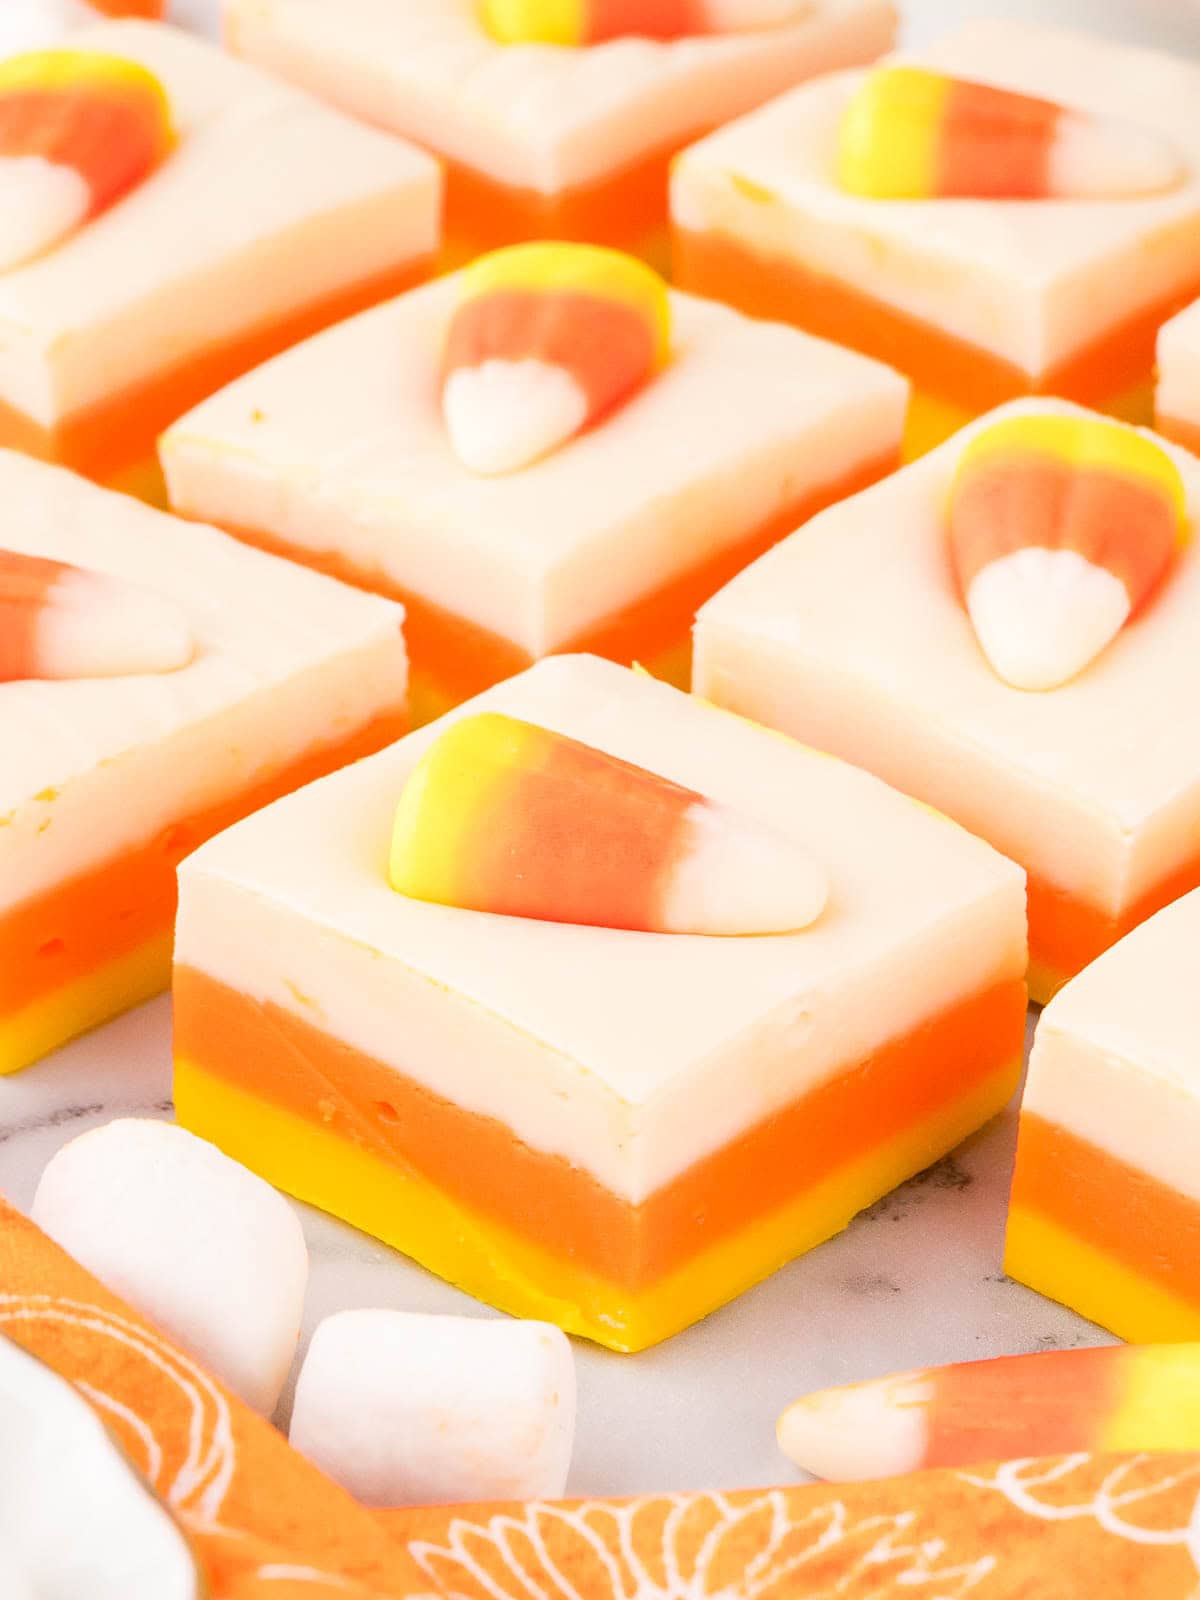
Candy Corn Fudge
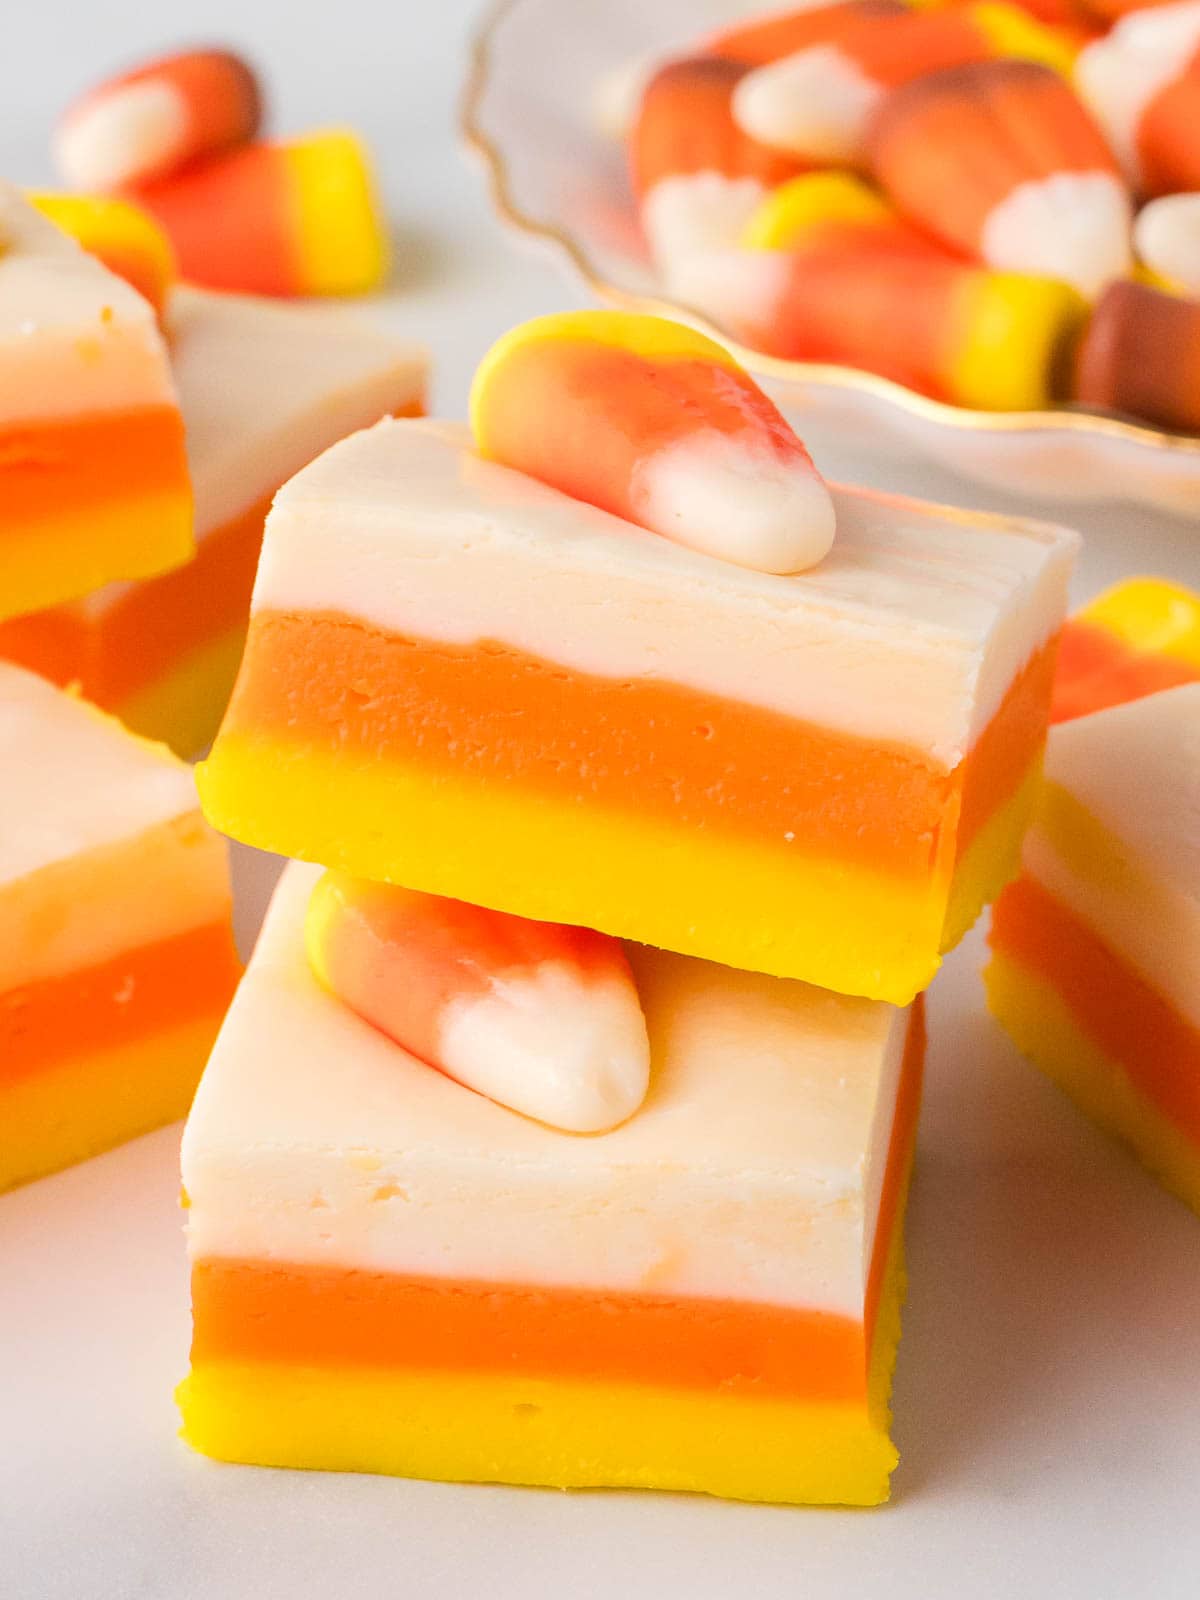
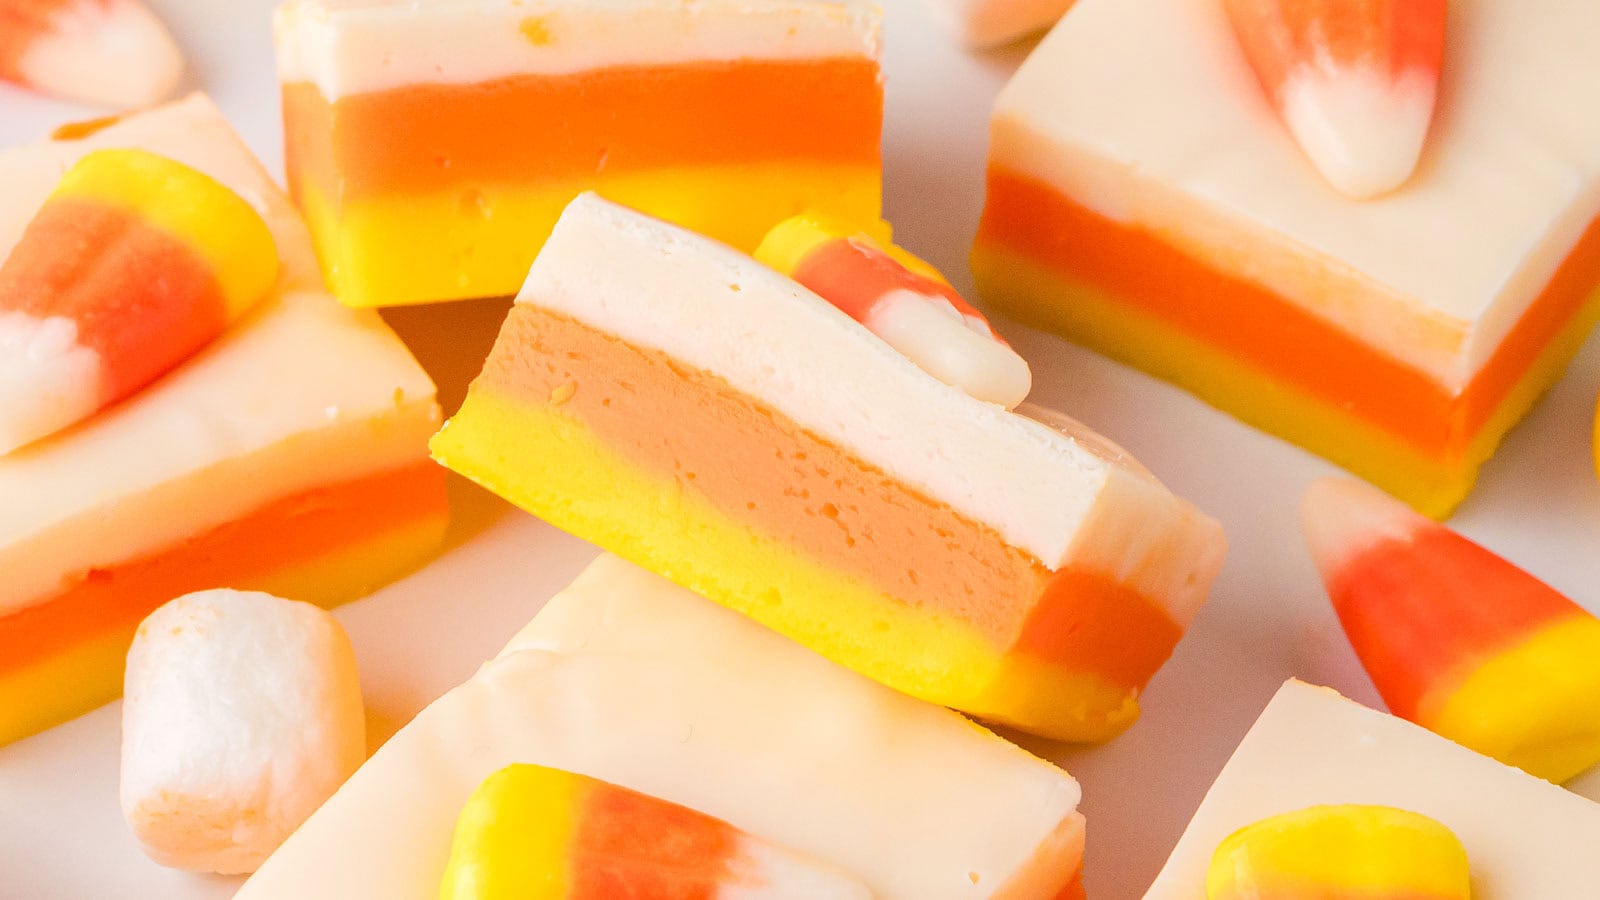
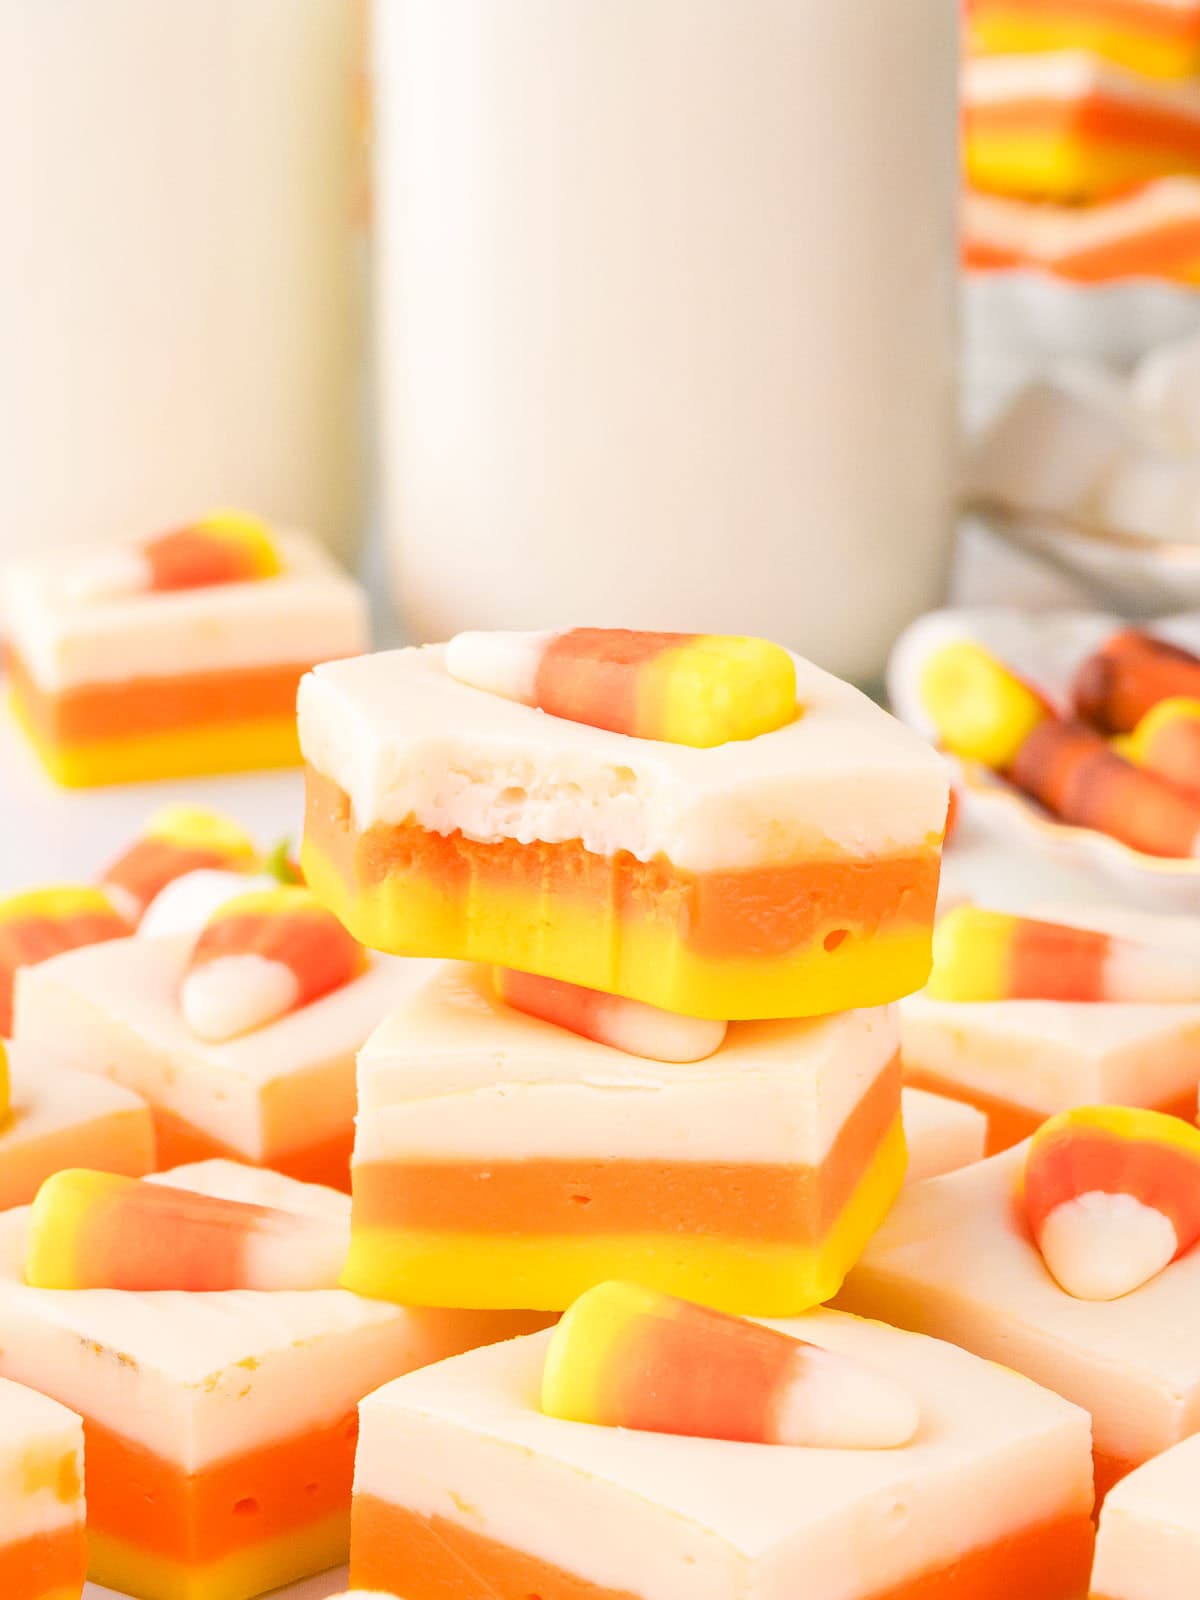
Candy Corn Fudge is the kind of treat that’s made for Halloween parties, trick-or-treat trays, or just a night in watching spooky movies. With layers of white chocolate fudge in the signature yellow, orange, and white of classic candy corn, it’s a fun and festive recipe that’s simple to make and hard to stop snacking on.
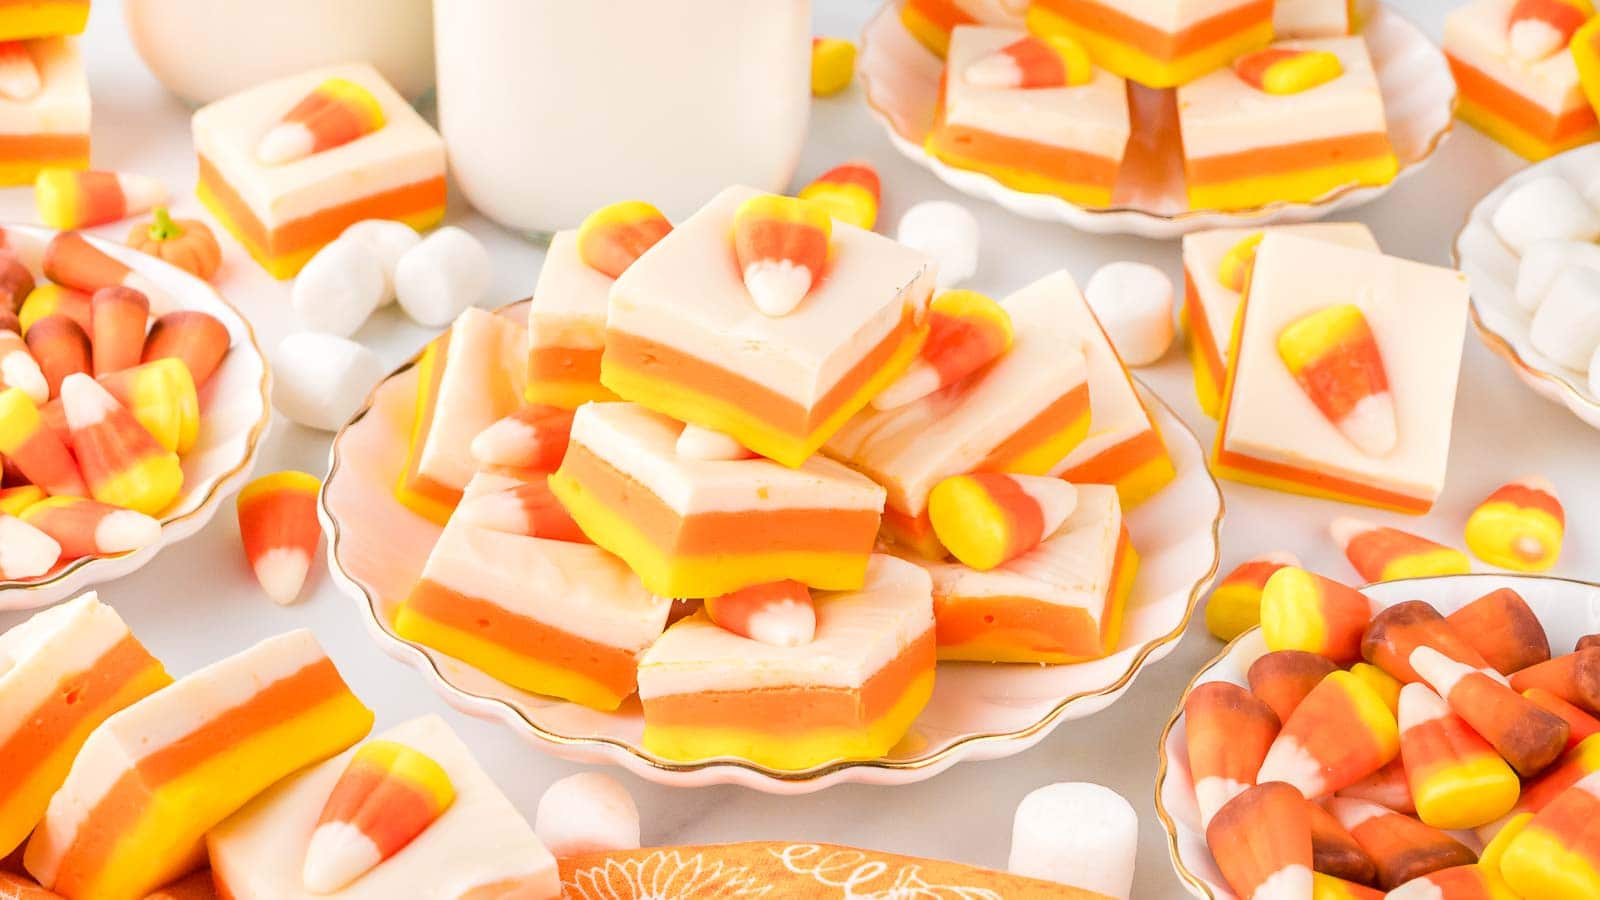
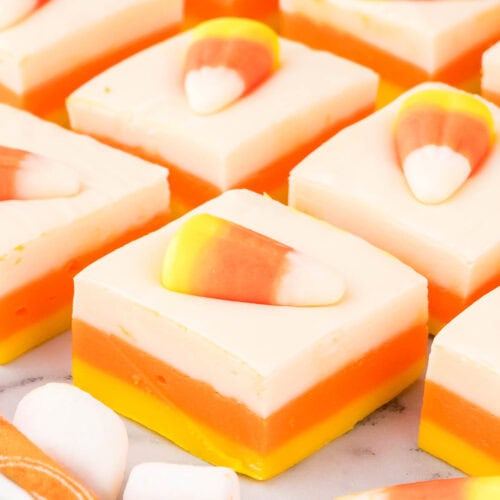
This Halloween fudge recipe uses only a few ingredients and a microwave, making it a great option for beginners or a quick afternoon kitchen project with kids. You don’t need to worry about perfect layers. Once it’s sliced, every piece has that bright, cheerful candy corn vibe. It’s also great for gifting or bringing to school or work Halloween events, especially when topped with an actual candy corn for that extra touch.
Why you’ll love this Candy Corn Fudge
All Treat, No Tricks
Growing up in Ireland, we didn’t really do candy corn, but once I moved to the States and got introduced to Halloween in full force, I understood the obsession. Even if you’re not a fan of the actual candy, this fudge is a playful nod to the season. I love pulling it out of the fridge and slicing into those crisp, colorful layers.
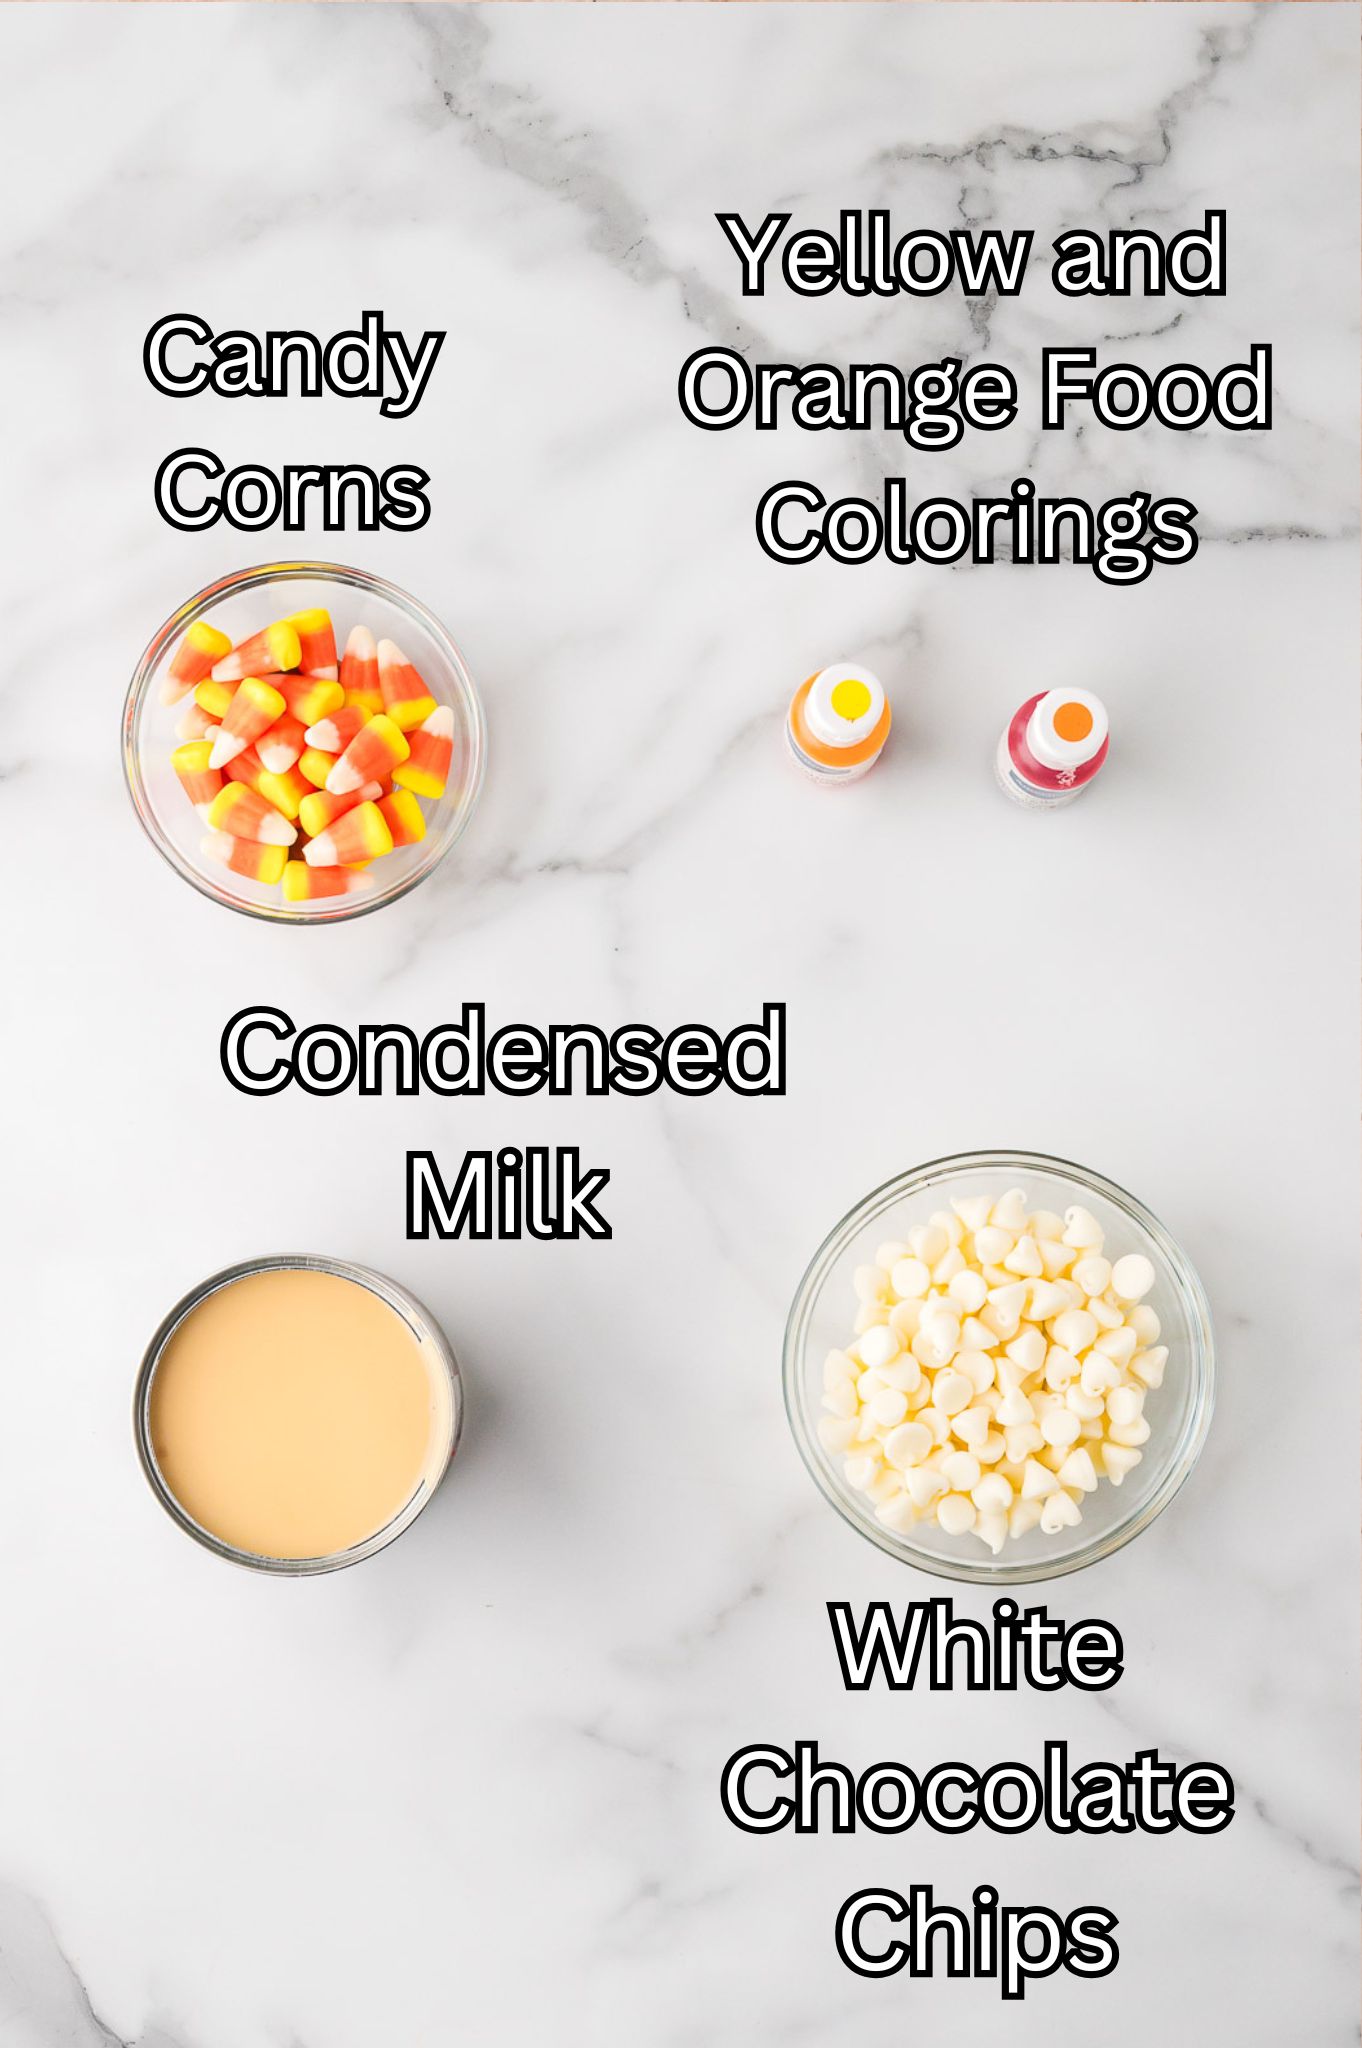
Ingredients Needed for Candy Corn Fudge
- White chocolate chips: Go with a high-quality brand so the fudge melts smoothly and sets nicely.
- Sweetened condensed milk: Adds sweetness and gives that perfect fudge texture.
- Food coloring: You’ll need yellow and orange gel or liquid food coloring. Gel gives the most vibrant result.
- Candy corn (optional): Press one into the top of each square for decoration if you like!
How to make Candy Corn Fudge
**For more detailed instructions, please refer to the printable recipe card below.**
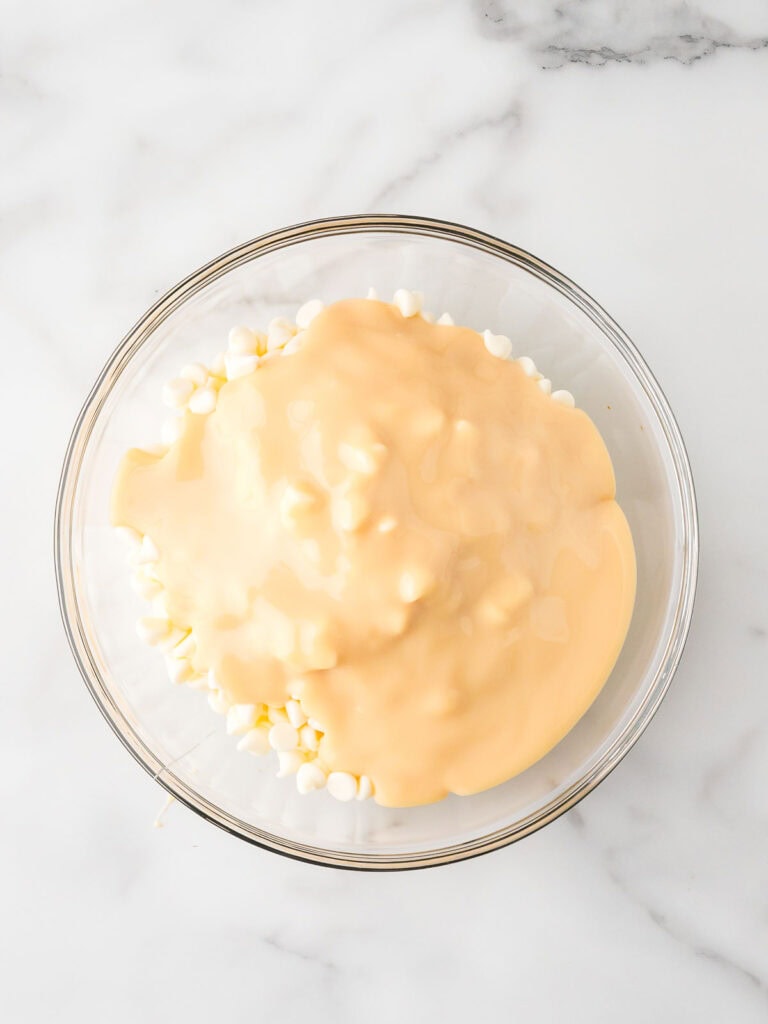
In a microwave-safe bowl, combine white chocolate chips and sweetened condensed milk. Microwave in 30-second bursts, stirring between each burst, until fully melted and smooth.
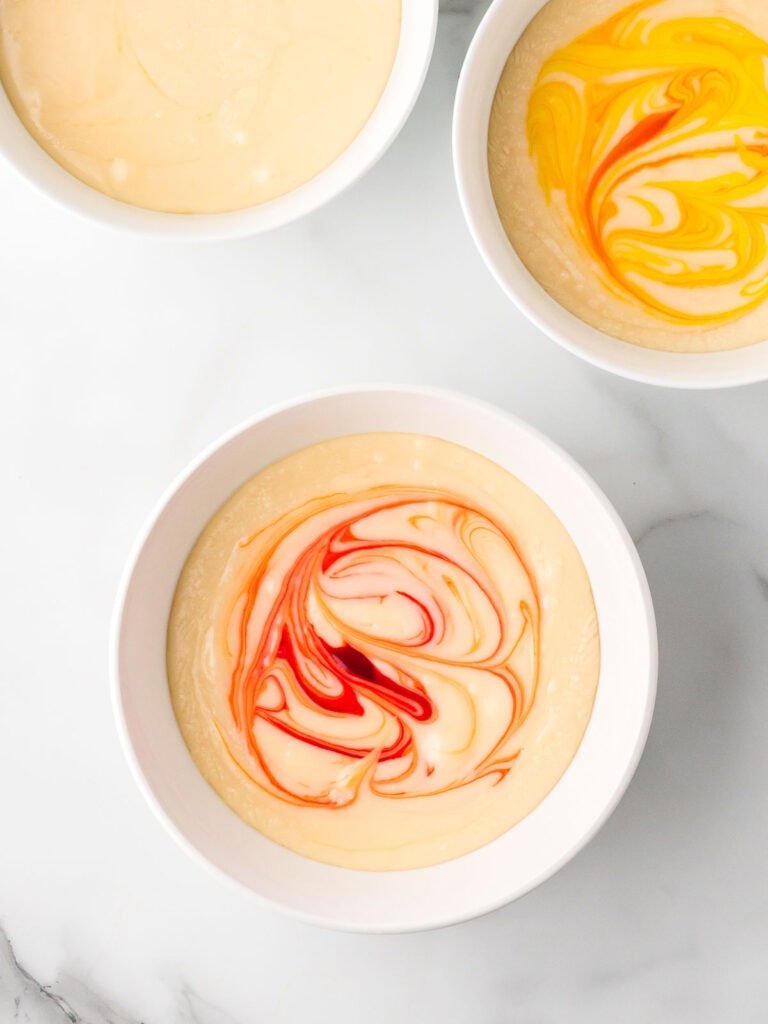
Divide the mixture evenly into three separate bowls.Leave one portion white. Tint one portion orange and the last one yellow, stirring until fully colored
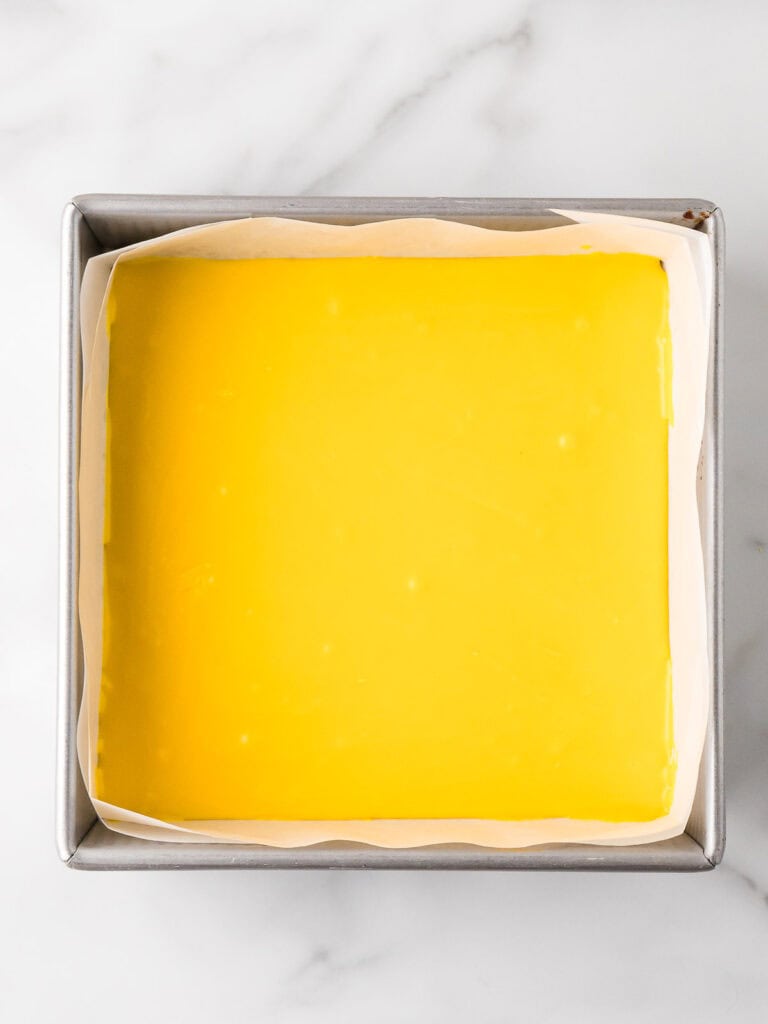
Pour the yellow layer into the prepared pan and spread it evenly. Chill for 10 minutes.
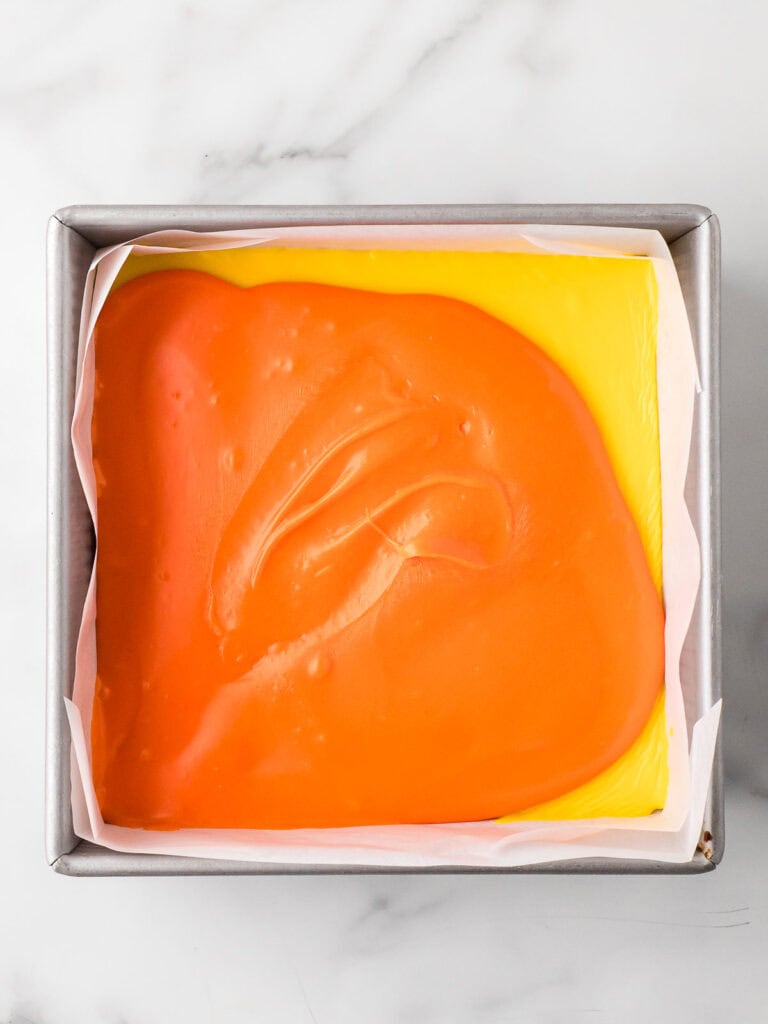
Spread the orange layer gently over the yellow. Chill for another 10 minutes.
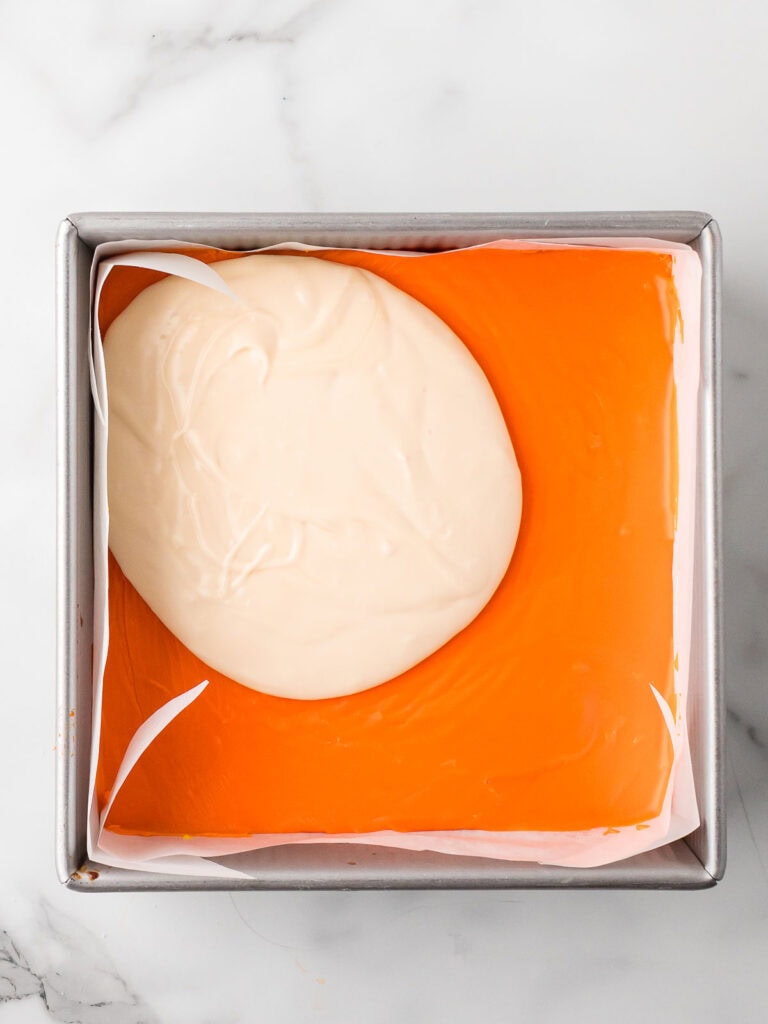
Repeat with the white layer, warming slightly if needed, and smooth over the orange layer.
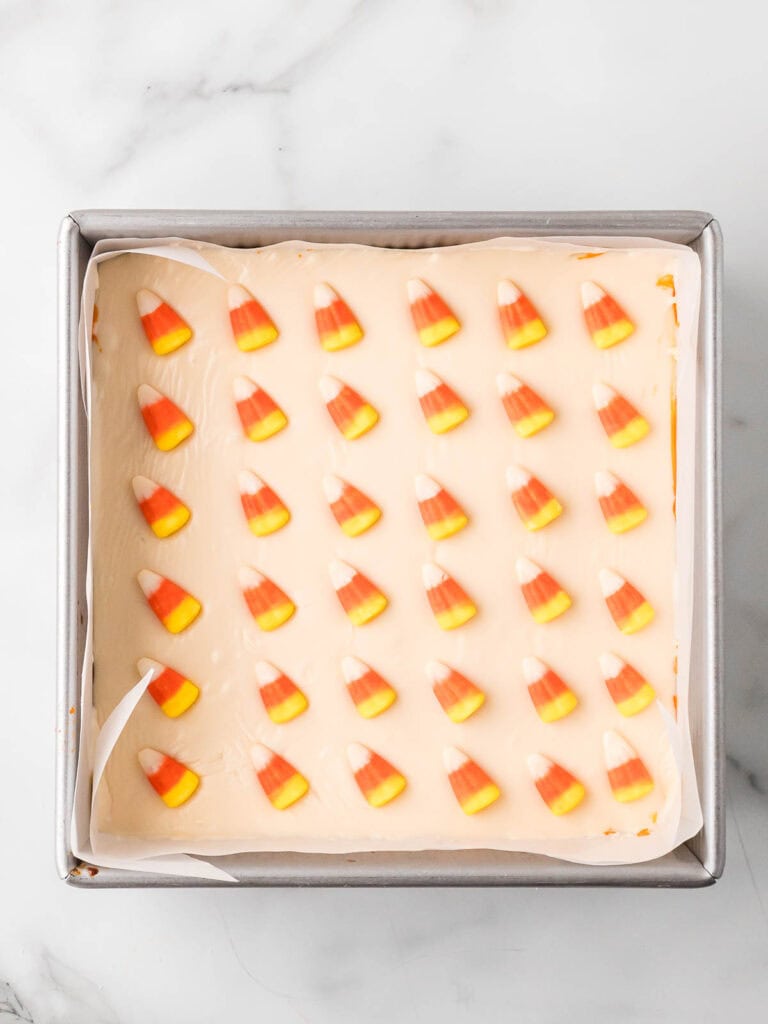
Press candy corns on top and chill for at least 4 hours or until fully set.
Variations
- Chocolate Bottom Layer: Swap the yellow layer for a simple milk or semisweet chocolate layer. It gives a nice base that cuts the sweetness a bit and makes the fudge feel a little more grown-up while still keeping the candy corn look.
- Pumpkin Spice Twist: Stir a little pumpkin pie spice into the white layer for a subtle fall flavor. It pairs surprisingly well with the sweet white chocolate and adds a little something extra without changing the look.
- Swirled Halloween Colors: Instead of layering the colors, swirl them together for a fun marbled effect. It’s a bit more casual and looks great when sliced — just be careful not to overmix or you’ll lose the color contrast.
- Sprinkle Topping: Skip the candy corn and press Halloween sprinkles into the top layer before chilling. It adds a pop of color and crunch and works well if you’re not into candy corn or want something a little different.
- Mini Marshmallow Add-In: Fold a handful of mini marshmallows into the white layer before spreading it on top. It adds a soft, chewy bite that makes the texture a bit more fun and playful.
Serving Suggestions
- Halloween Party Tray: Arrange the fudge on a Halloween-themed platter with other treats like cookies, popcorn balls, or cupcakes. The bright layers really pop and make this one stand out.
- Wrapped for Gifting: Cut the fudge into squares and wrap each one in wax paper or plastic wrap. Tie with orange or black ribbon for a cute, ready-to-go Halloween gift.
- Lunchbox Surprise: Pop a square into a school or work lunch as a fun seasonal treat. It’s a sweet little surprise that holds up well at room temp for a few hours.
- Goodie Bags or Trick-or-Treat Boxes: Add individually wrapped pieces to treat bags or Halloween boxes for neighbors or classmates. It’s a fun homemade touch that’s still easy to hand out.
- With Hot Drinks: Serve with mugs of apple cider, hot chocolate, or coffee for a cozy pairing. The sweet fudge goes perfectly with a warm drink on a fall afternoon or after dinner.
Storage and Freezing
- How should I store Candy Corn Fudge?
Store the fudge in an airtight container in the fridge for up to two weeks. Stack the pieces with parchment between layers so they don’t stick together. The texture stays nice and firm when cold, but let it sit out for a few minutes before serving if you prefer a softer bite.
- Can I freeze Candy Corn Fudge?
Freeze for up to two months in a tightly sealed container or freezer-safe bag. Wrap the whole block or individual squares in plastic wrap before placing in the container to help prevent freezer burn. Thaw in the fridge overnight or on the counter for about 30 minutes before serving.
Don’t forget to pin this for later!

Tips & Tricks
- Use Good Quality White Chocolate: Some cheaper brands can seize or turn grainy when melted. Stick to a higher-quality white chocolate chip or bar if you can — it’ll melt smoother and set better.
- Microwave Slowly and Stir Often: Melting in short bursts and stirring in between helps prevent scorching. Even if it looks almost melted, give it a good stir before popping it back in the microwave.
- Work Quickly: The fudge sets up faster than you think. Get your color mixed in and spread each layer right away so it stays smooth and easy to work with. Reheat the layers as needed to spread evenly.
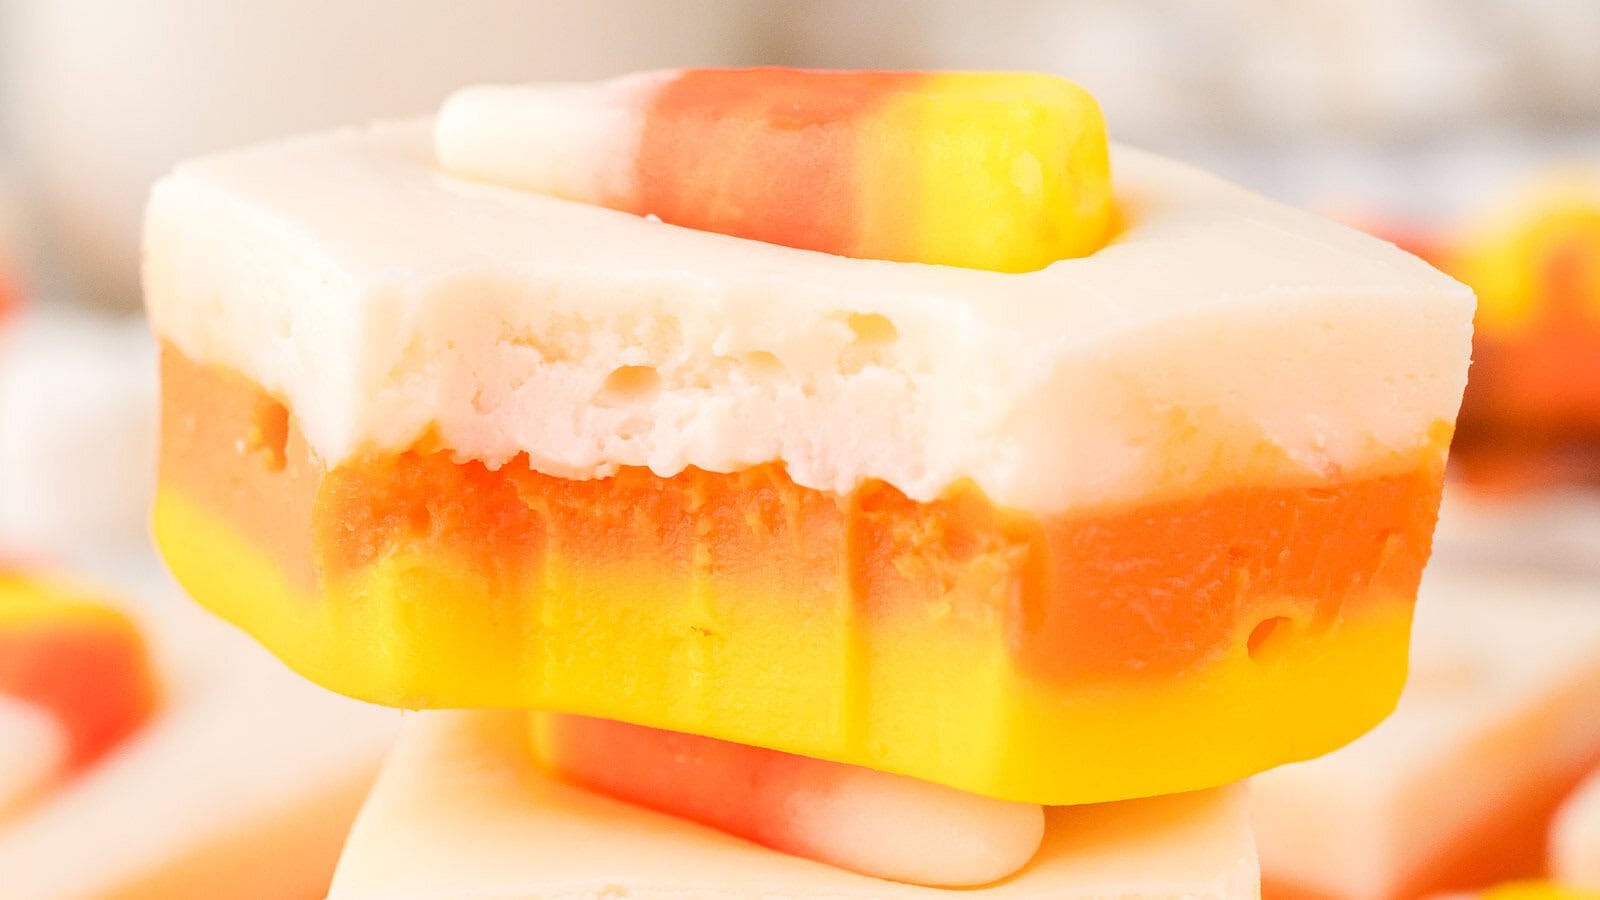
- Chill Between Layers for Clean Lines: Give each layer about 10 minutes to firm up in the fridge before adding the next. It keeps them from blending together and gives that crisp candy corn stripe.
- Clean Your Spatula Between Colors: A quick wipe between layers goes a long way. It helps keep the colors from smudging into each other, especially with the final white layer on top.
Recommended
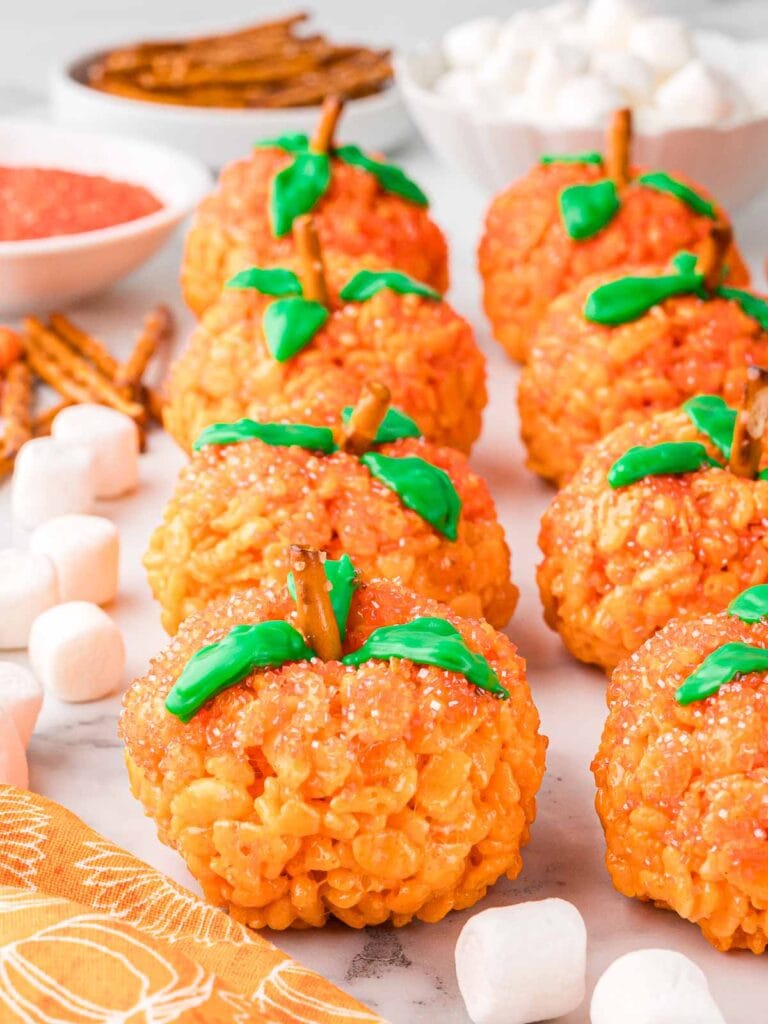
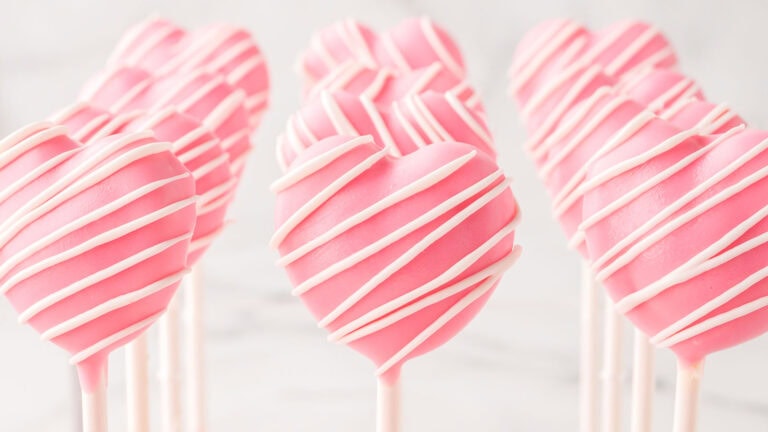
More Fun Treats
FAQ
Candy Corn Fudge
Ingredients
- 3 cups white chocolate chips high quality recommended
- 1 can 14 oz sweetened condensed milk
- Food coloring in yellow, and orange
- Candy corn
Instructions
- Line an 8×8-inch baking pan with parchment paper, leaving a bit of overhang on the sides for easy removal.
- In a microwave-safe bowl, combine the white chocolate chips and sweetened condensed milk. Microwave in 30-second intervals, stirring between each, until fully melted and smooth.
- Divide the mixture evenly between three bowls — about 1 cup each.
- Leave one bowl plain (white). Tint one bowl orange and the other yellow, stirring until fully colored.
- Pour the yellow fudge into the prepared pan and smooth it into an even layer with a spatula. Place the pan in the fridge for 10 minutes to let the first layer firm slightly.
- If the orange fudge has thickened, microwave it for 10–15 seconds and stir until loosened. Pour it gently over the yellow layer and smooth it out. Return to the fridge for another 10 minutes.
- Repeat with the white layer, warming it slightly if needed, then spread it evenly on top.
- Press a candy corn into the top
- Chill the entire pan for at least 4 hours, or until the fudge is fully set.
- Once firm, lift the fudge out using the parchment overhang and slice into small squares.


OMG can’t wait to make this fudge!
Bookmarking this for Halloween! We always have a party (it is also my birthday) so themed snacks are a must!! Thank you.
Oh my goodness, I can’t wait for Halloween. You’re going to make this fudge! Bookmarking it now so I remember to make it.
I hope you love it as much as I do!
I have all the ingredients for this recipe but I thought it thought it required Peanut butter. if you can reply back …my Gmail is [email protected]
thank you in advance ☺️
n recipe Peanut butter. my
This is the most adorable, festive fudge for Halloween! Love this! Saving this for Halloween, thanks for the great recipe!
You are so welcome!