Rustic Bread Recipe
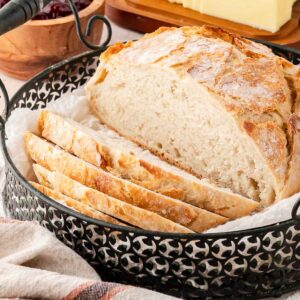
There’s something incredibly satisfying about baking your own bread, and this Rustic Bread Recipe is no exception. With just four simple ingredients—flour, yeast, salt, and water—you can create a loaf that’s crusty on the outside, soft and chewy on the inside, and full of that homemade flavor.
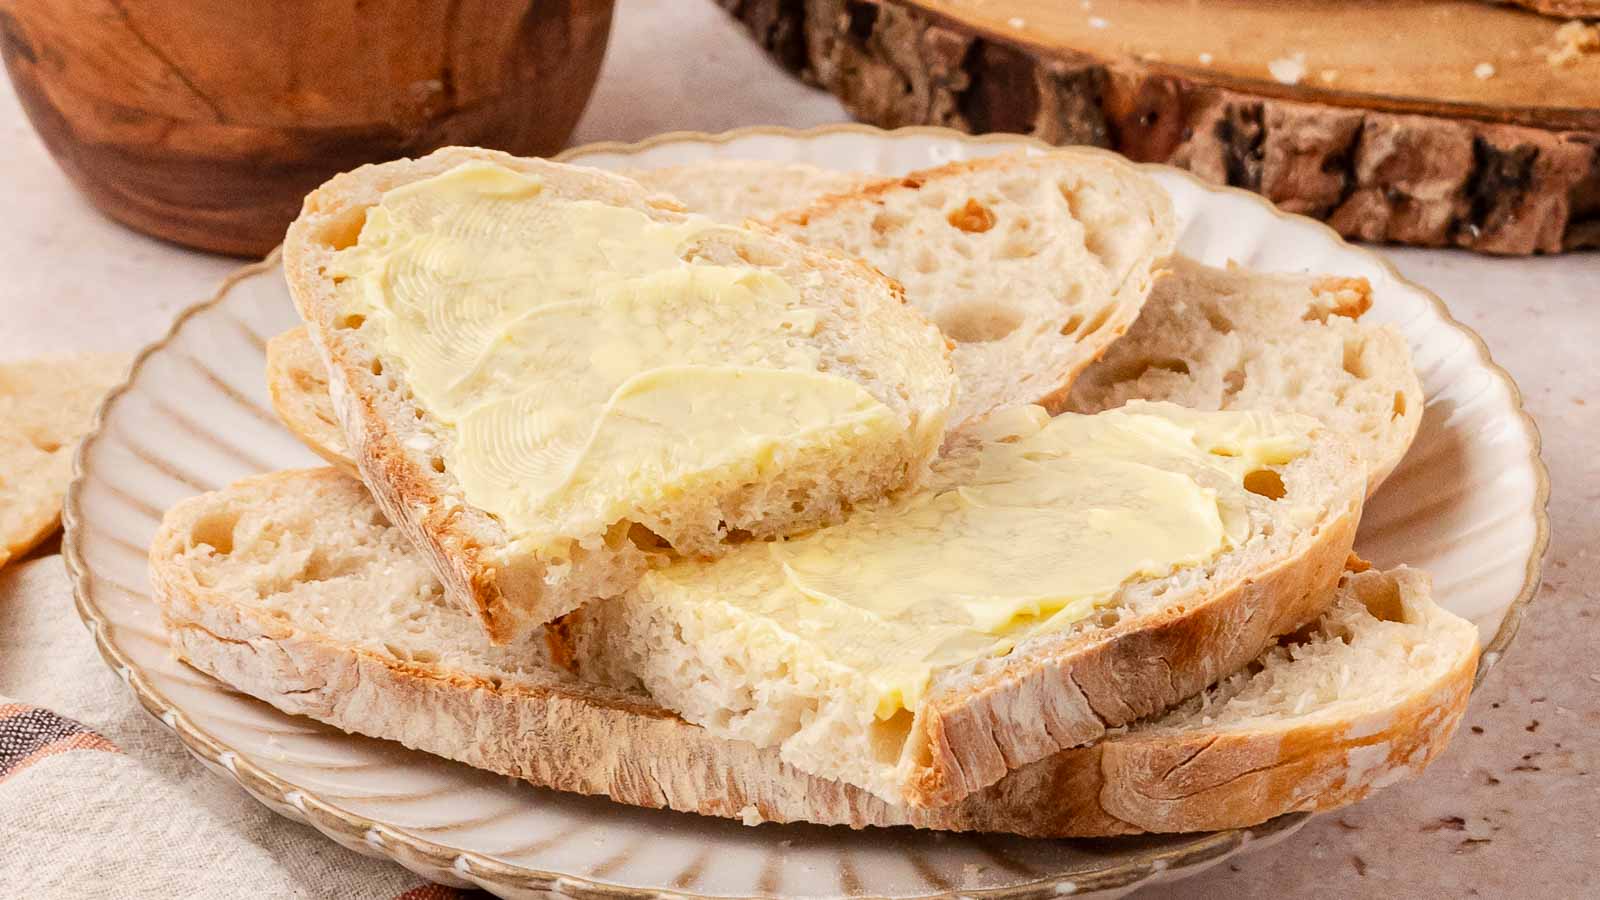
This Rustic Bread recipe is incredibly versatile and easy to make. It’s the kind of bread that can stand on its own, slathered with butter or dipped in olive oil. But it’s also a fantastic side for soups, stews, or even a hearty salad. And if you’re in the mood for a simple sandwich, this loaf’s sturdy texture and rich flavor make it an ideal choice.
Why you’ll love this Rustic Bread Recipe
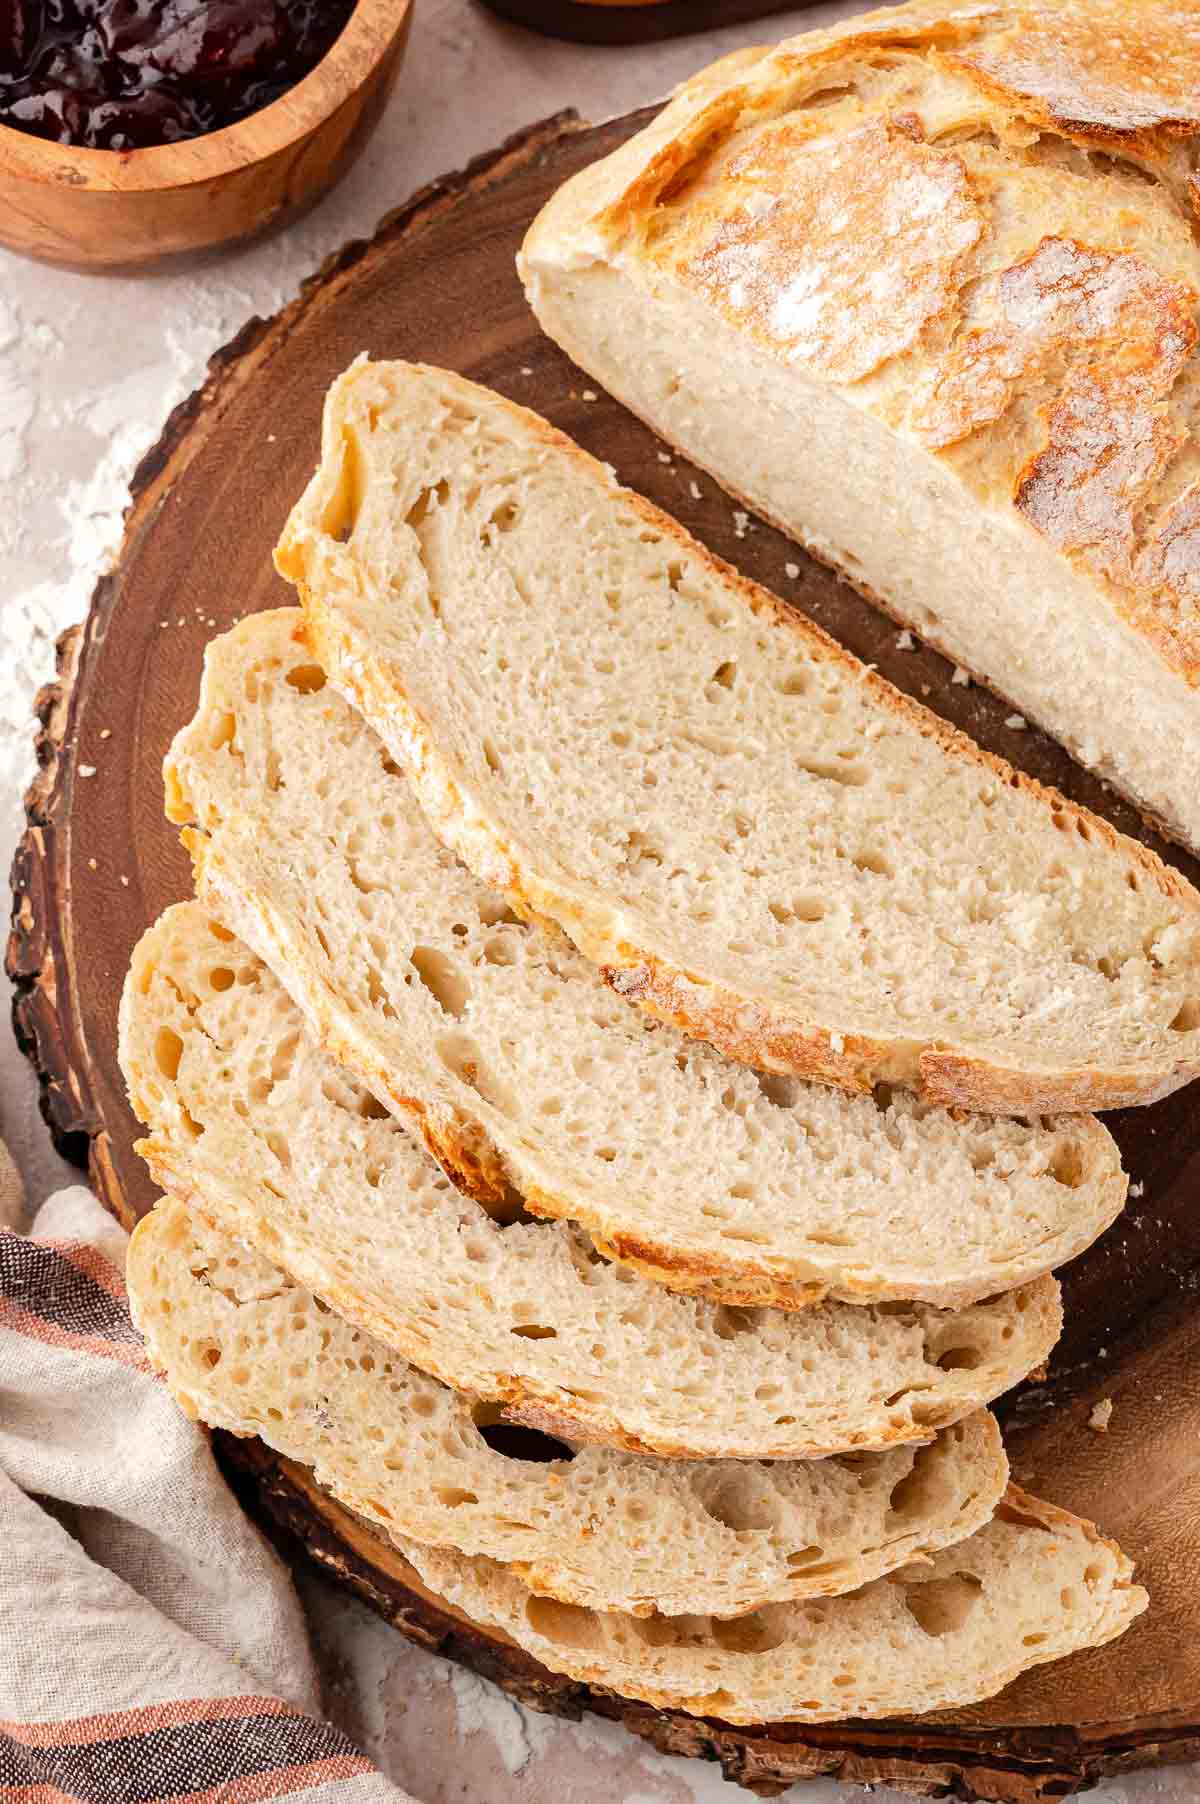
The Comfort of Homemade Bread
I’ve always thought the smell of bread baking in the oven is so comforting. It fills the house with warmth and promises a meal that’s made with care. For me, this Rustic Artisan Bread shows how a few quality ingredients can come together to create something truly satisfying. The crispy crust and soft interior make it a family favorite, perfect for any occasion or just because you feel like baking something special.
Ingredients Needed for this Rustic Bread Recipe
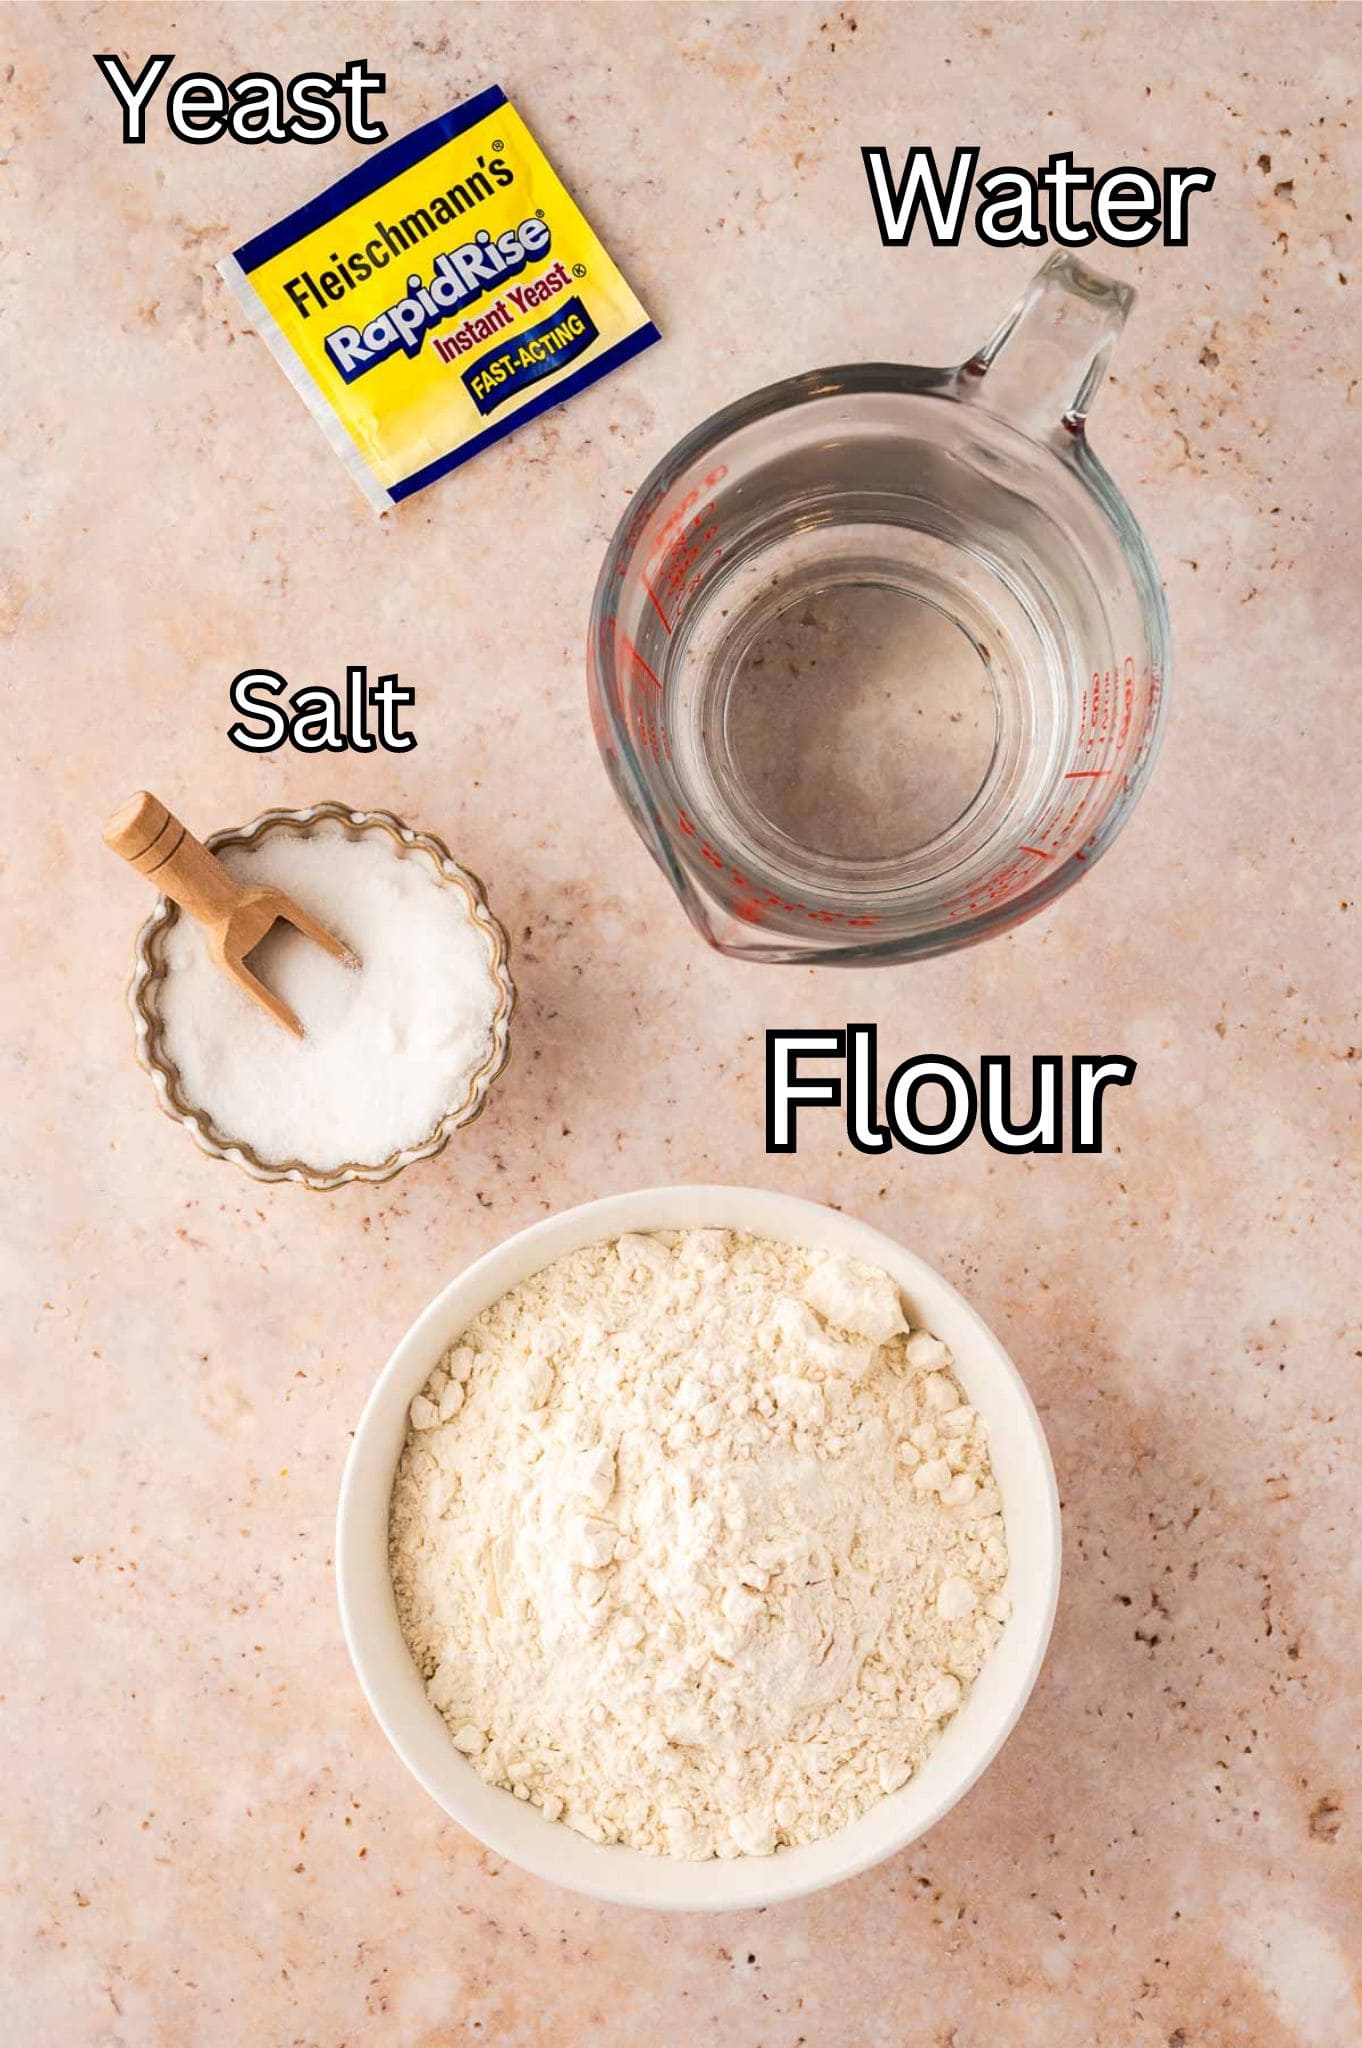
- All-Purpose Flour: The base of your bread, giving it structure and a soft crumb. You can substitute with bread flour for a chewier texture.
- Rapid-Rise Yeast: This yeast helps the dough rise quickly, making the process a little faster. Make sure it’s fresh for the best results.
- Salt: Essential for flavor. Don’t skip it, or your bread will taste flat.
- Warm Tap Water: Helps activate the yeast and brings the dough together. The water should be around 120°F to get things going without killing the yeast.
How to make Rustic Bread
**For more detailed instructions, please refer to the printable recipe card below.**

Combine flour, yeast, and salt in a large mixing bowl.
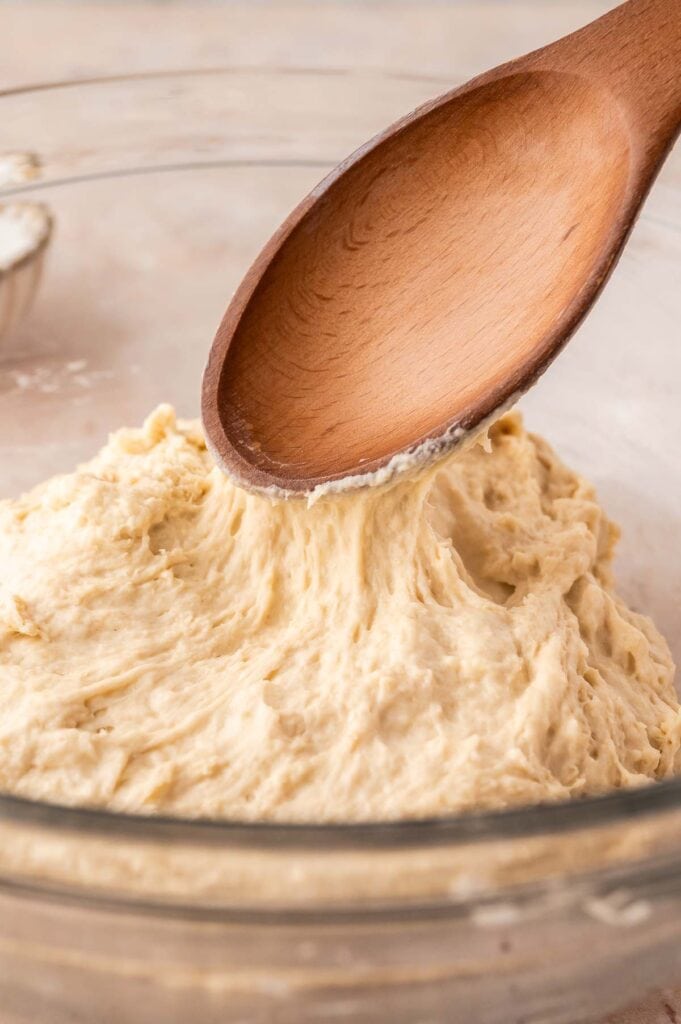
Gradually add warm water, stirring until a sticky dough forms.
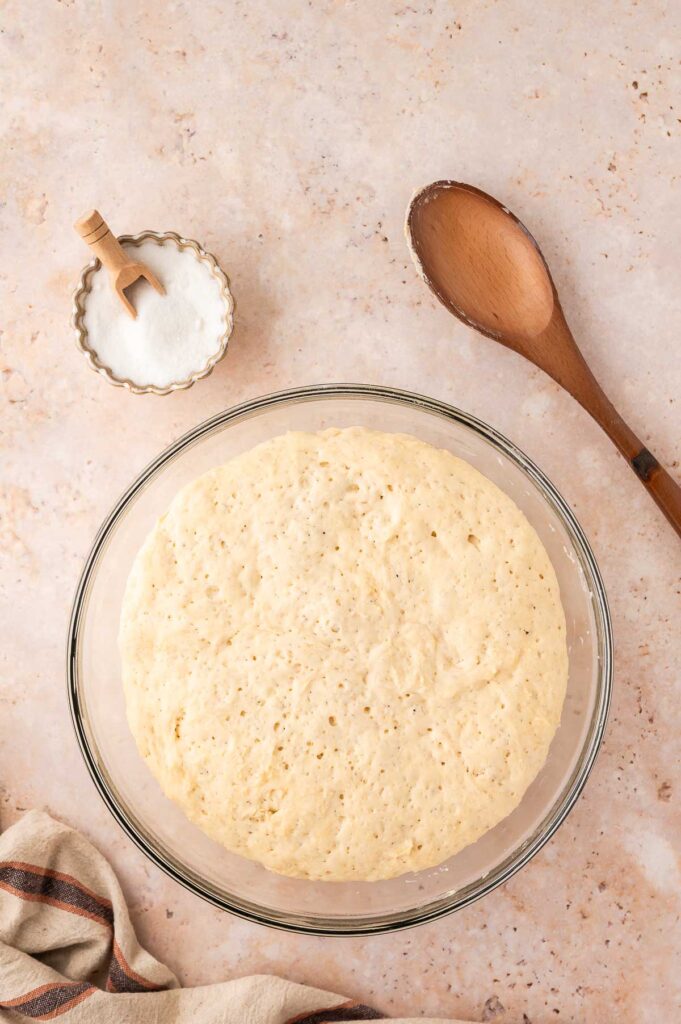
Cover and let rise for 1 hour.

On a floured surface, shape the dough by pulling edges
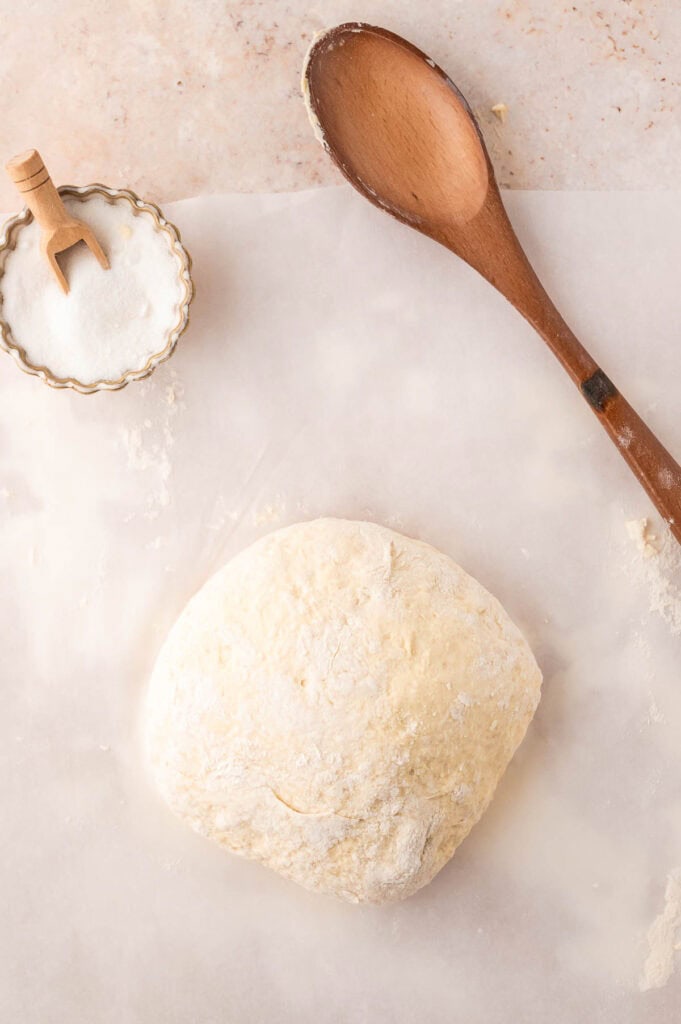
Flip onto parchment paper and shape into a round.
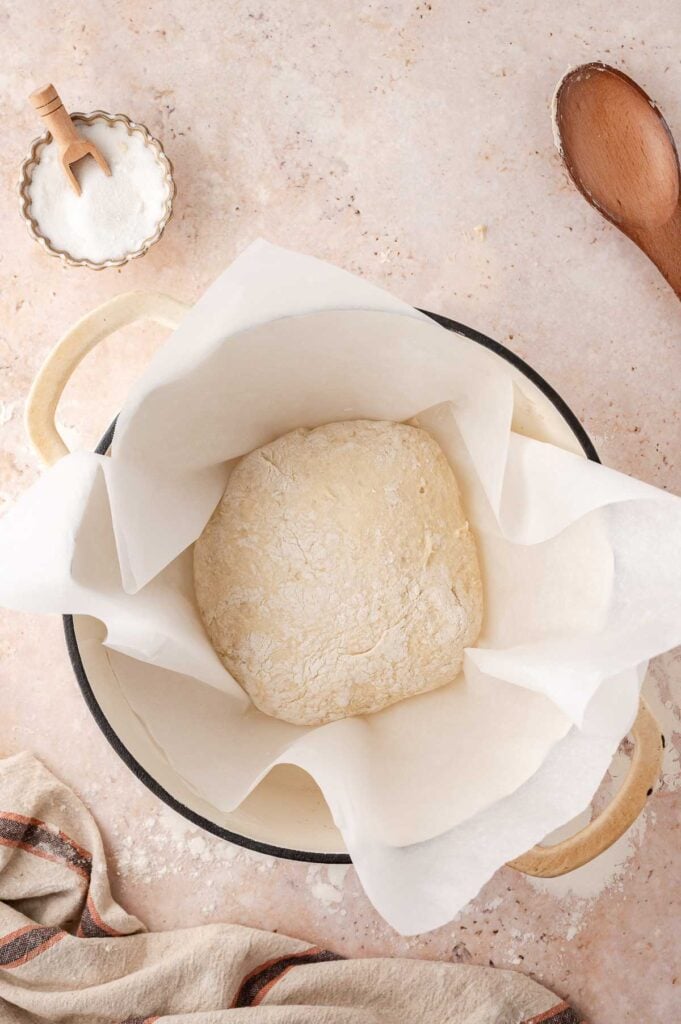
Place dough (with parchment) into the hot Dutch oven.
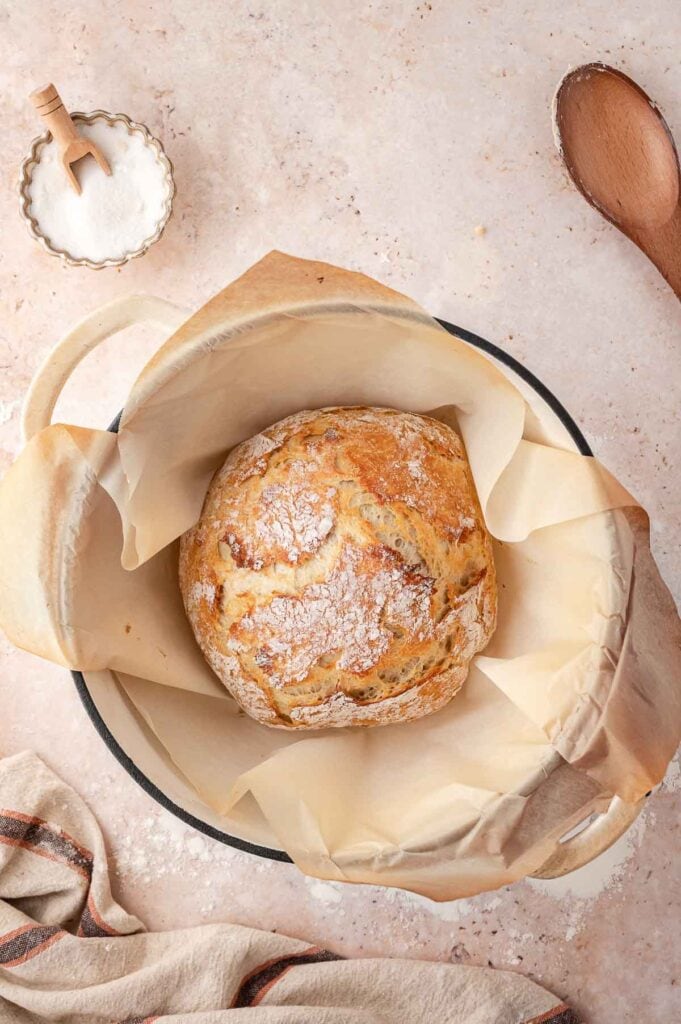
Cover and bake in a preheated oven
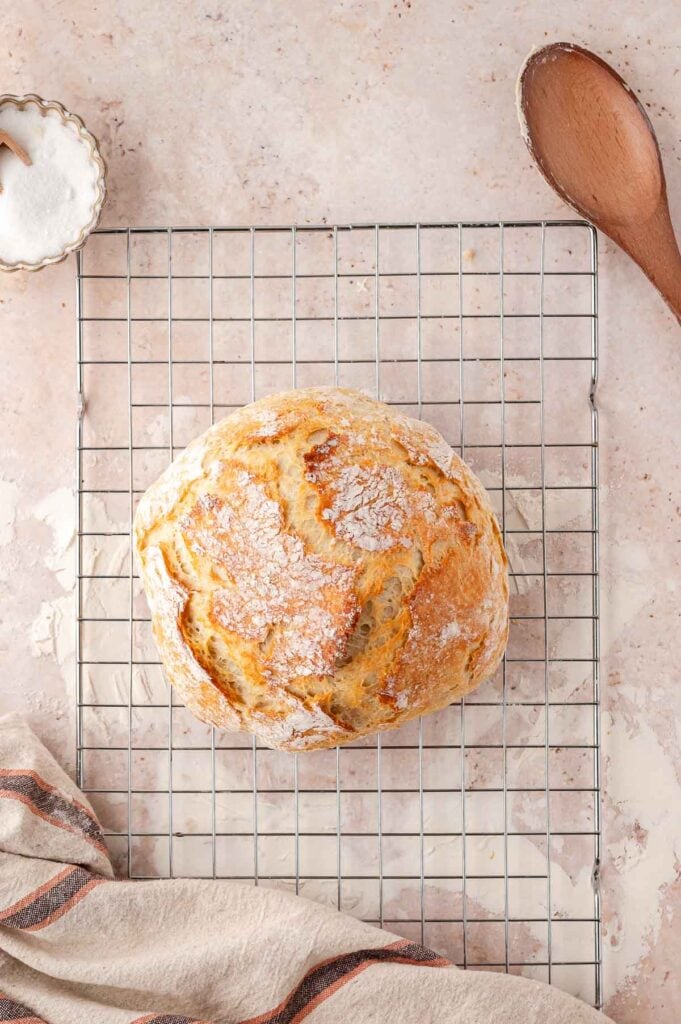
Cool on a wire rack before slicing.
Variations
- Whole Wheat Artisan Bread: Replace 1 cup of all-purpose flour with whole wheat flour for a heartier loaf. The whole wheat adds a nutty flavor and a bit more chewiness.
- Herb-Infused Bread: Add a tablespoon of dried herbs like rosemary or thyme to the flour mixture for a fragrant, savory twist. Perfect for serving alongside roasted meats or hearty stews.
- Cheese and Garlic Bread: Mix in a cup of shredded cheese and a teaspoon of garlic powder into the dough for a cheesy, garlicky flavor. This variation is excellent for making gourmet grilled cheese sandwiches.
- Olive and Sundried Tomato Bread: Fold in a half cup each of chopped olives and sun-dried tomatoes before shaping the dough. This adds a Mediterranean flair that pairs beautifully with salads and soups.
- Seeded Artisan Bread: Sprinkle a mix of sesame, flax, and sunflower seeds on top of the dough before baking. The seeds add a crunchy texture and nutty flavor that elevates the bread.
Serving Suggestions
- Fresh Out of the Oven: There’s nothing quite like slicing into this bread while it’s still warm. Serve it with a generous smear of butter or a drizzle of olive oil and a sprinkle of sea salt.
- Soup Sidekick: This rustic bread is the perfect companion for soups and stews. The sturdy crust holds up well to dipping, making it great for hearty, broth-based dishes.
- Sandwich Staple: Use this bread to make sandwiches that stand out. Its chewy texture and robust flavor are the perfect match for everything from deli meats to grilled veggies.
- Toast with a Twist: Toast slices of this bread and top with avocado, a poached egg, or even some smoked salmon for a simple yet satisfying breakfast or snack.
- Bread Basket: Slice this bread and serve it in a basket with a variety of spreads, like herbed butter or soft cheese. This is perfect for a dinner party or just a cozy night in.
Storage and Freezing
- How should I store Rustic Bread?
To keep your bread fresh, wrap it in a clean kitchen towel or place it in a bread box. This will help maintain the crust while keeping the inside soft. It’s best consumed within 2-3 days.
- Can I freeze Rustic Bread?
If you want to store the bread for longer, slice it and freeze the slices in a resealable bag. This makes it easy to grab a slice or two as needed. To reheat, just pop a slice in the toaster or warm it in the oven.

Tips & Tricks
- Use Fresh Yeast: Fresh yeast is key to a good rise. Check the expiration date on your yeast packet before using it. Old yeast can lead to dense, flat bread.
- Don’t Overwork the Dough: This bread is meant to be rustic, so there’s no need to knead it extensively. Just mix until combined and let the yeast do the rest.
- Preheat the Dutch Oven: Getting your Dutch oven nice and hot before placing the dough inside is crucial. It helps create that signature crispy crust that’s so satisfying.
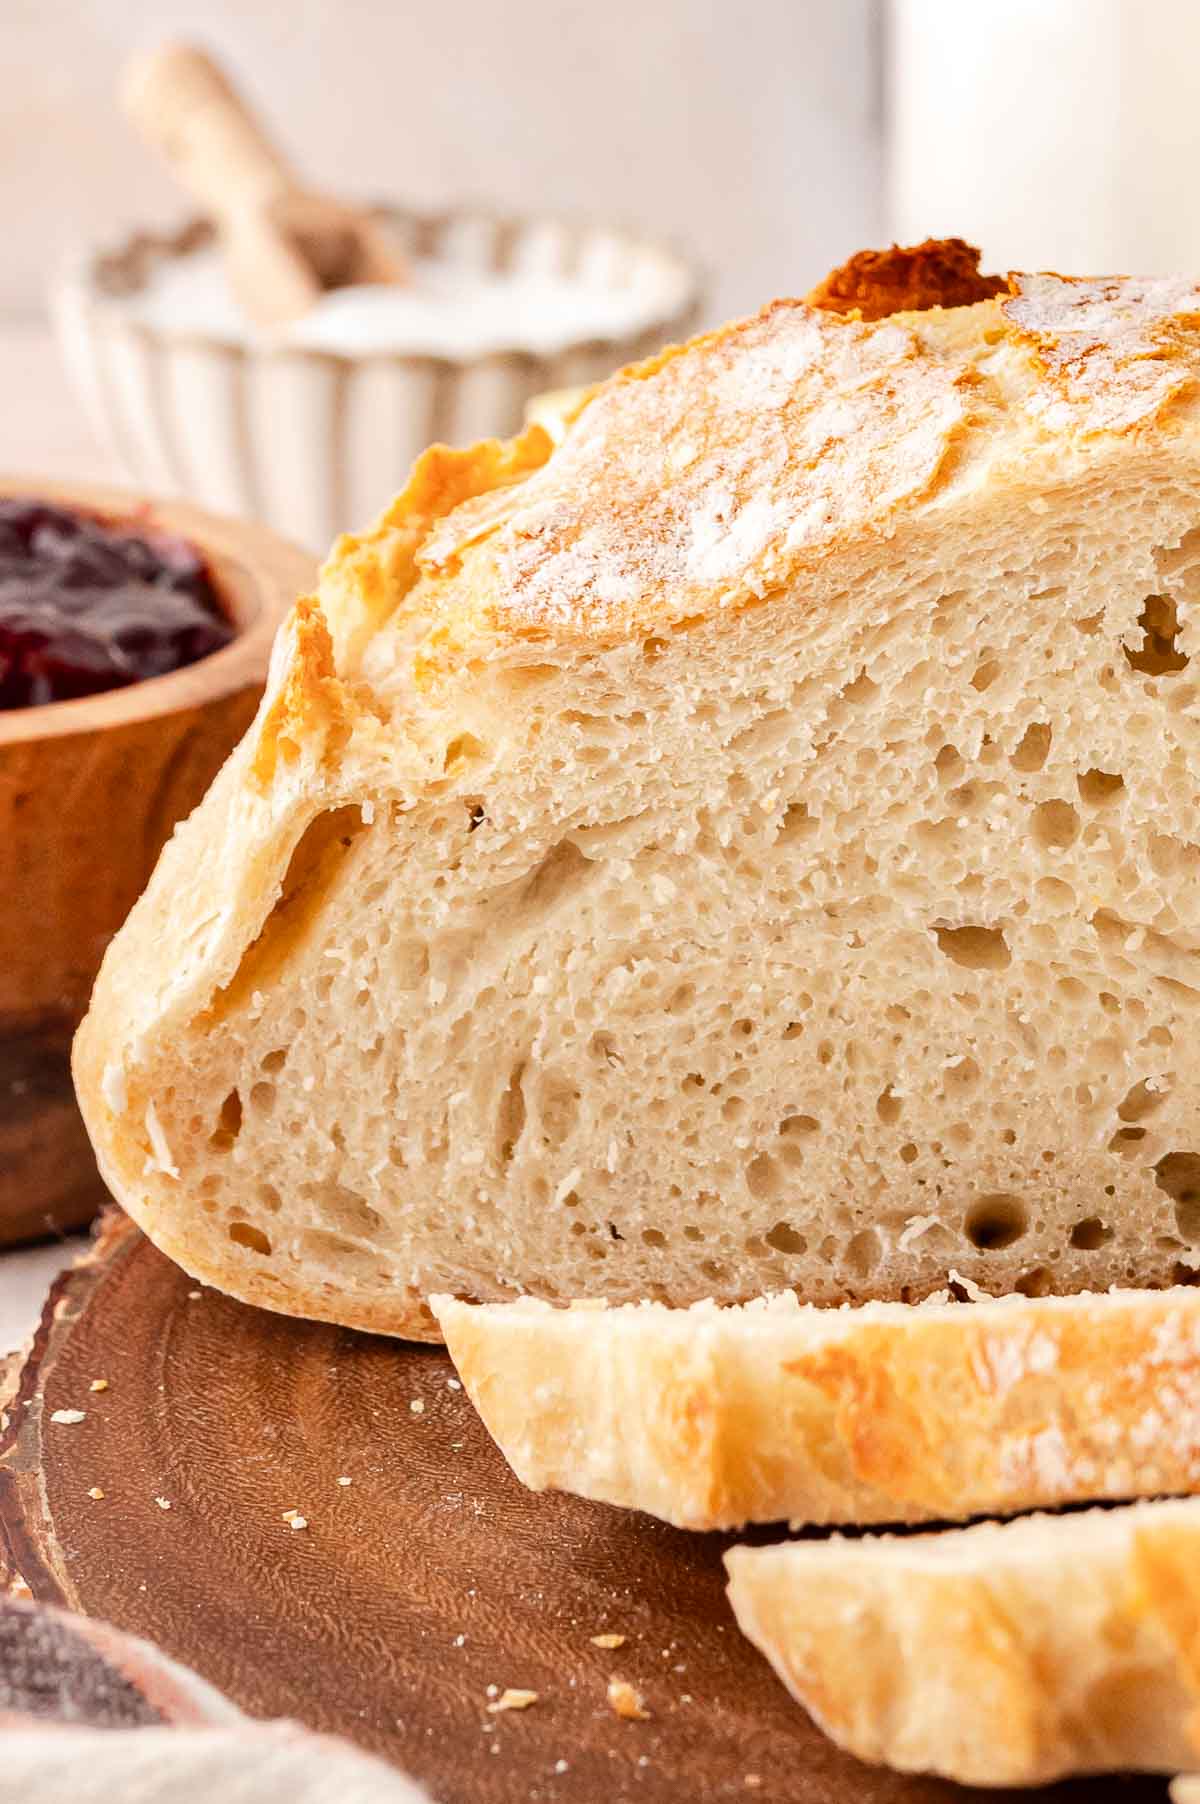
- Let It Cool: As tempting as it is to slice into the bread right away, let it cool for at least 30 minutes. This allows the interior to be set properly, giving you a better texture.
- Experiment with Flavors: Don’t be afraid to add mix-ins like nuts, seeds, or dried fruits. This bread is a blank canvas, ready for you to get creative.
Recommended
More Baked Goods
FAQ
Rustic Bread Recipe
Equipment
- Kitchen towel
- Dutch oven with lid
Ingredients
- 3 cups all-purpose flour plus extra for dusting
- 1 packet 2 1/4 teaspoons rapid-rise yeast
- 1 teaspoon salt
- 1½ cups warm tap water around 120°F
Instructions
- In a large mixing bowl, combine the flour, rapid-rise yeast, and salt.
- Gradually add the warm tap water to the dry ingredients, stirring with a wooden spoon until a sticky dough forms.
- Cover the bowl with a clean kitchen towel and let the dough rise in a warm place for about 1 hour or until it doubles in size.
- Preheat your oven to 450°F (232°C) with the Dutch oven and its lid inside.
- Once the dough has risen, lightly flour a clean surface. To shape the dough, gently pull the outer edges towards the center, folding it over itself. Work your way around the dough until you have a nicely shaped ball.
- Place a piece of parchment paper on the floured surface and flip the shaped dough onto it. With your hands, shape the dough into a round circle.
- Carefully remove the preheated Dutch oven from the oven. Lift the parchment paper with the shaped dough and place it into the Dutch oven.
- Cover with the lid and bake at 450°F for 30 minutes.
- After 30 minutes, remove the lid and continue baking for an additional 10 minutes or until the bread has a golden brown crust.
- Once done, transfer the bread to a wire rack to cool.






Adding this to my weekend bake list! Love the crunchy crust with minimal ingredients!
Yes, me too. It is so good with soup this time of year!