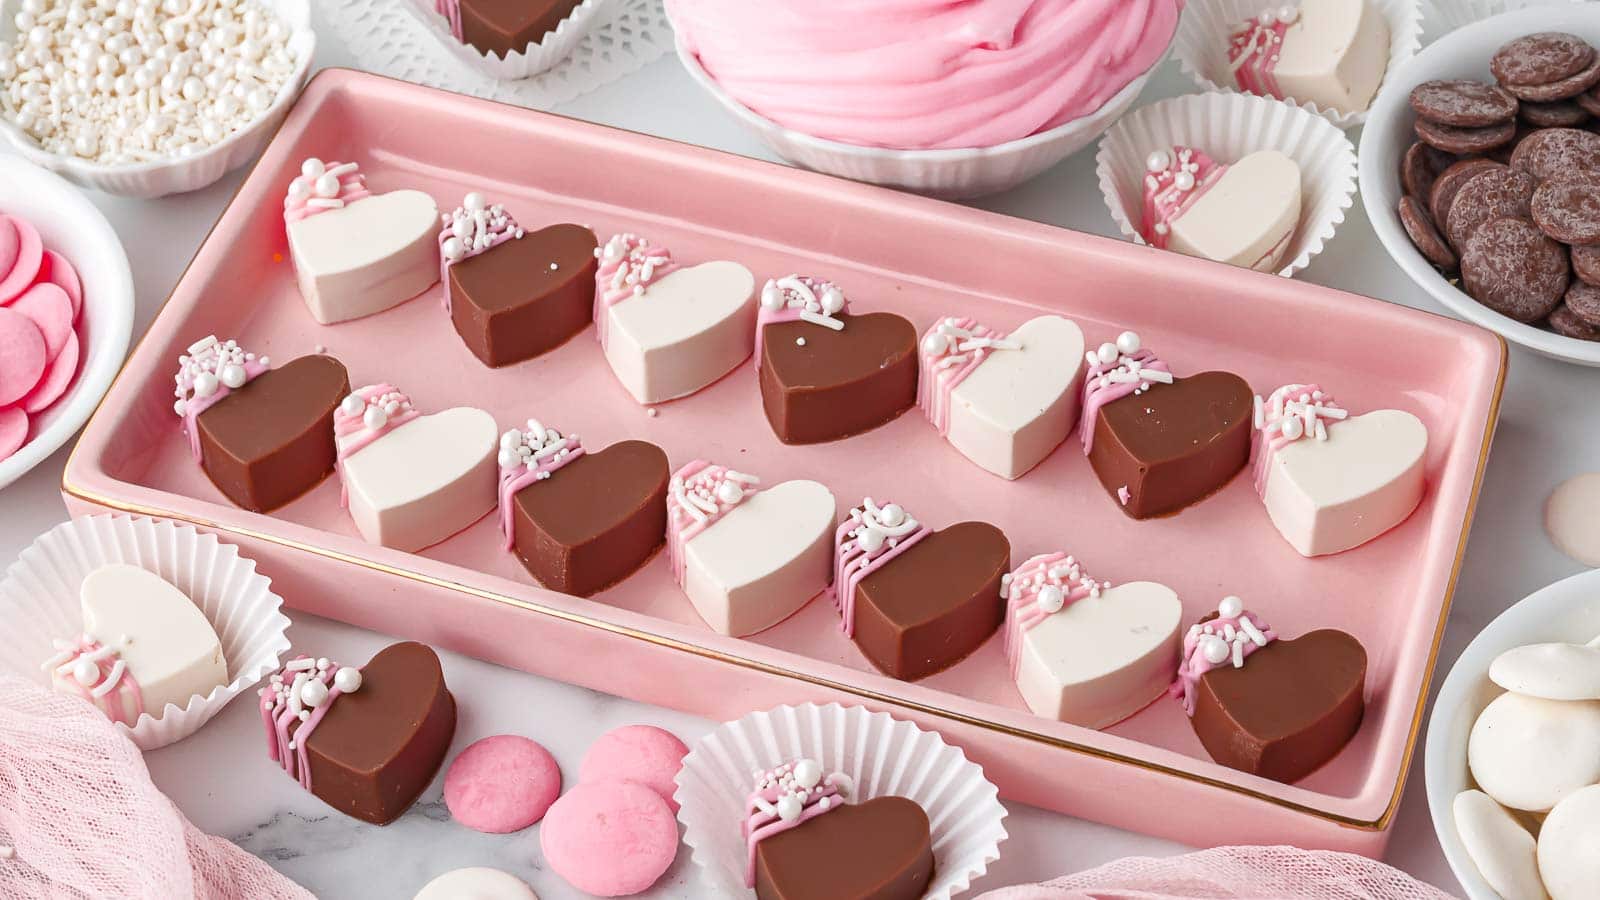
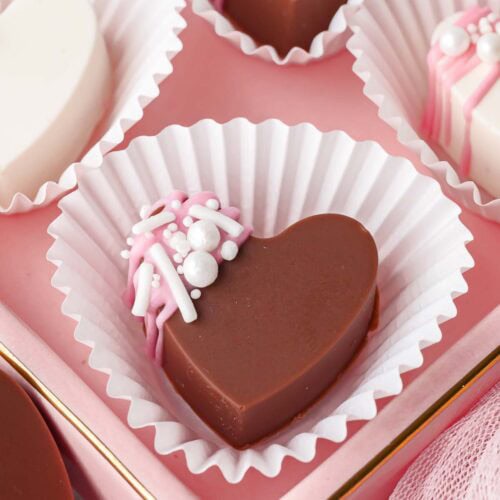
Homemade Filled Chocolates
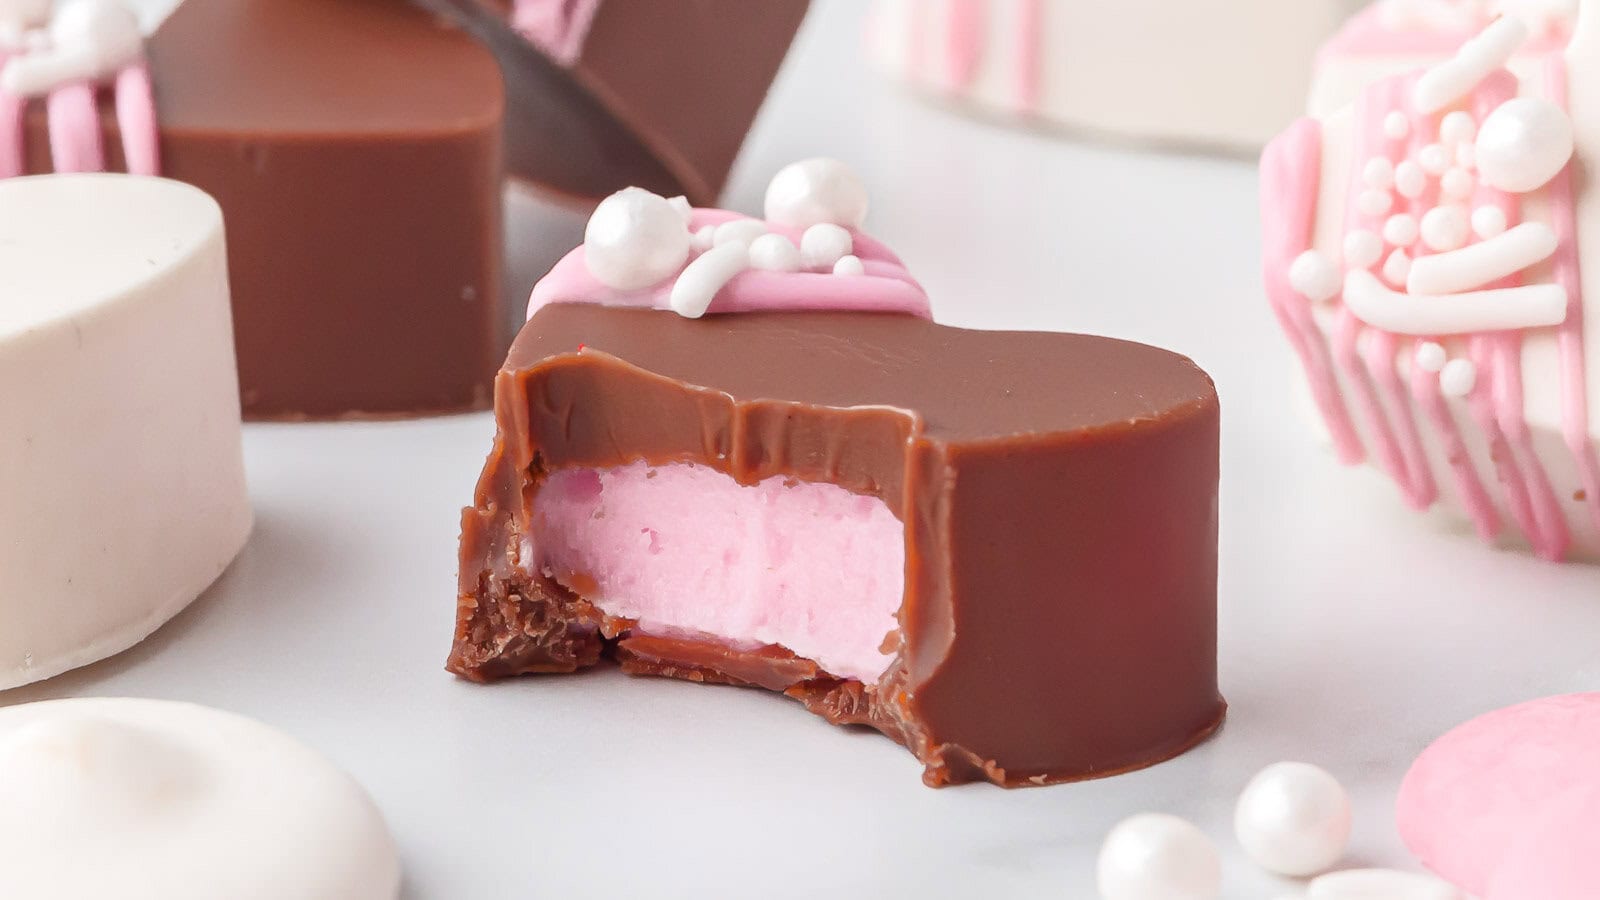
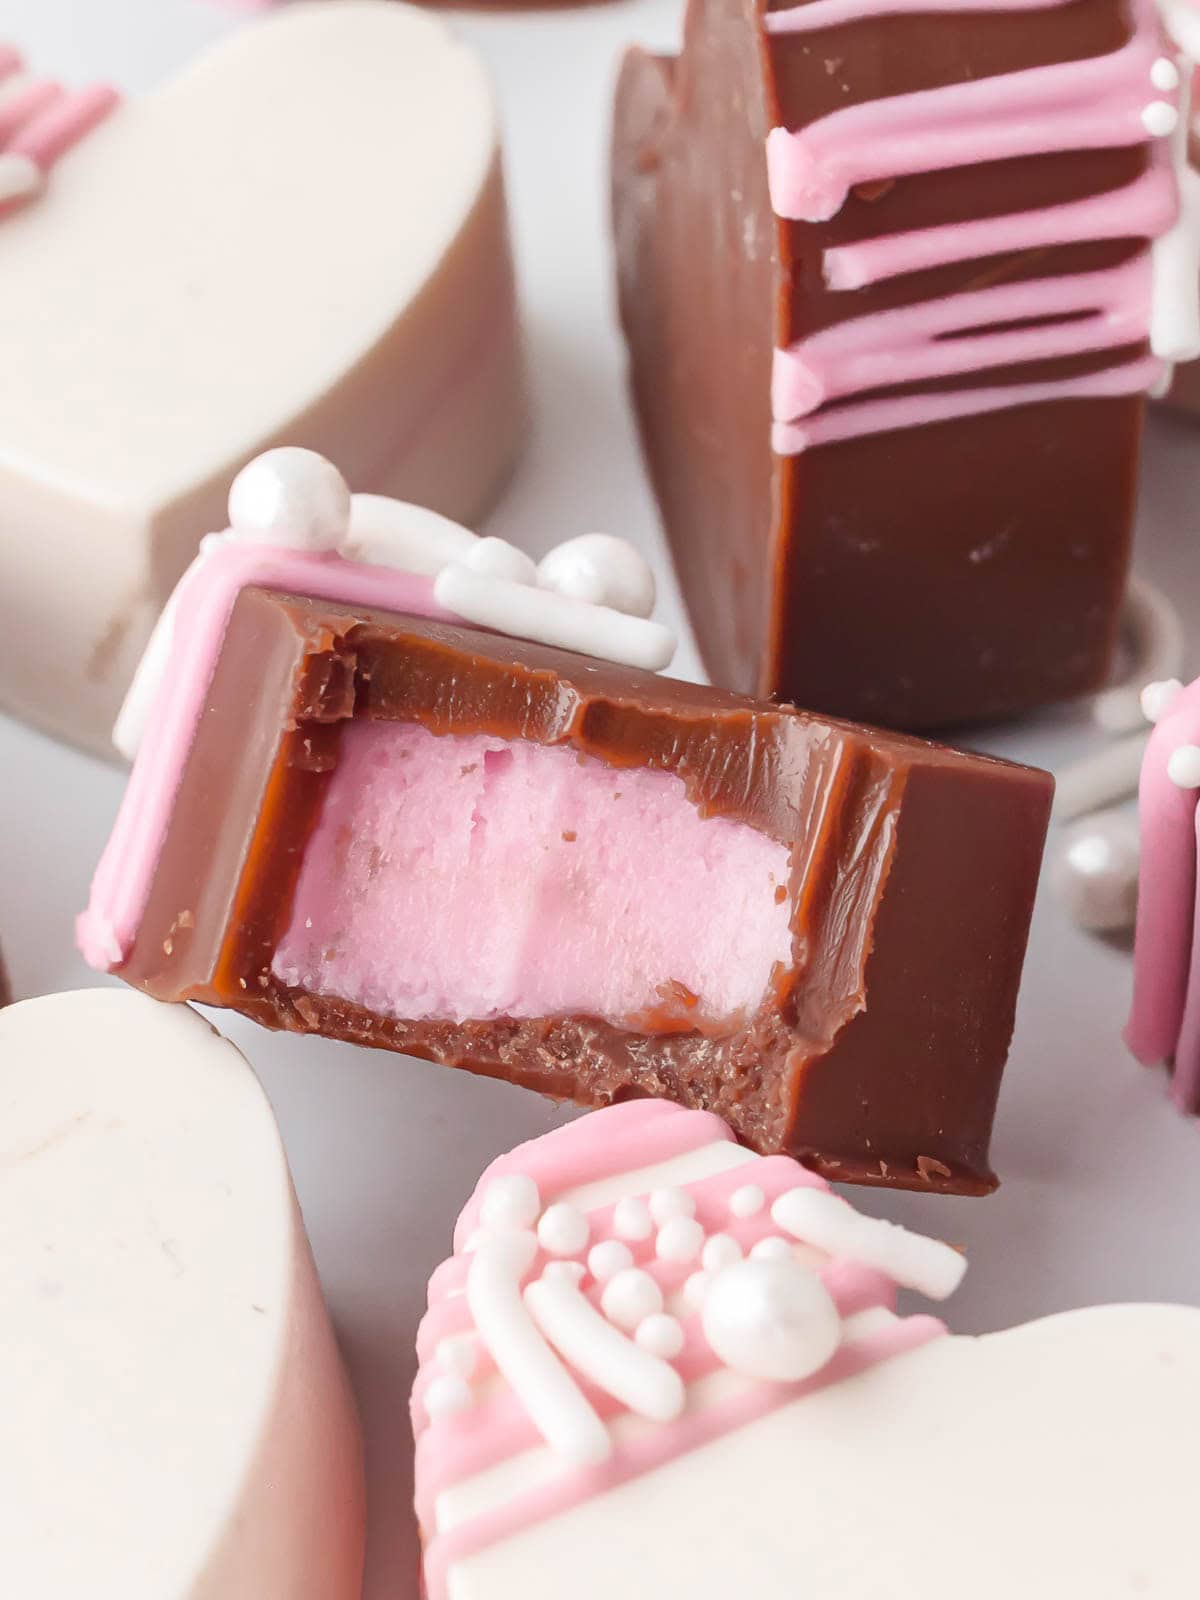
These Homemade Filled Chocolates are one of my favorite Valentine’s Day desserts to make. They’re simple, no-bake, and filled with a soft fondant-style center that’s very similar to a Cadbury cream egg. If you’re looking for homemade chocolates that are easy and don’t take all day, this one fits perfectly.
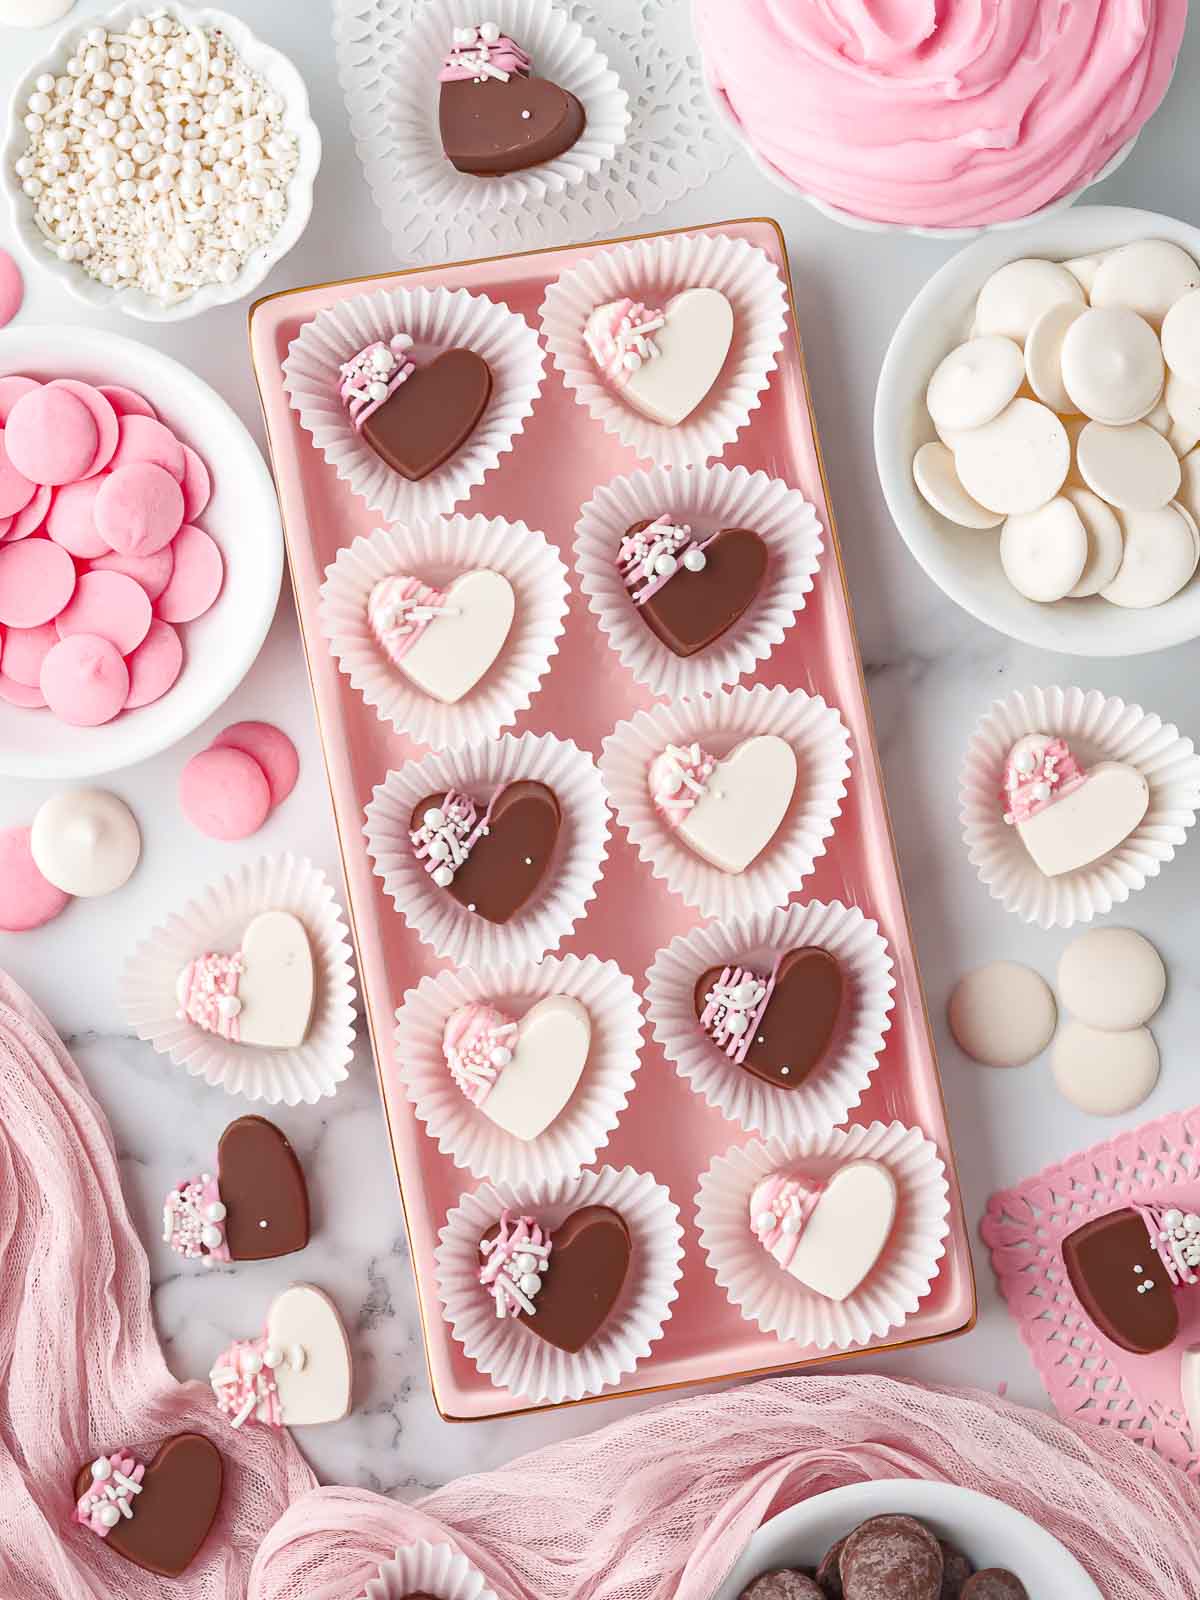
These homemade filled chocolates work really well for Valentine’s Day because they can be made ahead and stored in the fridge until you’re ready to serve or gift them. The chocolate shell sets up quickly, the filling stays soft, and everything holds its shape nicely.
If you’re planning a few no-bake Valentine’s desserts, these pair really well with my Heart Cake Pops, especially if you’re putting together treat boxes or a dessert spread with a mix of chocolate and cake-based treats.
Why you’ll love these Homemade Filled Chocolates
Homemade Filled Chocolates for Valentine’s Day Desserts
Growing up boxed chocolates were always part of holidays and special occasions, especially Valentine’s Day. You didn’t make them at home back then, but they were always treated like something special. Making homemade chocolates now feels like a fun upgrade on that idea, especially when you can control the filling and flavors.
These have become one of my go-to Valentine’s Day desserts because they don’t feel overcomplicated, but they still get that wow reaction when someone bites into the center.
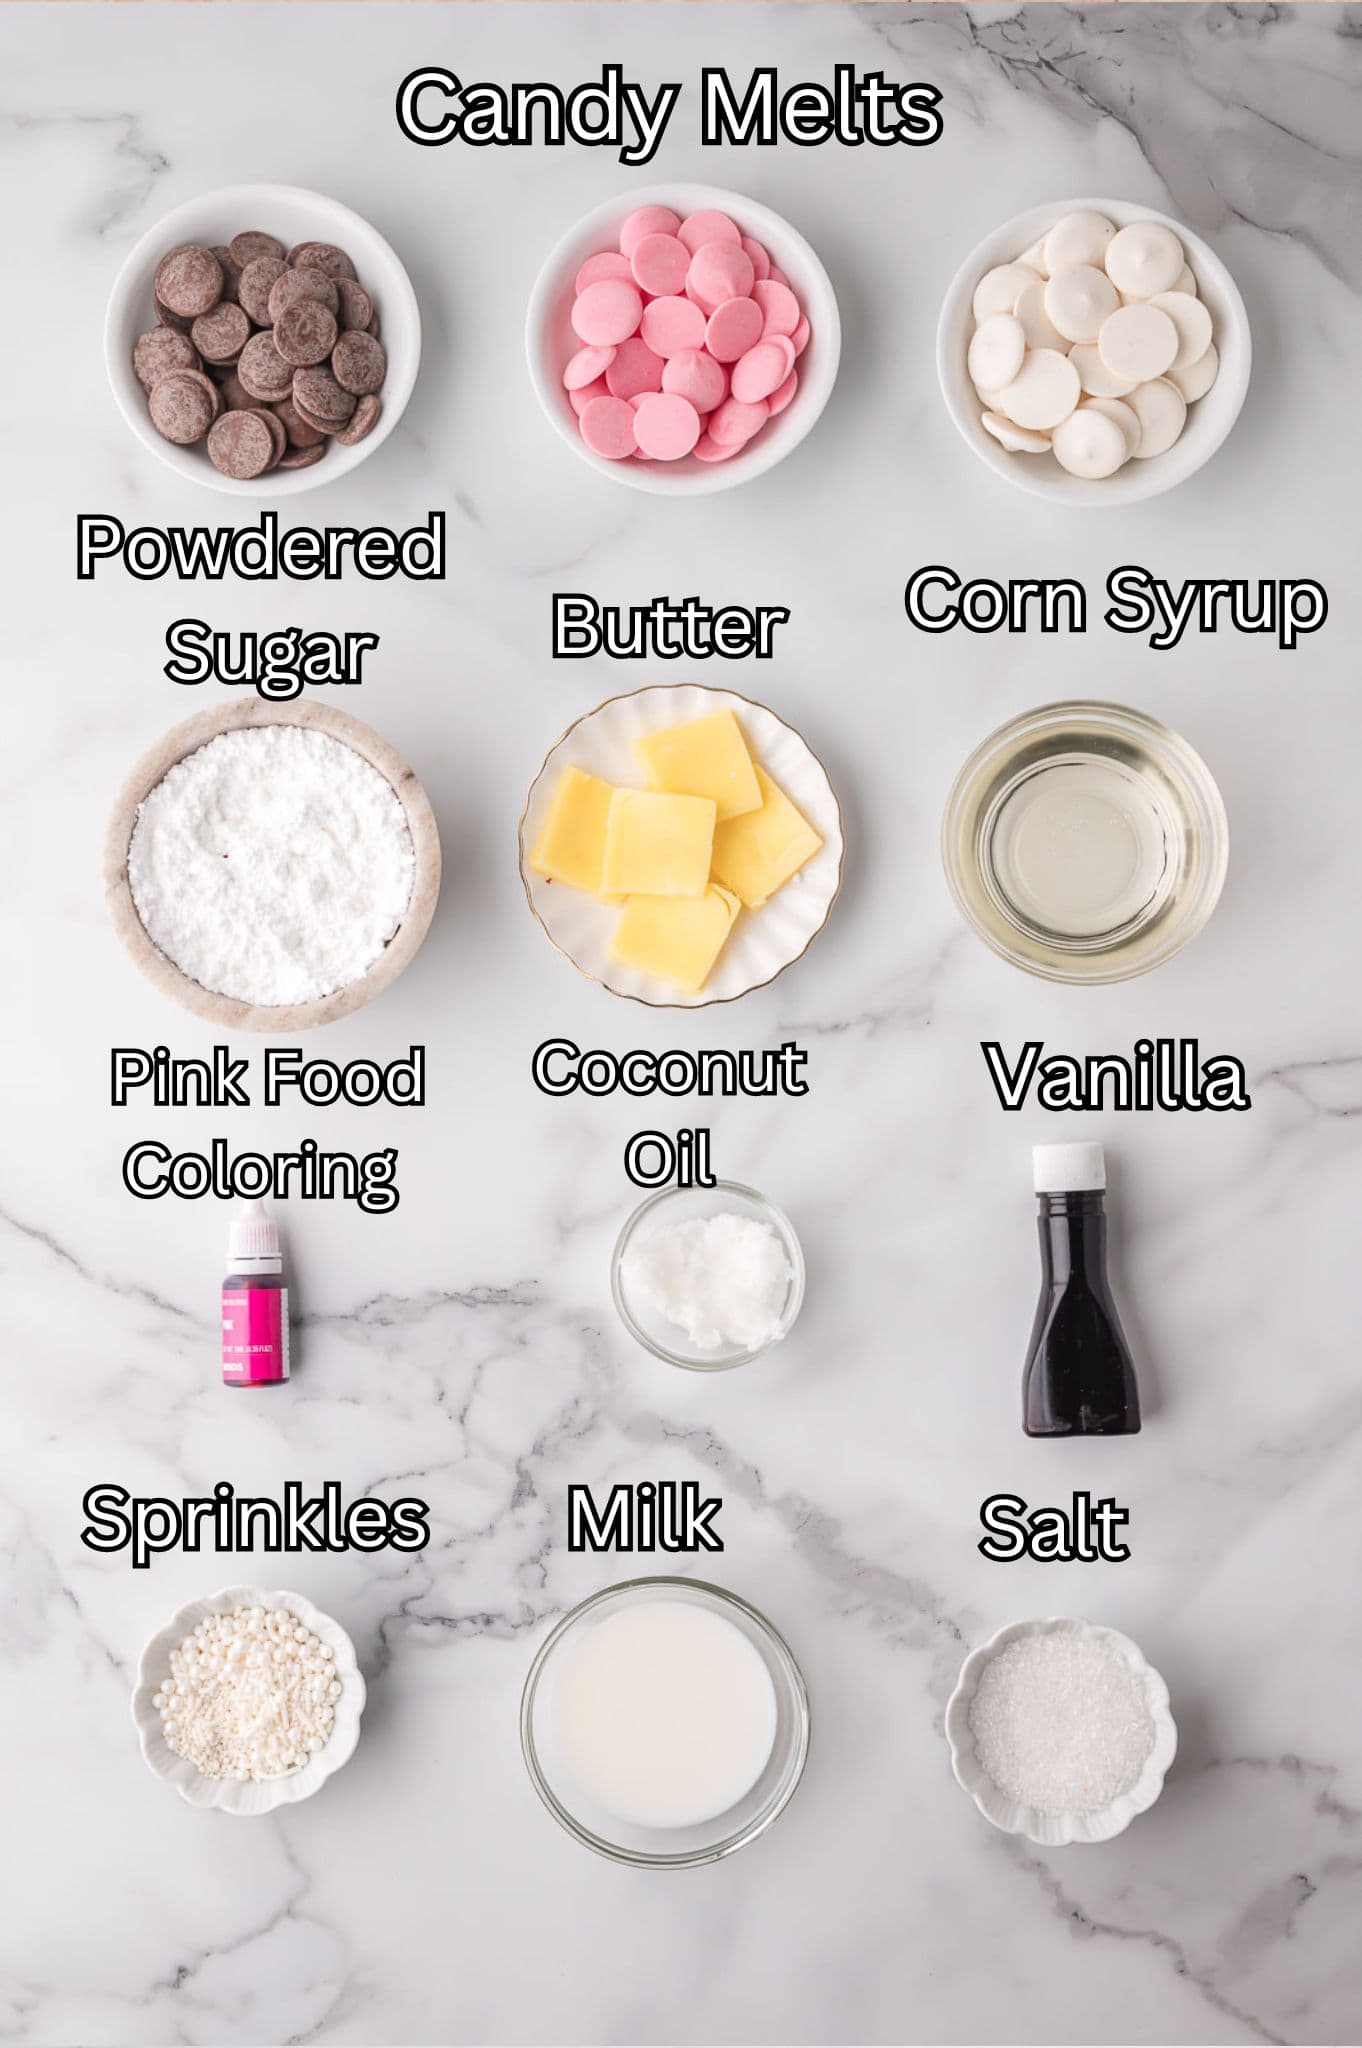
Ingredients Needed for Homemade Filled Chocolates
- Milk chocolate and white chocolate candy melts: They melt smoothly and set firm, which makes them ideal for filled chocolates. You can use chocolate chips if you can’t find Candy Melts.
- Coconut oil: This helps thin the chocolate just slightly so it coats the molds more evenly and releases cleanly.
- Unsalted butter: This is the base of the fondant filling and gives it that creamy texture.
- Light corn syrup: This is key for a soft, smooth filling and helps create that classic fondant consistency.
- Vanilla extract: Adds flavor to the filling without overpowering the chocolate.
- Powdered sugar: This thickens the filling and helps it hold its shape inside the chocolates.
- Pink food coloring: Optional, but it gives the filling that classic Valentine’s look.
- Milk or heavy cream: Only needed if the filling is too thick and needs a little loosening.
- Salt: Just a tiny pinch helps balance the sweetness.
- Pink candy melts and sprinkles: These are optional for decorating but add a fun Valentine’s finish.
How to make Homemade Filled Chocolates
**For more detailed instructions, please refer to the printable recipe card below.**
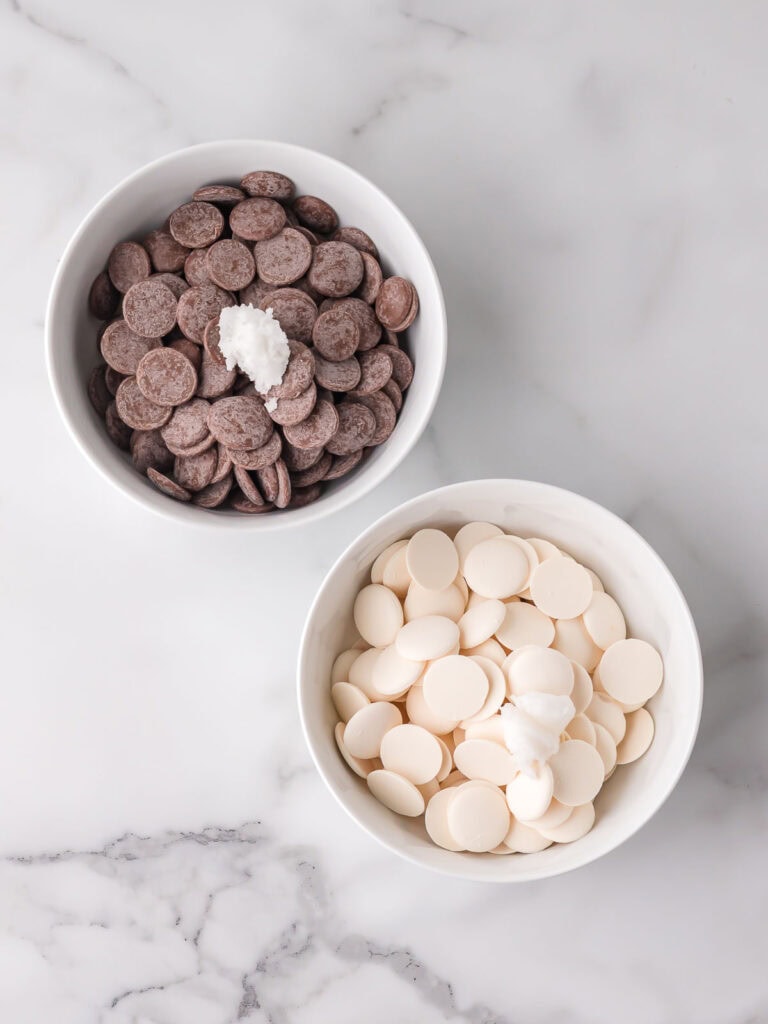
Melt the milk chocolate and white chocolate candy melts in separate microwave-safe bowls, adding a small amount of coconut oil to each.
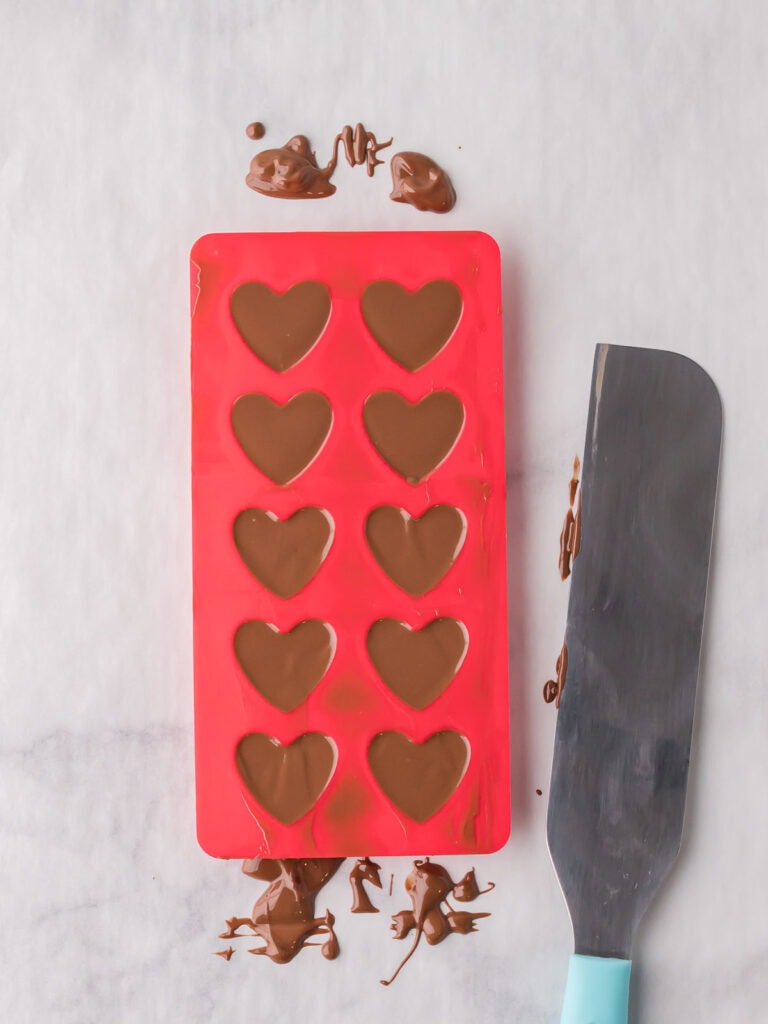
Spoon melted chocolate into the heart molds and scrape the top smooth.
Flip the mold over a wire rack to let excess chocolate drip out, then flip back and chill until set.
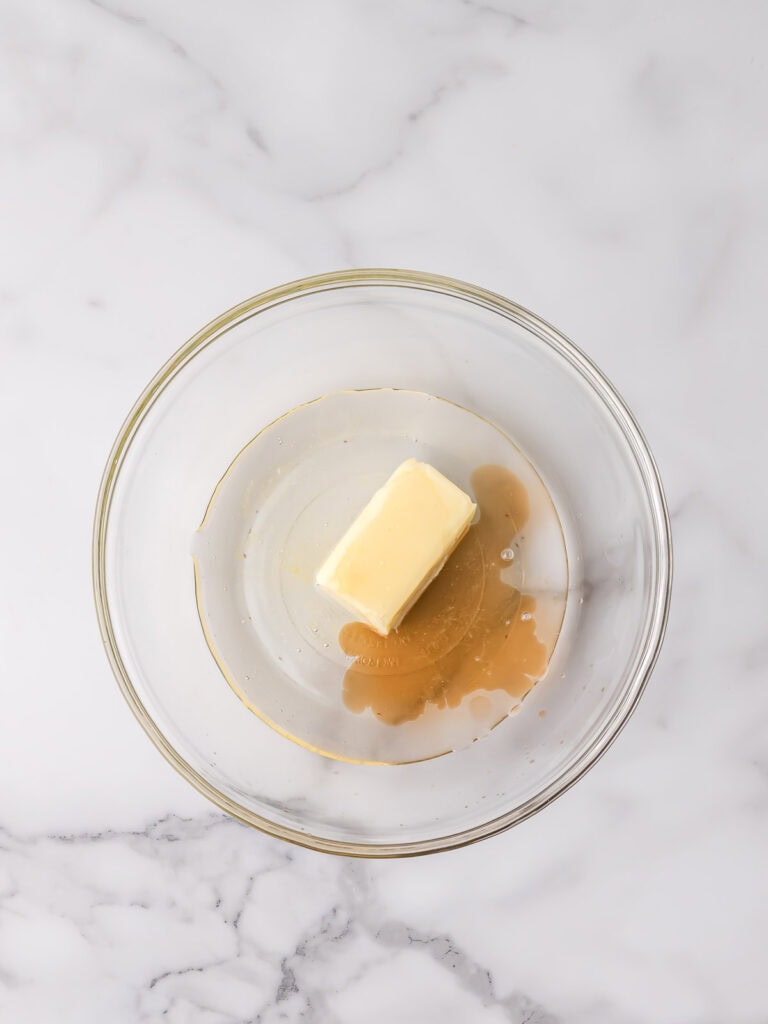
To make the filling, add the butter and corn syrup to a bowl.
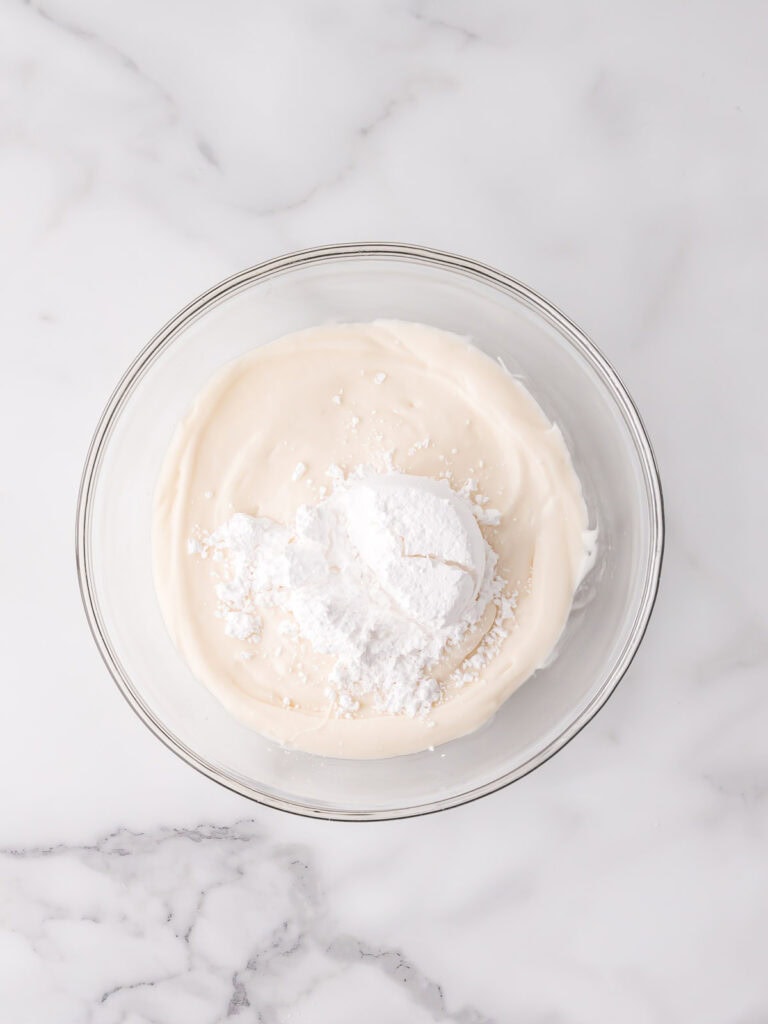
Mix in the powdered sugar until a thick filling forms.
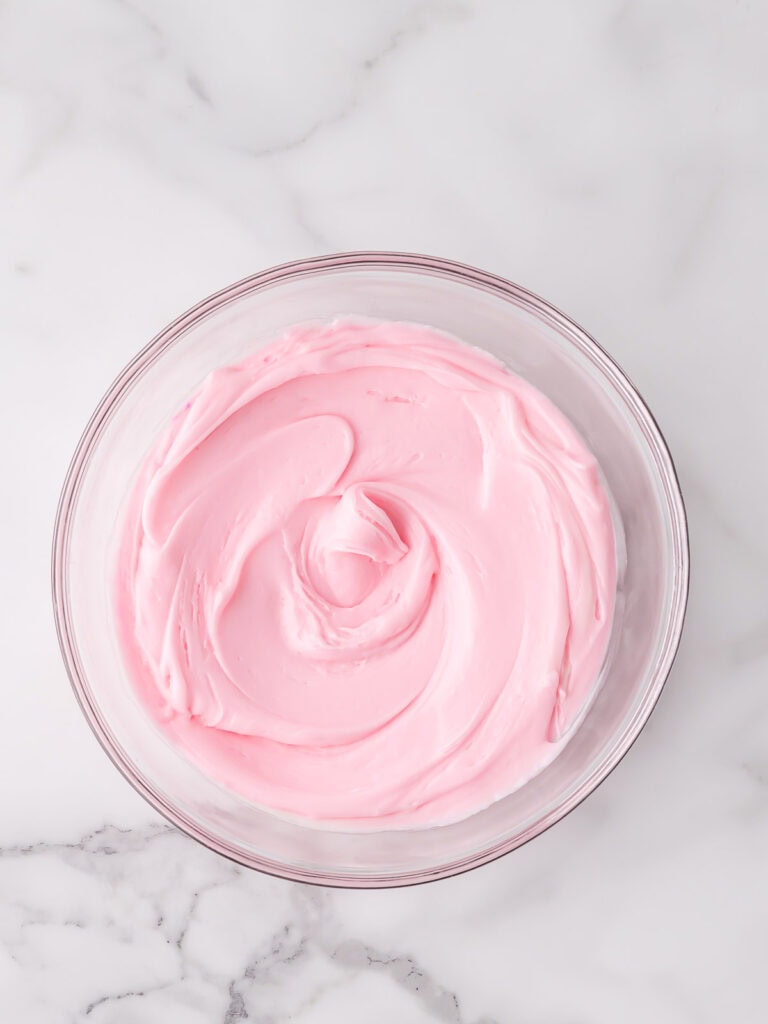
Add pink food coloring, and a tiny pinch of salt and mix until smooth and evenly colored.
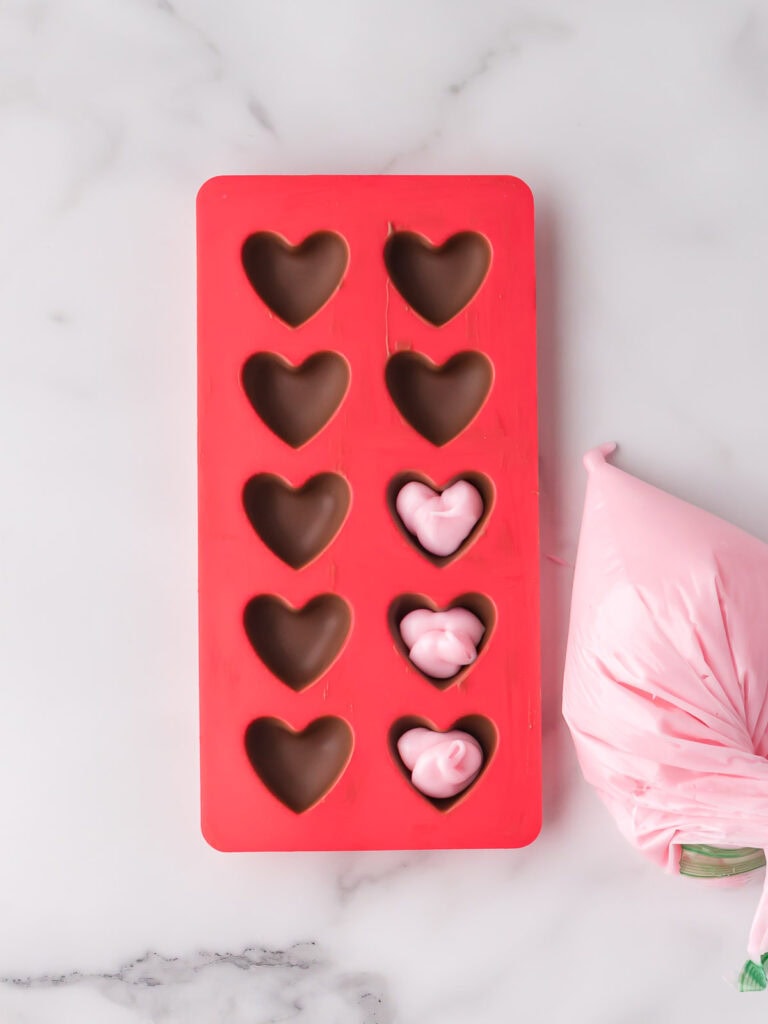
Transfer the filling to a piping bag or zip-top bag. Pipe the filling into the chocolate shells, filling each one about two-thirds full.

Spoon melted chocolate over the filling to seal the tops, scrap the top smooth, and chill.
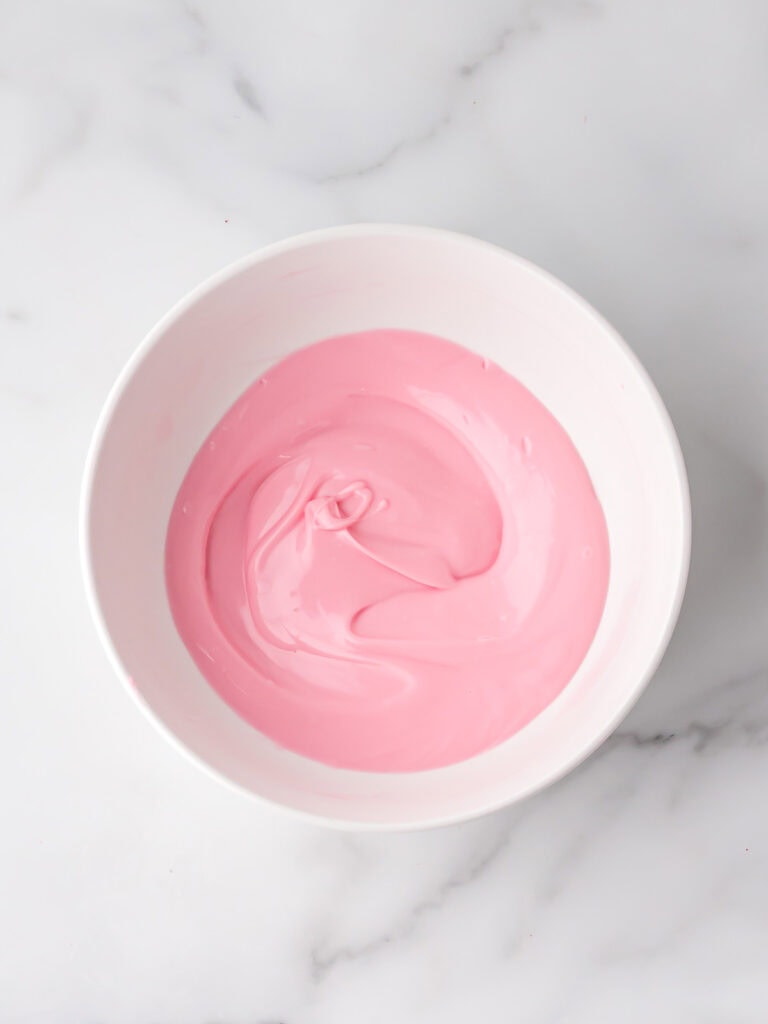
Melt the pink candy melts in the microwave with coconut oil untill smooth.
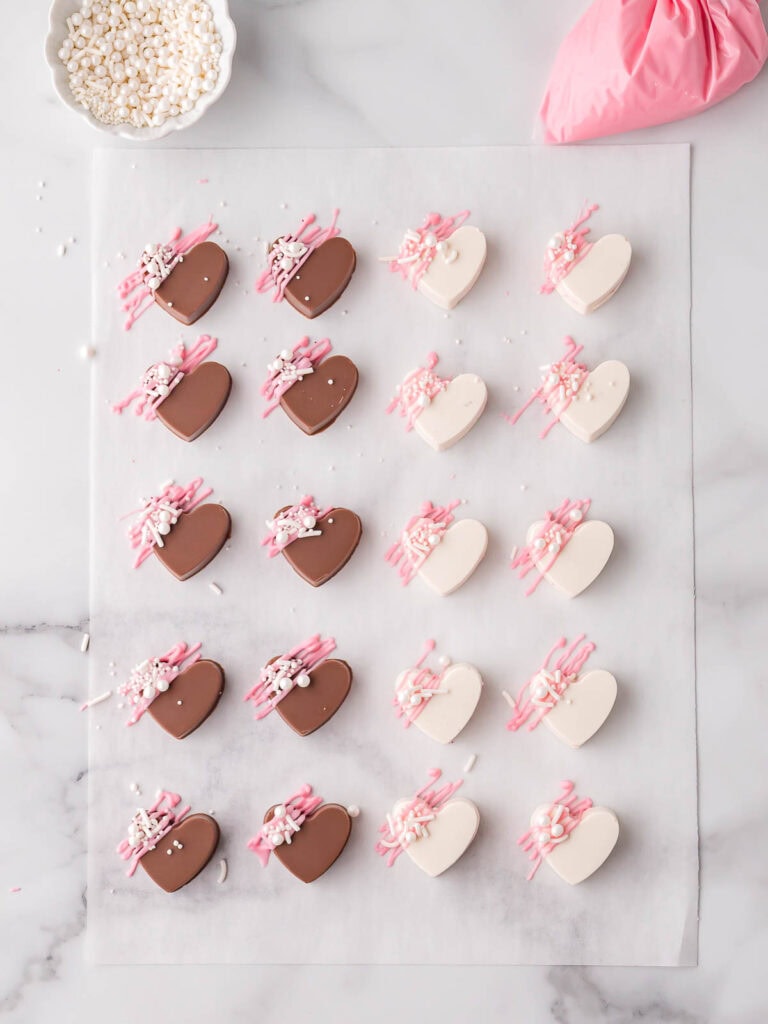
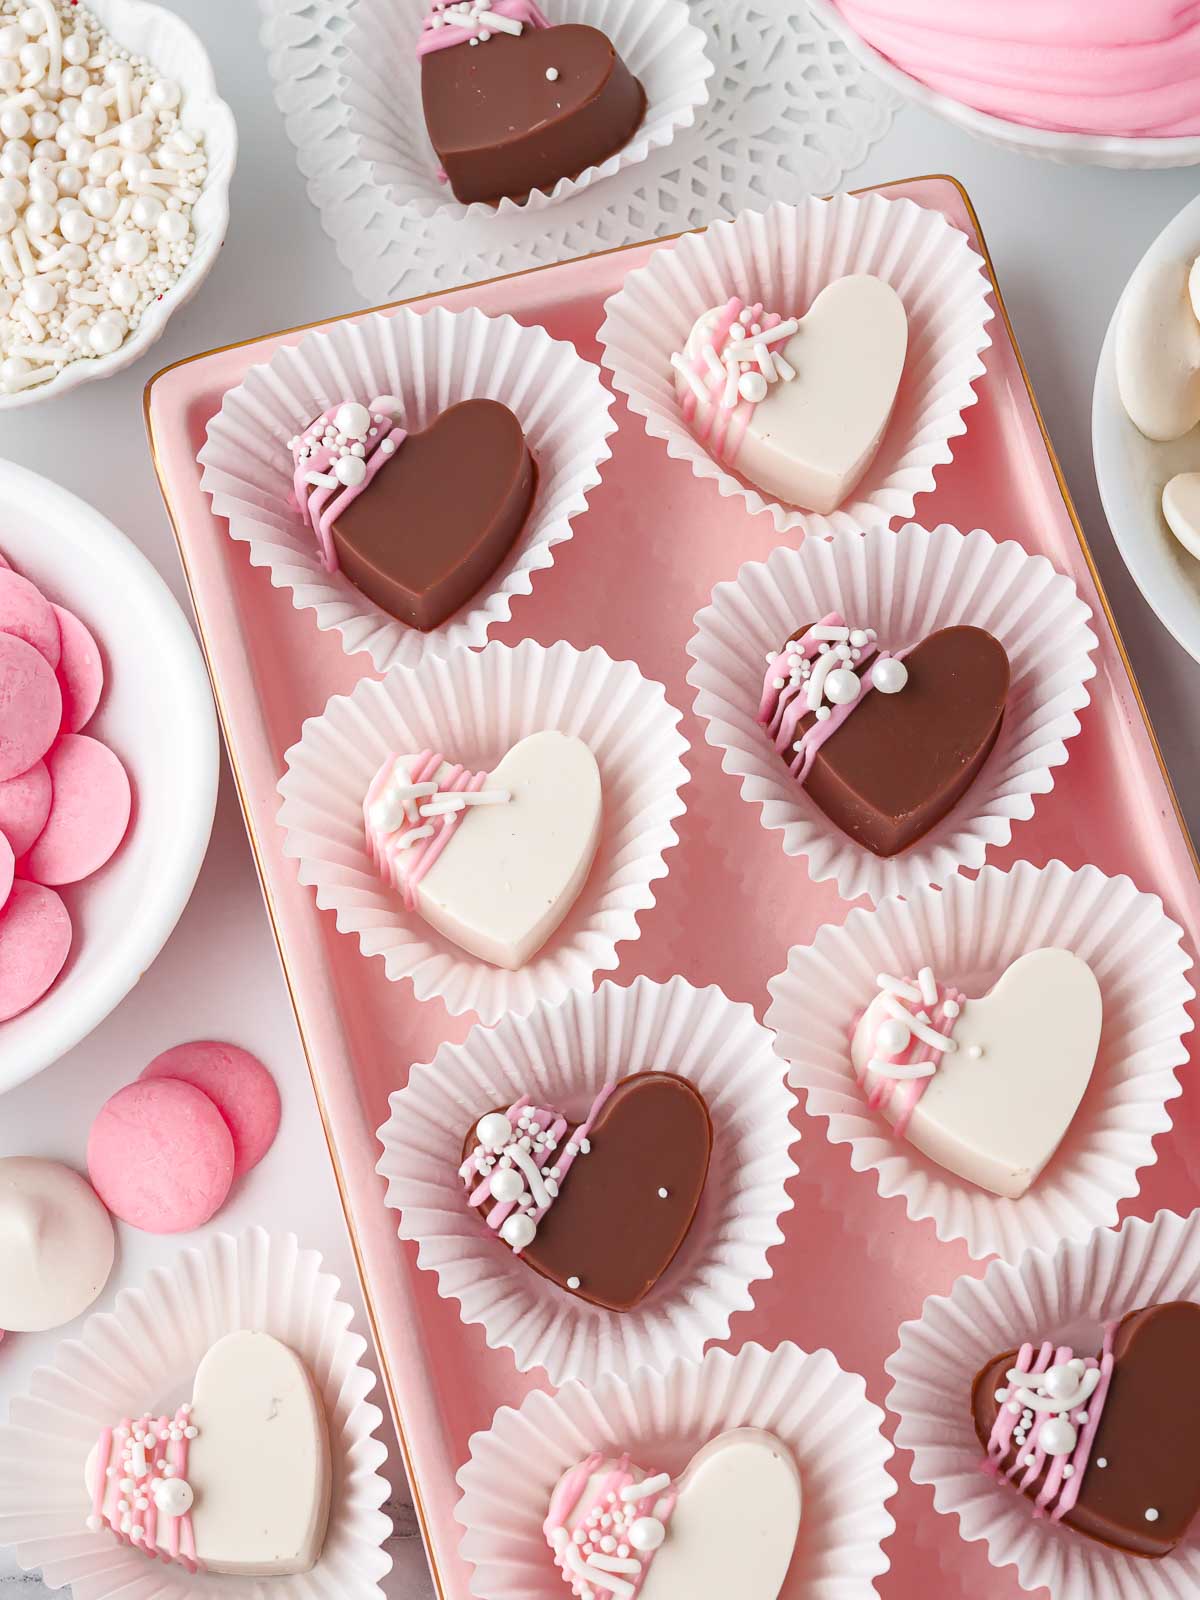
Gently release the chocolates from the mold, place on parchment paper and decorate with pink chocolate drizzle and sprinkles if desired.
Variations
- Dark Chocolate Filled Chocolates: Use dark chocolate candy melts instead of milk chocolate for a richer, less sweet shell. This works really well if you prefer a stronger chocolate flavor.
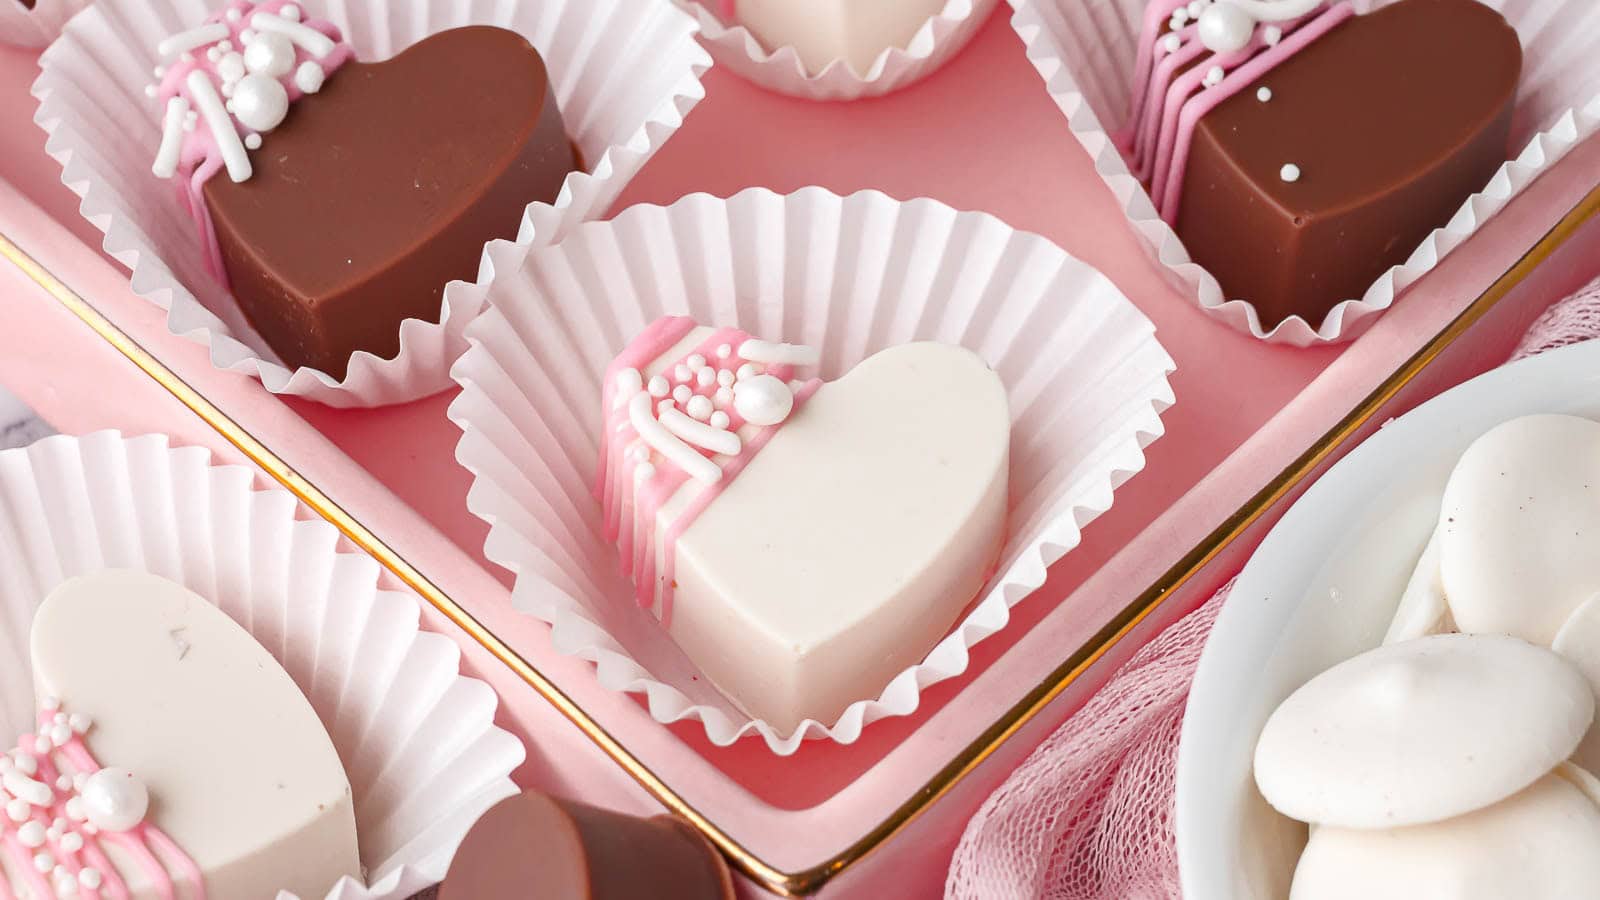
- All White Chocolate Hearts: Make all the shells with white chocolate and keep the pink filling inside for a very classic Valentine’s look.
- Peppermint Cream Filling: Swap the vanilla extract for peppermint extract to give the filling a minty twist. This is great if you like chocolate-mint desserts.
- Chocolate Fondant Filling: Add a small amount of cocoa powder to the filling for a chocolate-on-chocolate version.
- Sprinkle-Free Elegant Finish: Skip the sprinkles and keep the tops smooth or lightly drizzled for a more minimal look that still feels gift-worthy.
Serving Suggestions
- Valentine’s Dessert Boards: Add these homemade chocolates to a dessert board with cookies, strawberries, and truffles. They pair especially well with my Oreo Truffles for a mix of textures.
- Edible Gift Boxes: Pack a few chocolates into small boxes or tins lined with parchment paper. They travel well and keep their shape.
- After-Dinner Valentine’s Treat: Serve one or two with coffee after dinner instead of a full dessert. If you want a full dessert, try my Double Chocolate Cake.
- Party Dessert Table: Arrange them alongside cookies like Pinwheel Cookies or Cherry Pie Cookies for a balanced Valentine’s spread.
Storage and Freezing
- How should I store Homemade Filled Chocolates?
Store them in an airtight container in the refrigerator. They’ll stay fresh for about one week and keep their shape best when chilled.
- Can I freeze Homemade Filled Chocolates?
Yes, they freeze well. Place them in a single layer in an airtight container and freeze for up to two months. Thaw in the refrigerator before serving.
Don’t forget to pin this for later!

Tips & Tricks
- Use silicone molds: Silicone makes releasing the chocolates much easier and helps keep clean edges. I used these ones HERE
- Don’t overfill the shells: Leaving space for sealing prevents the filling from pushing out the bottom.
- Keep chocolate warm but not hot: Overheated chocolate can become thick or streaky, so go slowly.
- Control shell thickness during the first pour:
After filling the mold and tapping it on the counter, immediately invert the mold and let the excess chocolate drip out for a few seconds. Scraping the top clean before chilling is what controls shell thickness. - Decorate quickly: Add sprinkles right after drizzling so they stick before the chocolate sets.
Recommended
More Fun Desserts
Looking for more meal inspiration?
Browse my Valentine’s Day Recipes or check out my Desserts for more yummy ideas.
FAQ
Homemade Filled Chocolates
Equipment
- cutting board or baking sheet (for moving the molds to the fridge)
Ingredients
Chocolate Shells
- 1½ cups milk chocolate candy melts
- 1½ cups white chocolate candy melts
- 1 teaspoon coconut oil divided between the chocolate melts
Pink Fondant Cream Filling
- ¼ cup unsalted butter softened
- ½ cup light corn syrup
- 1 teaspoon vanilla extract
- 3½ to 4 cups powdered sugar
- pink food coloring
- 1 to 2 teaspoons milk or heavy cream only if needed
- tiny pinch of salt
Decoration (Optional)
- ½ cup pink candy melts
- Valentine sprinkles
Instructions
Prepare the chocolate shells
- Place the milk chocolate candy melts in one microwave-safe bowl and the white chocolate candy melts in another. Add coconut oil if using.
- Microwave each bowl in 20-second intervals, stirring well between each round, until melted and smooth. The chocolate should be fluid but not hot.
- Place the silicone mold on a flat surface.
- Spoon chocolate into each heart cavity until completely full.
- Tap the mold firmly on the counter several times to release air bubbles and help the chocolate coat the sides.
- Scrape across the top of the mold with an offset spatula or scraper to level the chocolate.
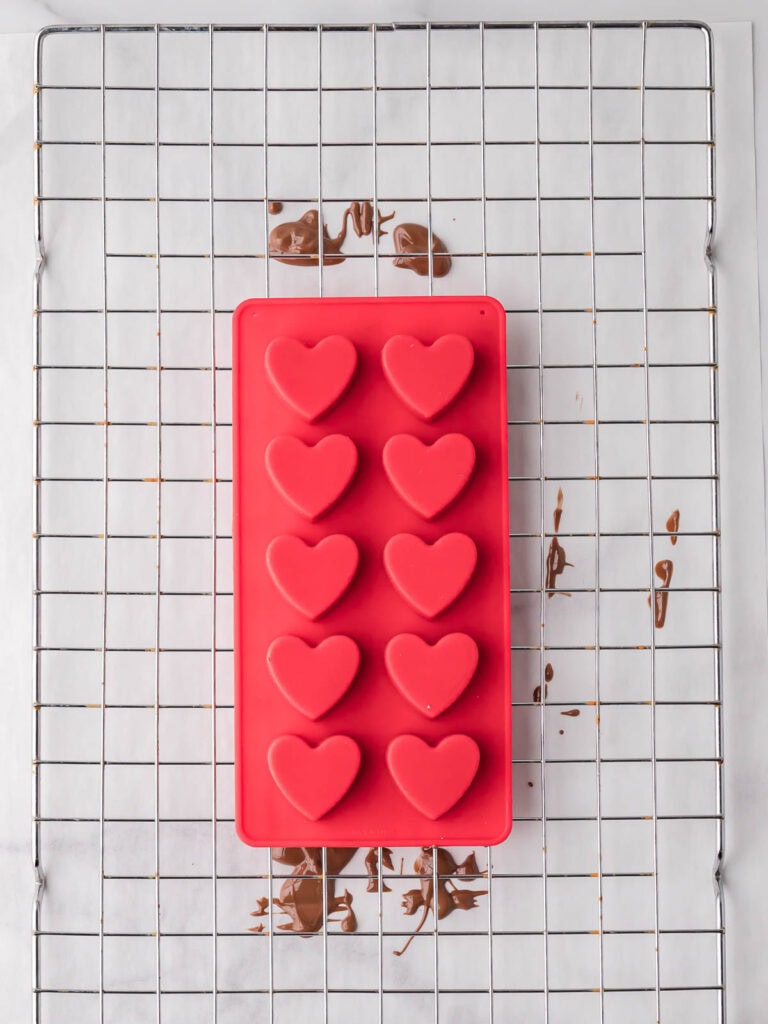
- Set a wire rack over a parchment-lined baking tray. Carefully place the mold upside down on the rack
- Let the mold rest upside down for 10–15 seconds, gently tapping the back of the mold so excess chocolate drips out.
- Flip the mold right side up and scrape the top clean again, working from the center out so not to push the chocolate back into the molds.
- Refrigerate for 8 to 10 minutes, or until the chocolate shells are fully set and firm.
Make the pink fondant cream filling
- In a mixing bowl, beat the softened butter until smooth.
- Add the corn syrup and vanilla extract and mix until fully combined.
- Gradually add 3½ cups powdered sugar, mixing until a very thick filling forms.
- Add pink food coloring and a tiny pinch of salt, then mix until evenly colored.
- Check the texture. The filling should be very thick and hold its shape. If needed, add milk or heavy cream ½ teaspoon at a time until pipeable. If too soft, mix in additional powdered sugar.
Fill and seal the chocolates
- Transfer the pink filling to a piping bag or zip-top bag and snip a small corner.
- Pipe the filling into each chocolate shell, filling about two-thirds full. Do not overfill.
- Spoon or pipe more melted chocolate over the filling to seal each heart.
- Scrape the top of the mold clean so the bottoms are smooth.
- Refrigerate for 10 to 15 minutes, or until completely set.
- Gently peel the mold away to release the chocolates.
Decorate the chocolates (optional)
- Melt the pink candy melts in a small microwave-safe bowl until smooth.
- Transfer to a zip-top bag and snip a very small corner.
- Drizzle pink stripes over one half of each chocolate.
- Add sprinkles immediately before the drizzle sets.
- Let the decorations set at room temperature or refrigerate for 5 minutes.
Notes
- Use silicone molds: Silicone makes releasing the chocolates much easier and helps keep clean edges. I used these ones HERE
- Don’t overfill the shells: Leaving space for sealing prevents the filling from pushing out the bottom.
- Keep chocolate warm but not hot: Overheated chocolate can become thick or streaky, so go slowly.
- Control shell thickness during the first pour:
After filling the mold and tapping it on the counter, immediately invert the mold and let the excess chocolate drip out for a few seconds. Scraping the top clean before chilling is what controls shell thickness. - Decorate quickly: Add sprinkles right after drizzling so they stick before the chocolate sets.


Your recipe was so easy to follow! Thank you!
I’m glad you loved it!
I don’t think I’ll ever buy a box of chocolates again after this recipe! They are so much better than what you can get at a store. The flavors are just so delicious but on top of it they look so fancy but really didn’t take that much work.
Yay!!! Thats what I sad after I started making them! And you can get so many different shaped molds now, they are good for every season.
I’m definitely planning to make them this coming Valentine’s Day, so easy and that creamy center sounds irresistible.
Yes! I love cream eggs and the filling is just like that!
I’ve always wanted to try making my own chocolates but have always been a little intimidated. Your instructions and tips made these so fun and easy! Definitely had the most fun with the decorations 🙂
Yay! I’m so glad you liked the recipe!
These look absolutely perfect – I have to try them.
Yes! And they are fun to make too!
These are absolutely gorgeous! Saving this to make with my kids on Valentine’s Day. I’m ordering the mold today. Thanks for the special recipe!
I love to hear this! I hope you enjoy!!!