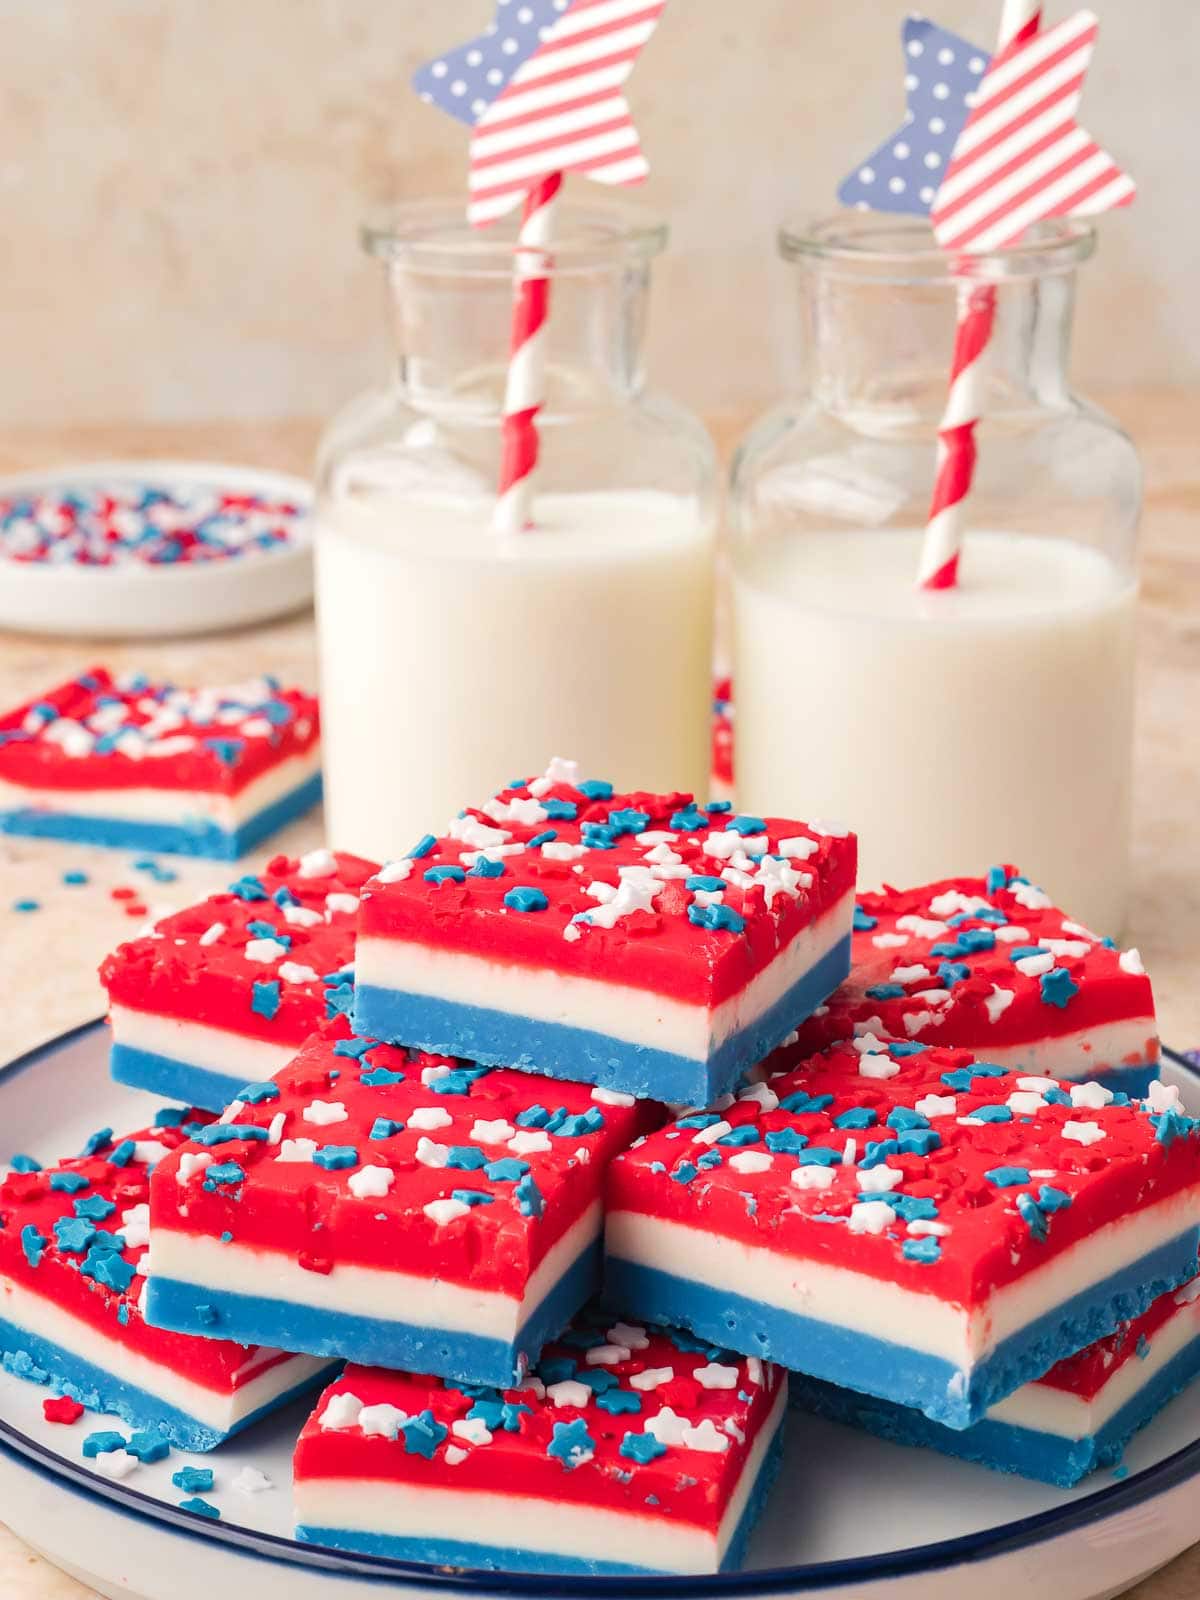
Red White and Blue Layered Fudge
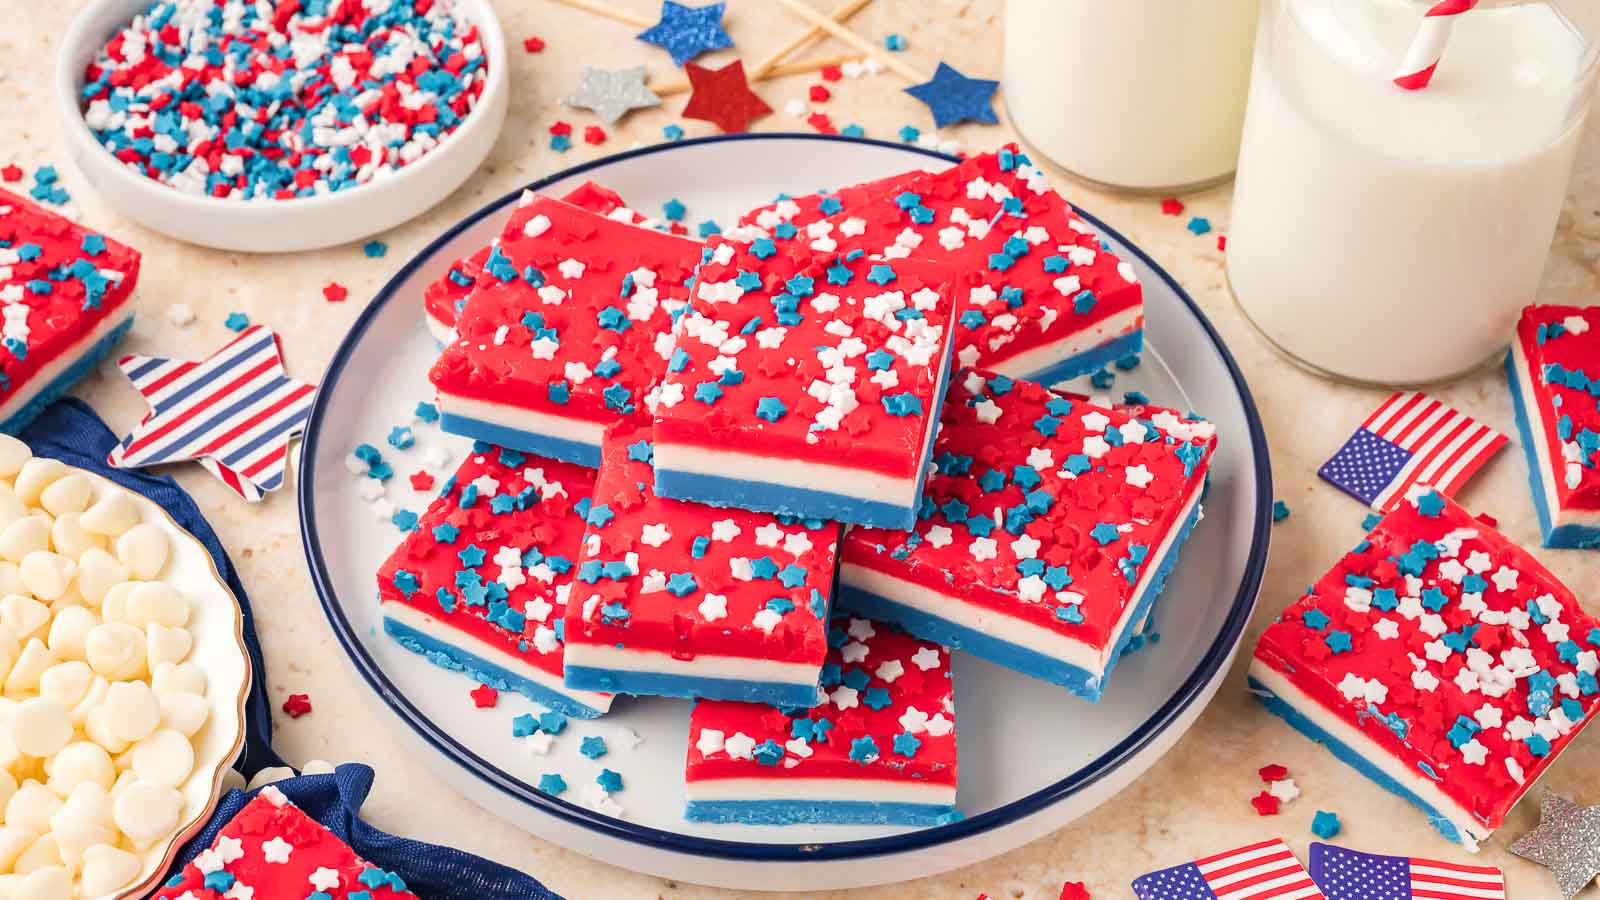
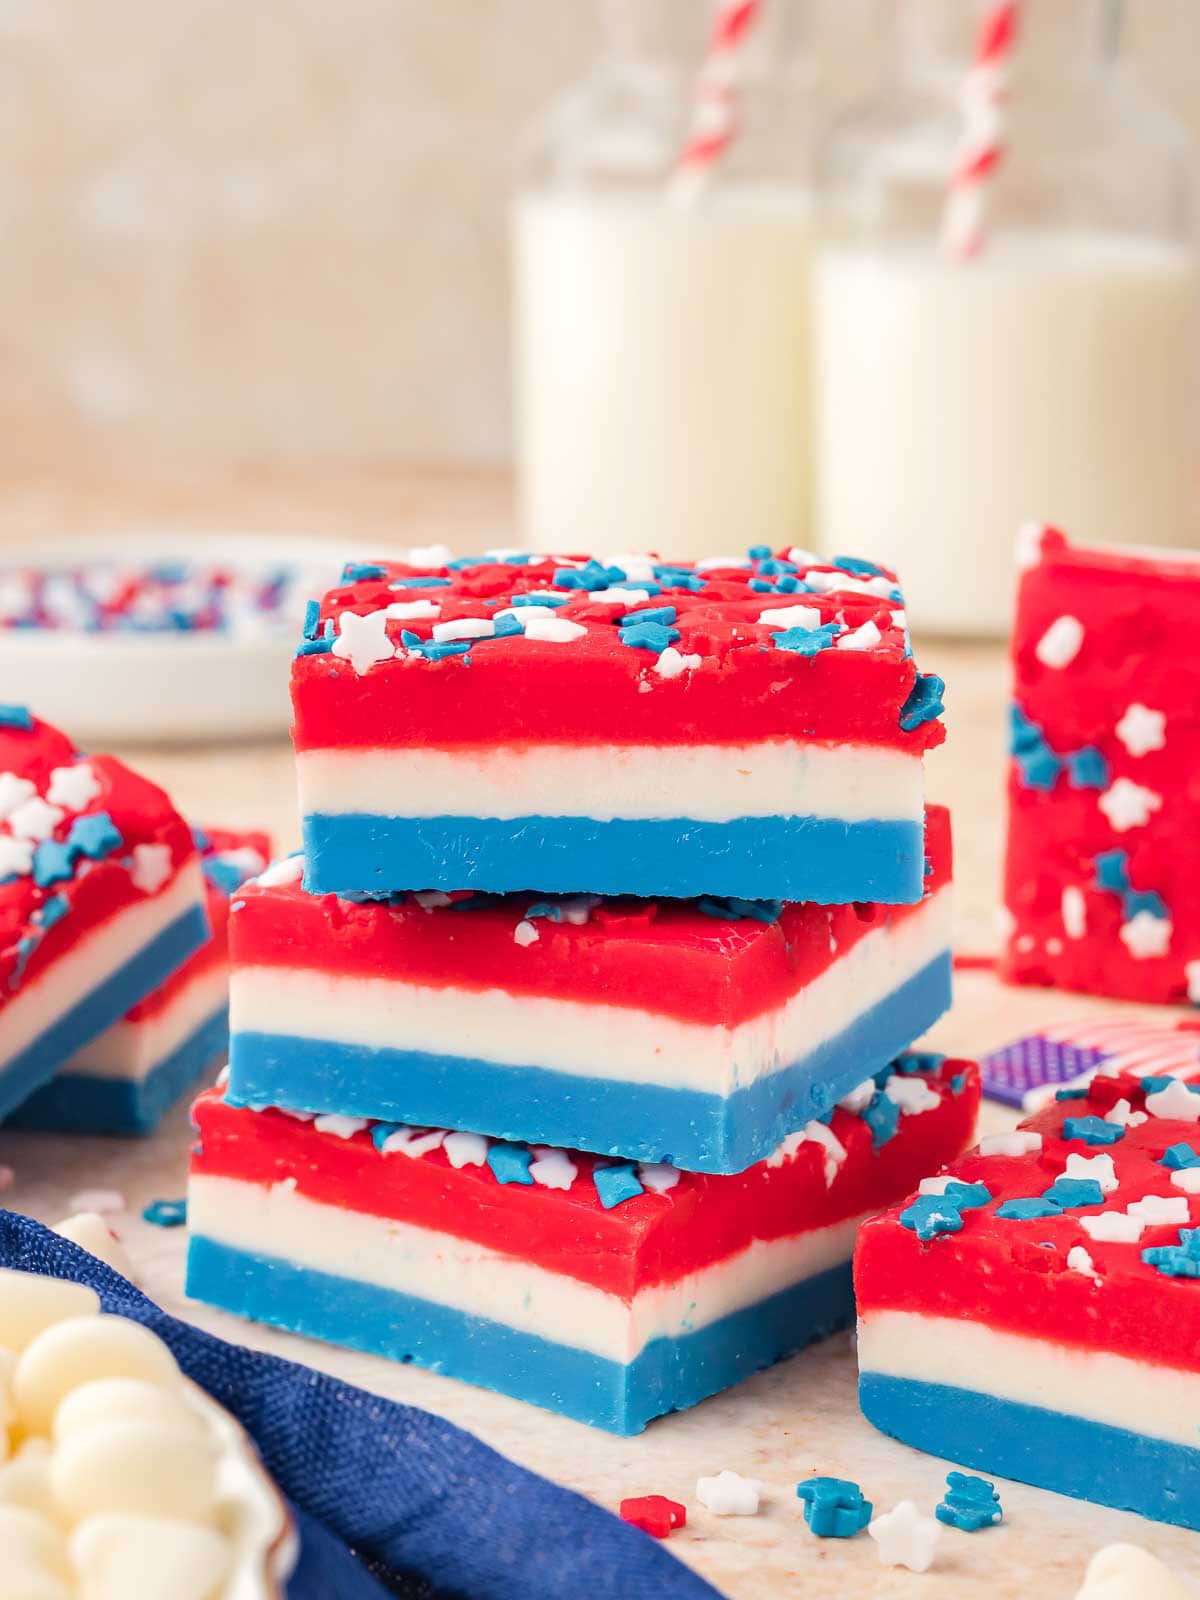
If you need an easy no bake dessert for summer parties, this Red White and Blue Layered Fudge is a fun one to make. It’s firm, creamy, easy to slice, and the bright layers make it perfect for Memorial Day, 4th of July parties, cookouts, and summer dessert trays.
This fudge is made with white chocolate and sweetened condensed milk, so the texture turns out smooth and rich without needing a candy thermometer. I like pairing this with other patriotic desserts like my Red White and Blue Jello Cups or Red White and Blue Pretzel Bites when we’re hosting people during the summer.
Why you’ll love this Red White and Blue Layered Fudge
Easy Patriotic Dessert That Travels Well
One thing I really like about this layered fudge is how easy it is to make ahead. Once it’s chilled and sliced, you can stack the squares into containers and bring them to BBQs, pool parties, fireworks nights, or family gatherings without worrying about them falling apart.
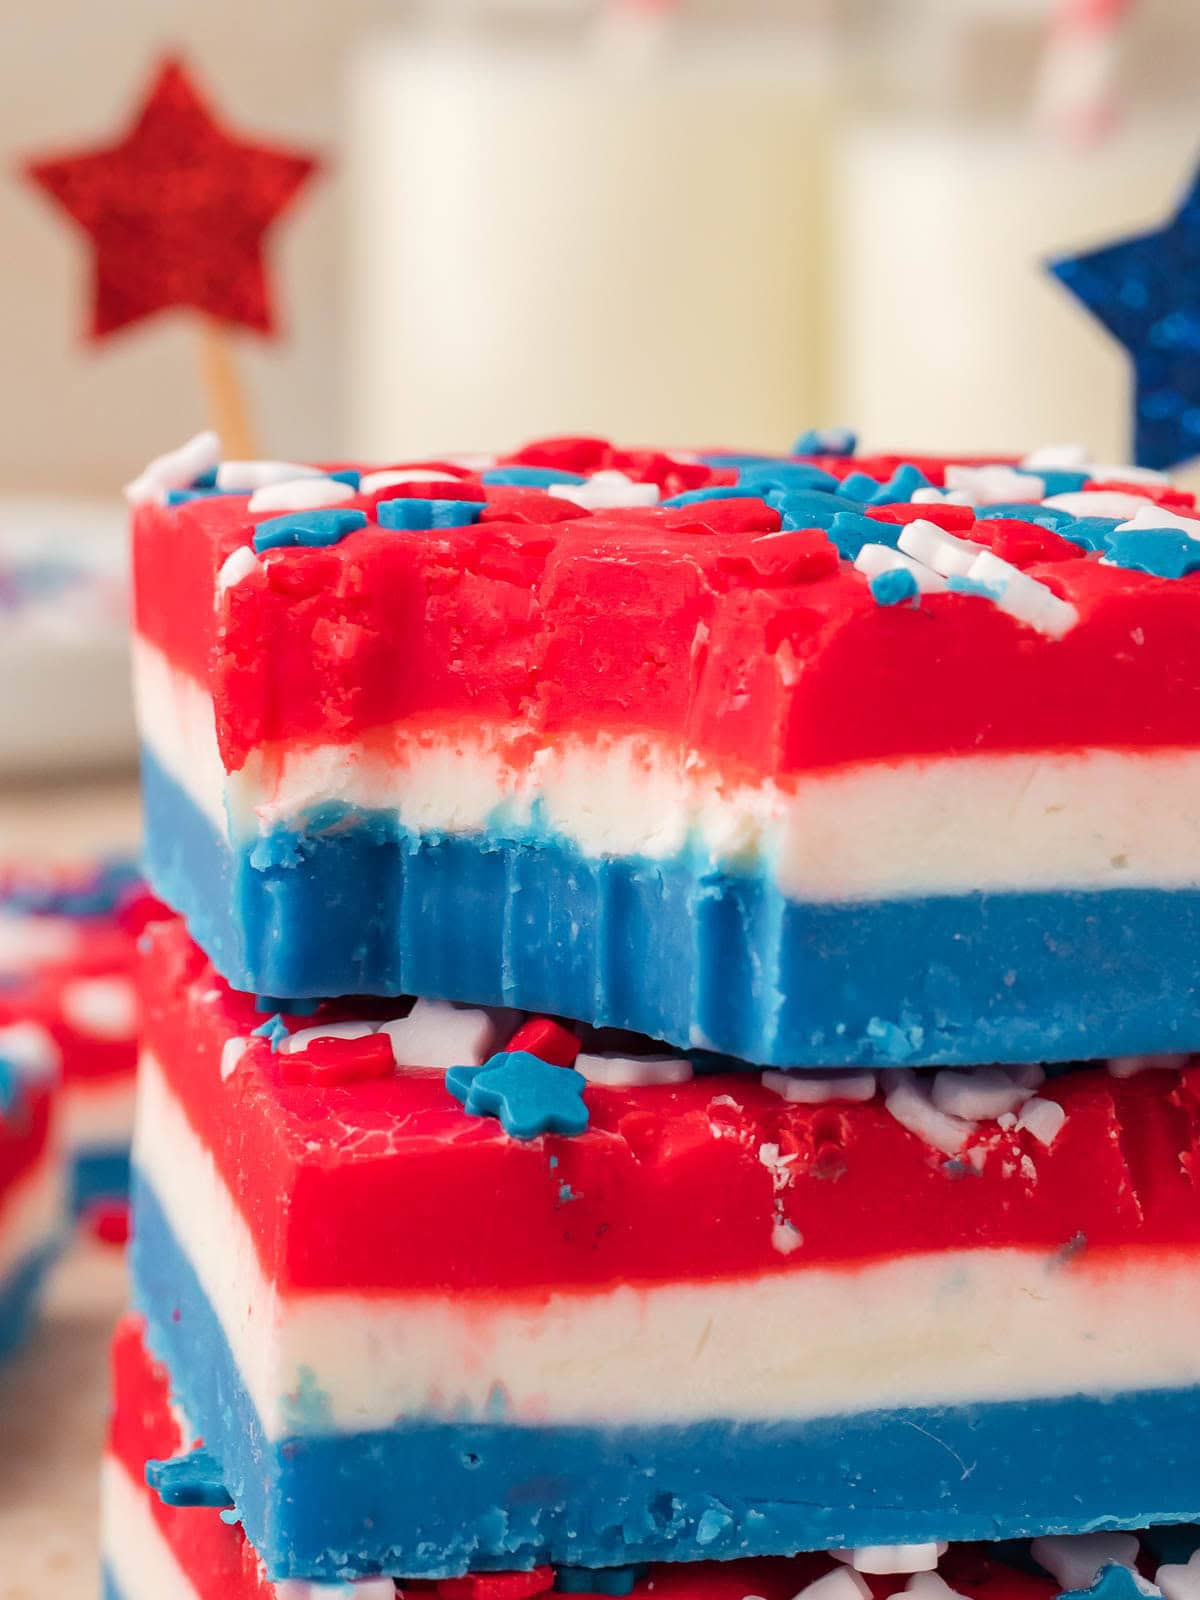
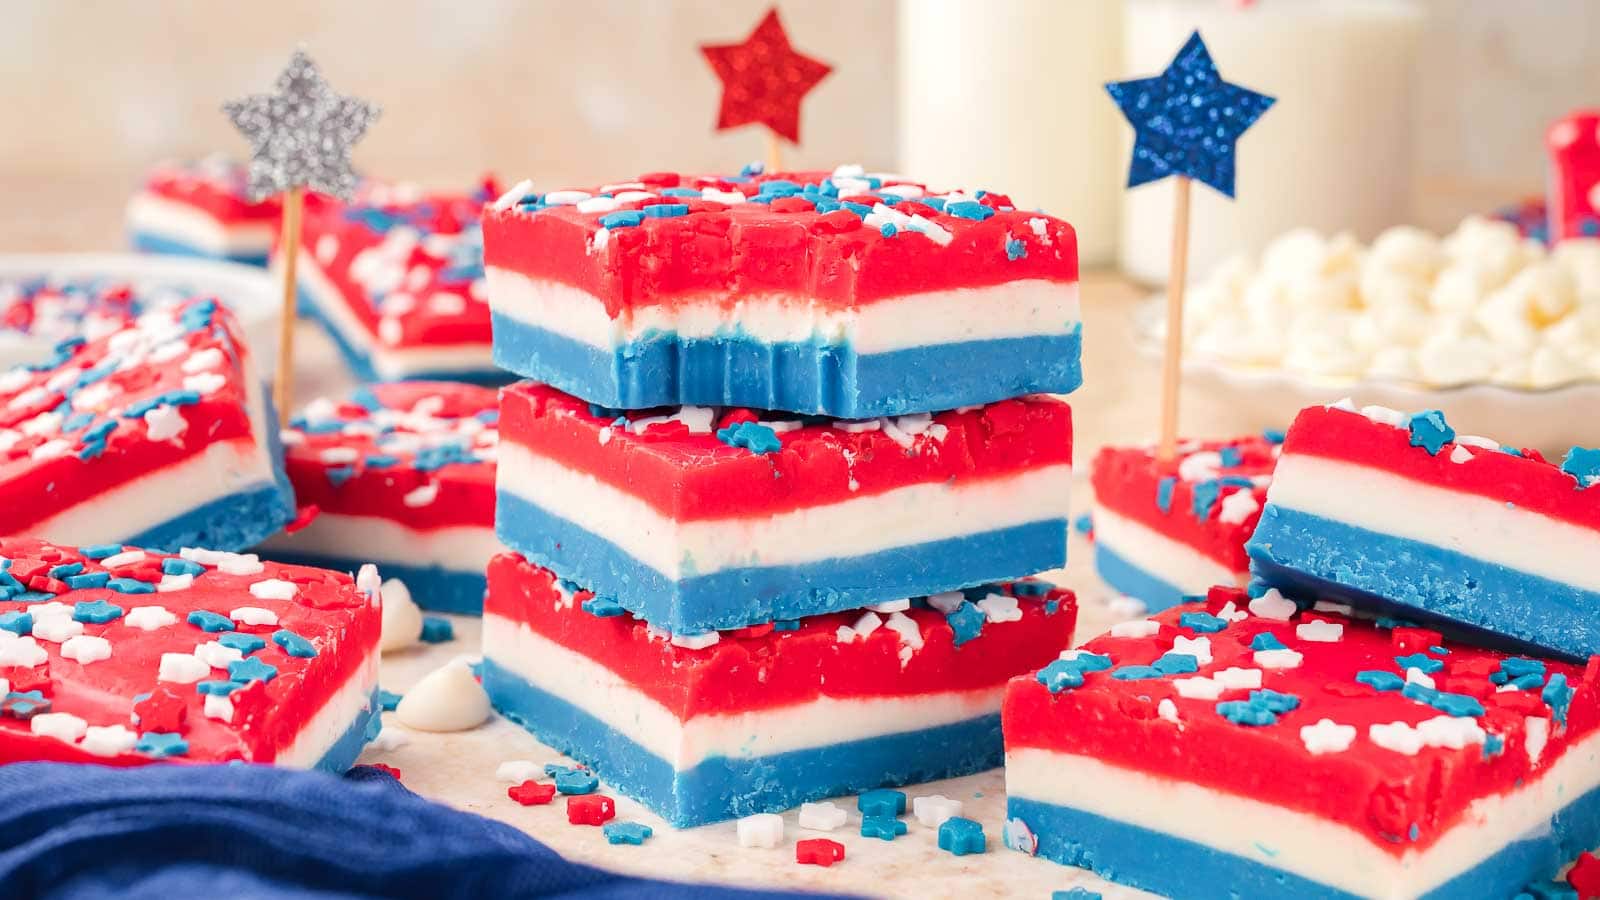
The white chocolate base also gives you a clean backdrop for the colors, so the red, white, and blue layers really stand out once sliced. It looks great on dessert tables without needing a lot of decorating work.
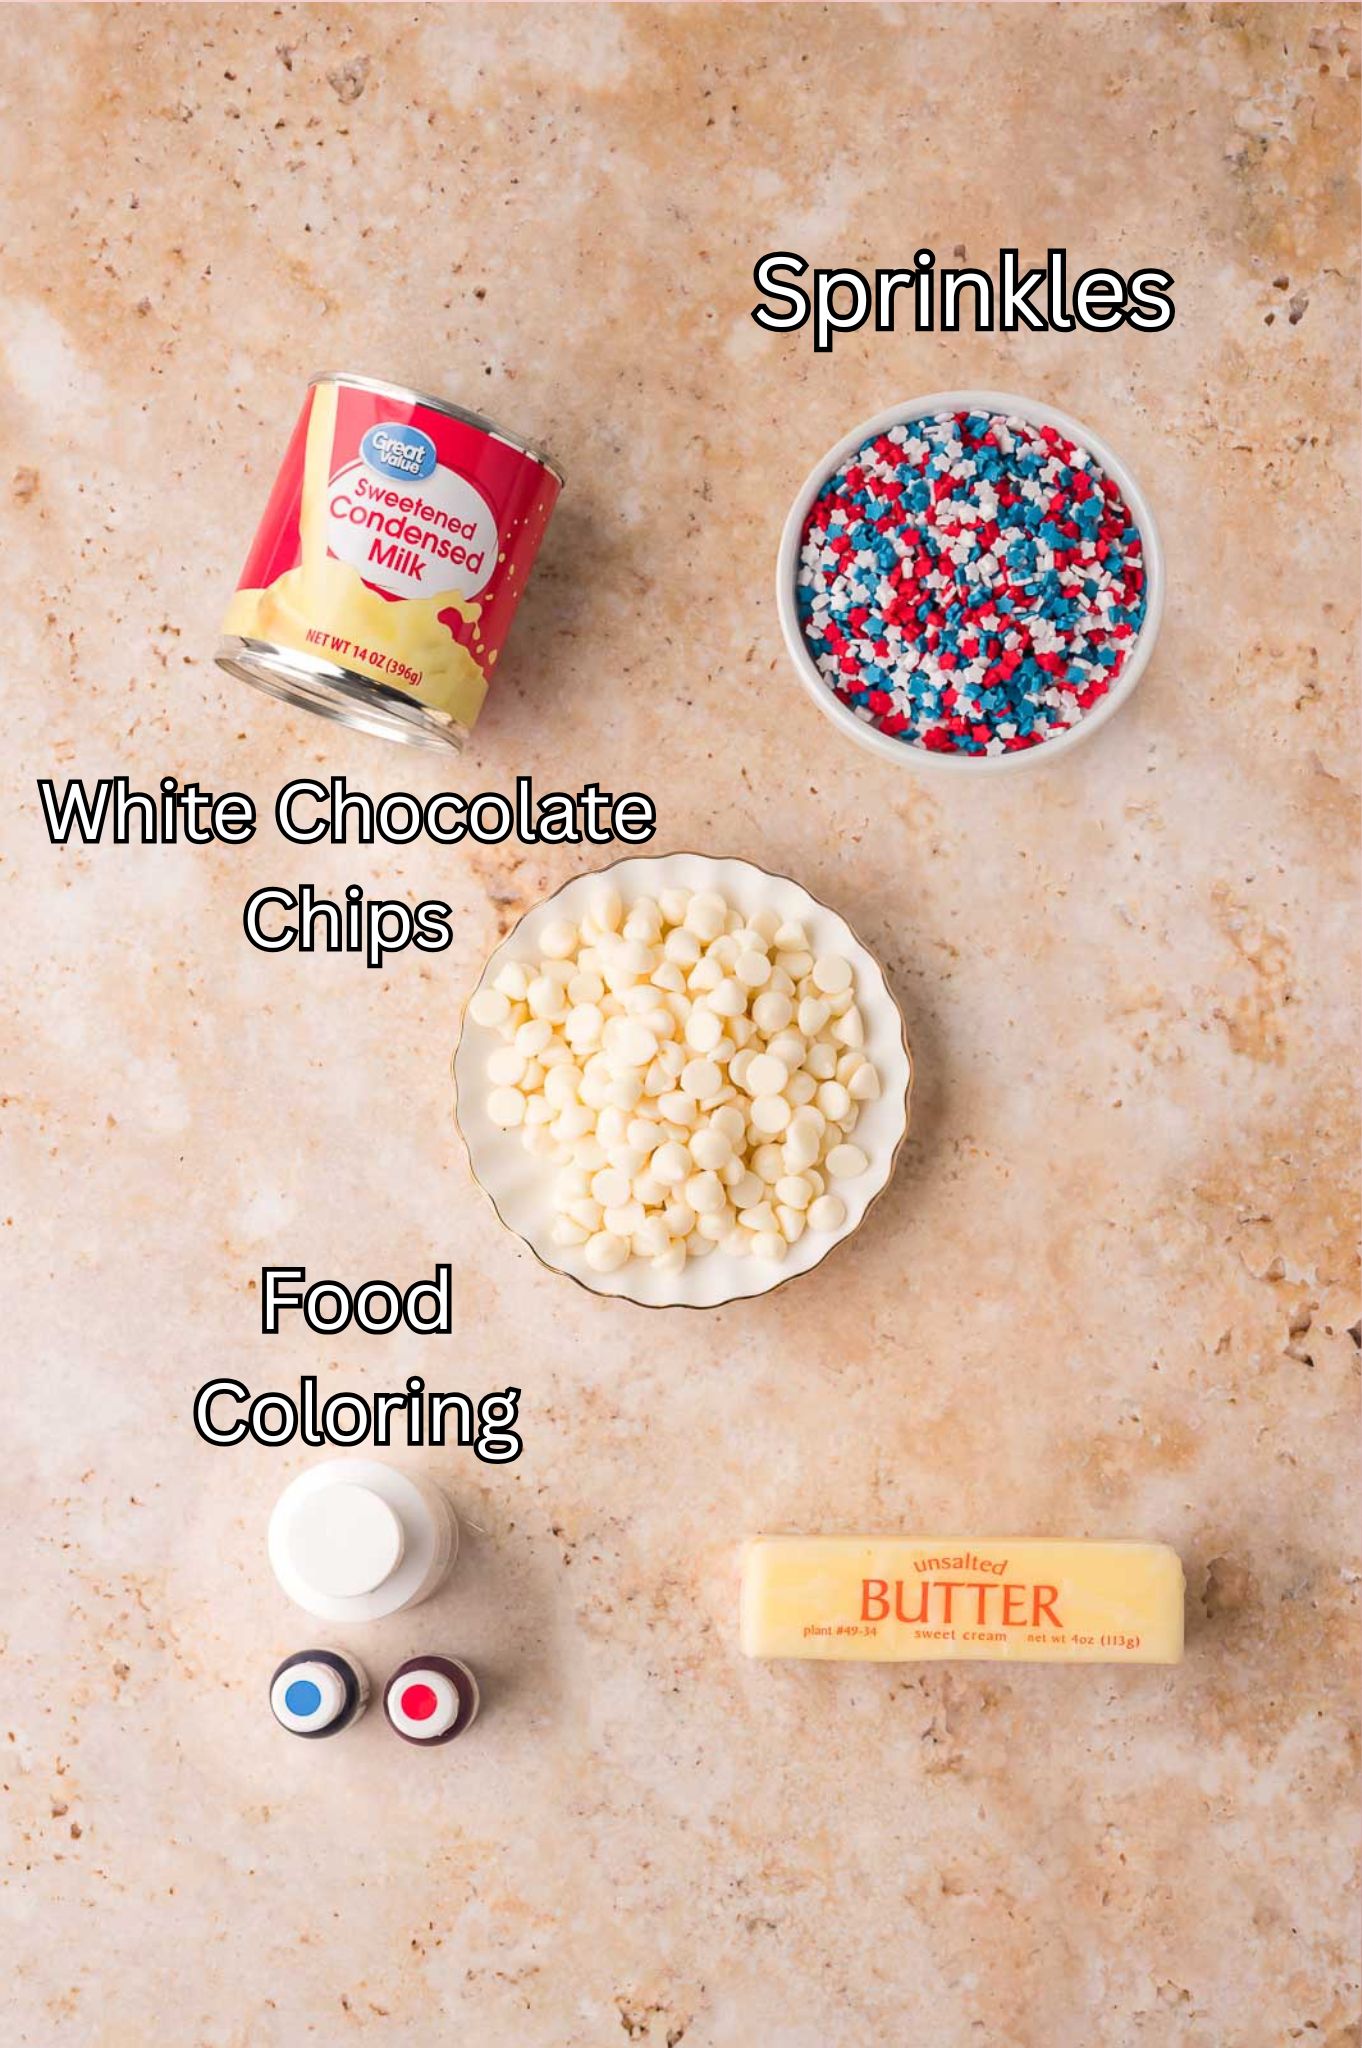
Ingredients Needed For Red White and Blue Layered Fudge
- White chocolate chips: These create the base of the fudge and give it that smooth, creamy texture. Use a good quality white chocolate for the best flavor and melting consistency.
- Sweetened condensed milk: This helps bind everything together and keeps the fudge soft but firm enough to slice cleanly once chilled.
- Unsalted butter: A little butter helps the chocolate melt smoothly and keeps the texture rich.
- Red and blue food coloring: Gel food coloring works especially well because the colors stay vibrant without thinning the mixture.
- White food coloring: This helps brighten the middle layer so it stands out more between the red and blue sections.
- Red white and blue star sprinkles: These add texture and give the top layer a fun patriotic finish.
How to make Red White and Blue Layered Fudge
**For more detailed instructions, please refer to the printable recipe card below.**

Add the white chocolate chips, sweetened condensed milk, and butter to a microwave-safe bowl.
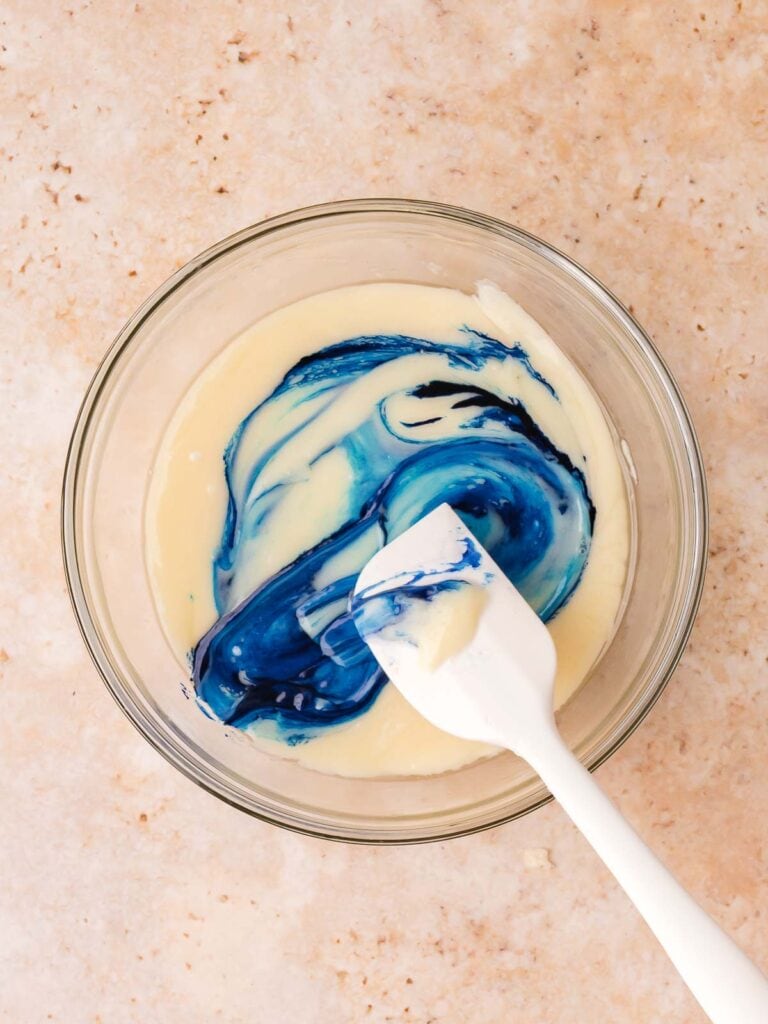
Split the mixture into 3 bowls and mix blue food coloring into one, and red and white into the other two bowls.
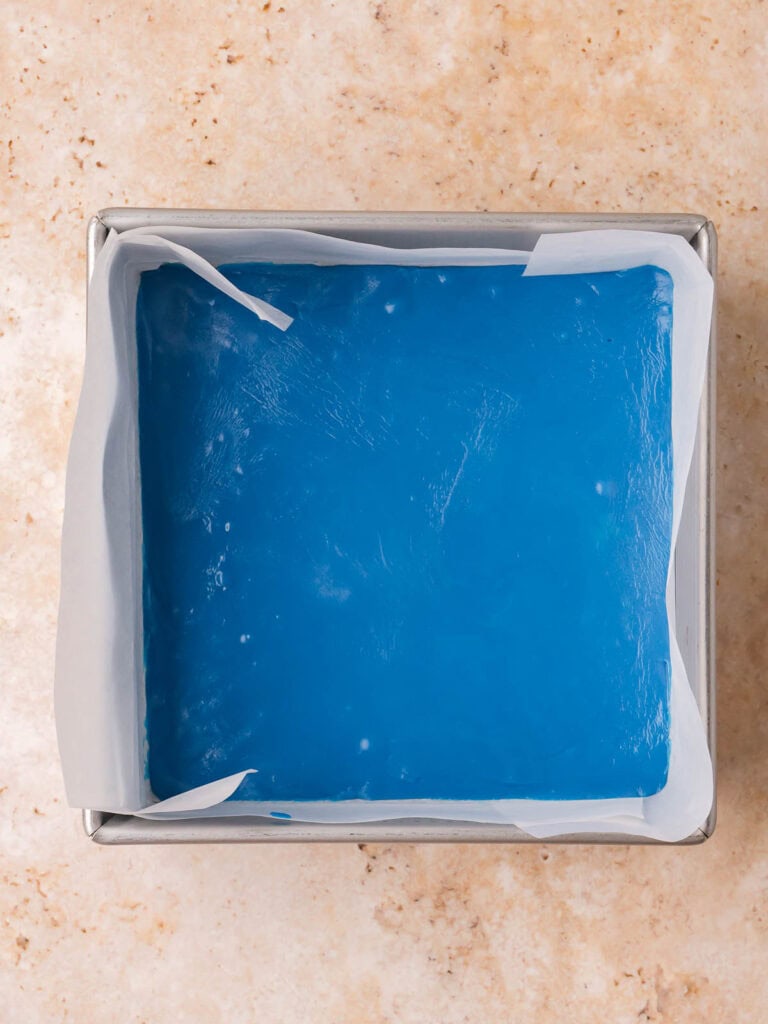
Pour the blue fudge mixture into a parchment-lined baking dish and chill until set.

Spread the white fudge layer over the blue layer and chill again.

Spread the red fudge layer over the white layer.
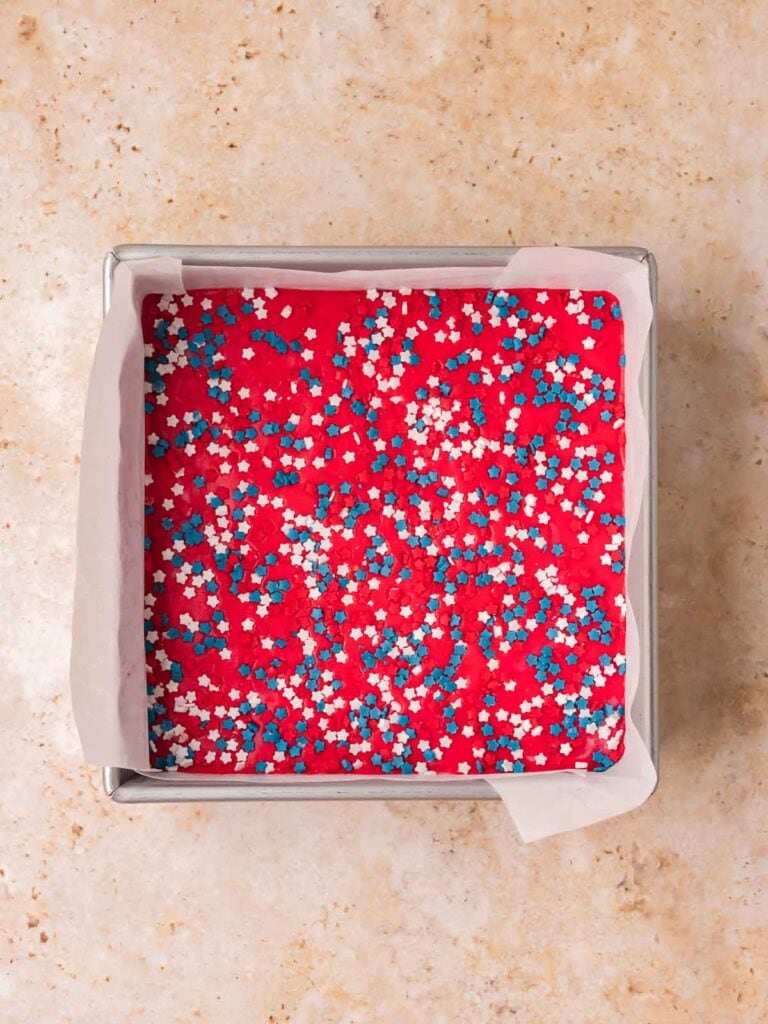
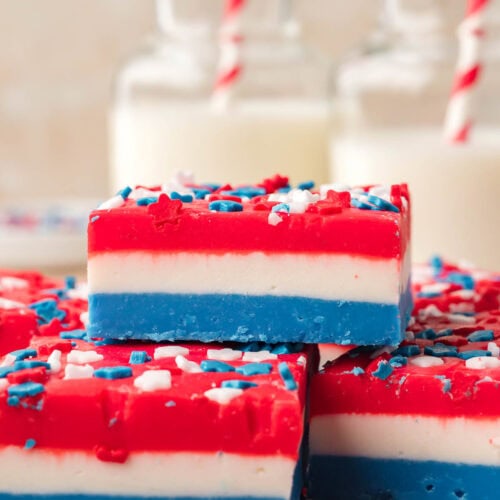
Top with red, white, and blue star sprinkles, then refrigerate until fully set before slicing.
Variations
- Patriotic Swirl Fudge: Instead of clean layers, lightly swirl the colors together using a butter knife. This gives the fudge more of a marbled look while still keeping the red, white, and blue theme.
- Cookies and Cream Version: Stir crushed Oreo cookies into the white layer for extra texture. Golden Oreos also work really well with the white chocolate flavor.
- Sparkler Sprinkle Fudge: Add extra patriotic sprinkles throughout the layers instead of just on top. It gives each bite a little crunch and more color.
- Strawberry Vanilla Fudge: Add a tiny bit of strawberry extract to the red layer for extra flavor. It pairs really well with the sweetness of the white chocolate.
- Blueberry Cheesecake Style: Mix a spoonful of blueberry jam into the blue layer before chilling. It adds a little fruity flavor without changing the texture too much.

Serving Suggestions
- Serve on a summer dessert tray: This fudge looks great next to brownies, cookies, and patriotic treats for BBQs and 4th of July parties. The layered colors really stand out on a dessert table.
- Pair with cold coffee or iced tea: Since the fudge is rich and sweet, it goes really well with iced coffee, sweet tea, or cold brew during summer gatherings.
- Add to party favor boxes: These squares hold up well once chilled, so you can wrap a few pieces in treat bags or bakery boxes for party favors.
- Serve with fresh berries: Strawberries and blueberries make an easy side that matches the colors and balances the sweetness nicely.
- Use for holiday dessert boards: Slice the fudge into smaller squares and arrange them with pretzels, candies, fruit, and cookies for a patriotic dessert board.

Storage and Freezin
- How should I store Red White and Blue Layered Fudge?
Store the fudge in an airtight container in the refrigerator for up to 1 week. Keeping it chilled helps the layers stay firm and sliceable. If stacking pieces, place parchment paper between layers so they don’t stick together.
- Can I freeze Red White and Blue Layered Fudge?
You can also freeze the fudge for up to 2 months. Wrap the squares tightly and store in a freezer-safe container. Let the fudge thaw in the fridge before serving. For the best texture, let the fudge sit at room temperature for about 5 to 10 minutes before eating.
Don’t forget to pin this for later!

Tips & Tricks
- Use gel food coloring: Gel coloring gives brighter colors without making the fudge too thin. Liquid food coloring can sometimes affect the texture.
- Don’t rush the chilling: Let each layer set properly before adding the next one. This helps keep the layers clean instead of blending together.
- Spread gently: Use an offset spatula or the back of a spoon to spread each layer carefully so you don’t disturb the layer underneath.
- Wipe the knife between cuts: Cleaning the knife between slices helps keep the colors looking sharp and neat.
- Let the melted chocolate cool slightly: If the mixture is too hot when layered, it can melt into the previous layer and blur the colors.
Recommended
More Fudge Ideas
Looking for more meal inspiration?
Browse my Summer Recipe ideas or check out my Desserts for more yummy ideas.
Red White and Blue Fudge
Ingredients
- 3 cups white chocolate chips divided
- 1 can sweetened condensed milk 14 oz can
- 3 tablespoons unsalted butter divided
- Red, white, and blue food coloring
- Re,d white, and blue star sprinkles
Instructions
- Line an 8×8 baking dish with parchment paper, leaving overhang on the sides for easy removal.
- In a microwave-safe bowl, combine 1 cup white chocolate chips, 1/3 cup sweetened condensed milk, and 1 tablespoon butter. Microwave in 30-second intervals, stirring until smooth.
- Stir in a few drops of blue food coloring until you reach your desired shade.
- Pour the blue mixture into the prepared pan and spread into an even layer. Refrigerate for 20–30 minutes, until set but slightly tacky.
- In a clean bowl, repeat the melting process with 1 cup white chocolate chips, 1/3 cup sweetened condensed milk, and 1 tablespoon butter. Stir in the vanilla extract.
- Stir in a few drops of white food coloring until you reach your desired shade
- Gently spread the white layer over the blue layer. Return to the fridge for another 20–30 minutes.
- Repeat again with the final 1 cup white chocolate chips, 1/3 cup sweetened condensed milk, and 1 tablespoon butter. Stir in red food coloring.
- Spread the red layer evenly over the top.
- Sprinkle with red white and blue stars
- Refrigerate for 2–3 hours, or until fully set.
- Lift the fudge out using the parchment paper and slice into squares.
Notes
Let each layer cool slightly before spreading so it doesn’t melt the layer underneath.
If your fudge feels too soft, chill it a bit longer before slicing.
For the cleanest cuts, use a sharp knife and wipe between slices.
Store in the fridge, but let sit at room temp for a few minutes before serving for the best texture.


I loved this recipe, it is so fun and festive and it was delicious too!
Yay! I love hearing when peoplw try out the recipes!
Welcome Tessie. I love your patriotic layered fudge. I am happy to feature your Red, White and blue layered fudge at Love Your Creativity.
Thank you so much, Linda! I really appreciate the feature and I’m so glad you enjoyed the Red, White and Blue Layered Fudge. Thanks for hosting each week and for sharing it with your readers!